If your Apple Watch flashlight isn’t turning on, you’re not alone—and you’re probably not doing anything wrong. A sudden change in how it works after a watchOS 10 update has left thousands of users confused, especially since the old swipe-up method no longer functions on newer models. Whether the light won’t turn on at all, shuts off instantly, or you’re accidentally triggering Emergency SOS instead, this guide walks you through every fix—fast. You’ll learn the correct way to access the flashlight post-update, how to troubleshoot unresponsive buttons, use voice commands, and even bypass hardware issues with accessibility tools. Let’s get your light back in under five minutes.
Updated Access Method for watchOS 10+

Apple redesigned Control Center in watchOS 10, removing the swipe-up gesture that previously opened it from any screen. If you recently updated and can’t find the flashlight, this is almost certainly why.
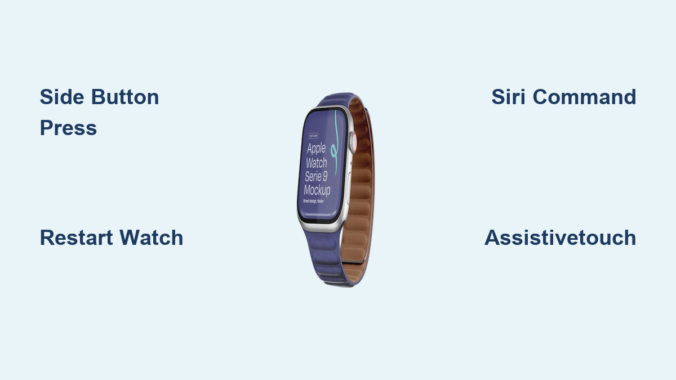
Press, Don’t Hold: Side Button Fix
The flashlight is now only accessible by pressing and releasing the flat oval side button—quickly.
- ✅ Do this: Tap the side button once, like clicking a mouse.
- ❌ Don’t do this: Hold the button down—it triggers Emergency SOS.
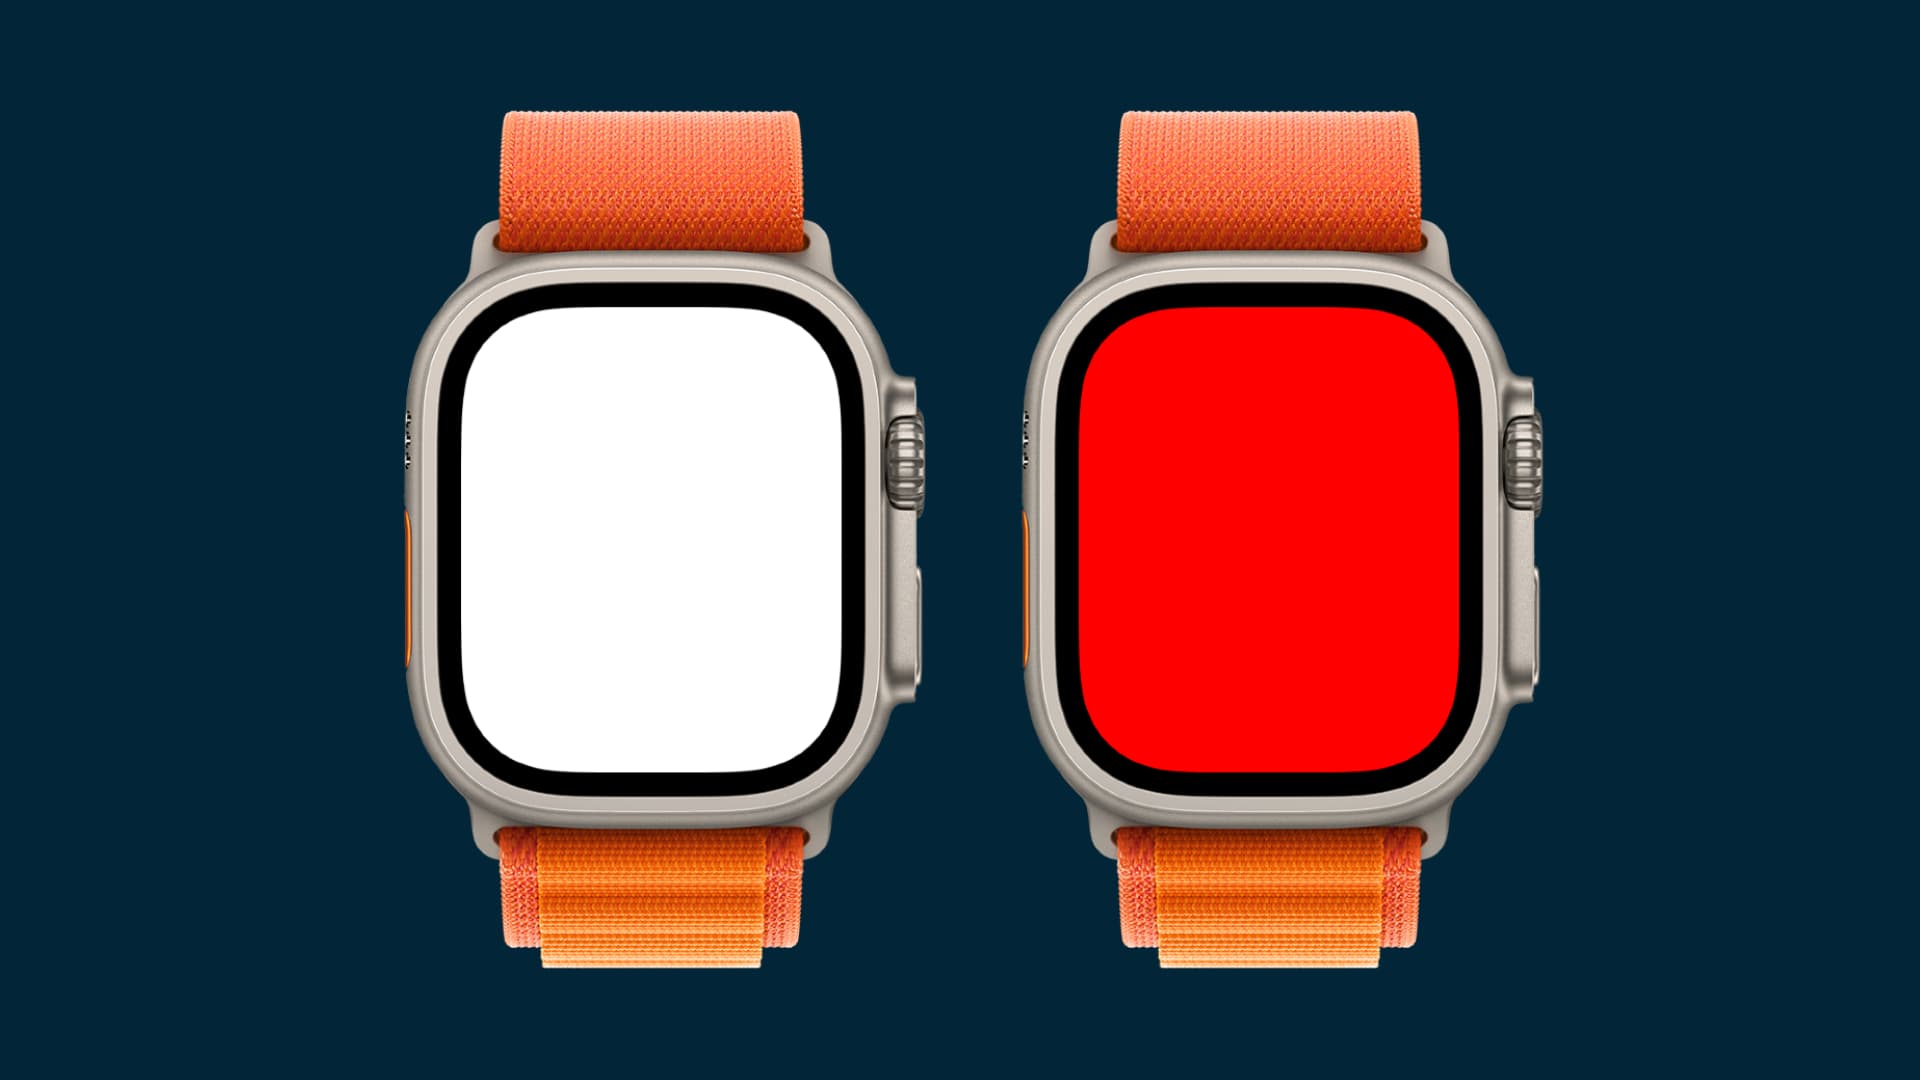
After the tap, Control Center appears, and the yellow flashlight icon (🟡) is front and center. Tap it to turn on the light. From there:
– Swipe left once → flashing white light (great for night runs)
– Swipe left again → steady red light (ideal for camping, preserves night vision)
Pro Tip: On smaller models (40mm, 41mm), the icon may be off-screen. Scroll down in Control Center to find it.
This change affects Apple Watch Series 7, 8, 9, Ultra, and any Series 6 that updated to watchOS 10 or later. Users upgrading from watchOS 9 often miss the new tap method, leading to frustration.
Why Apple changed it: To reduce accidental swipes and streamline navigation. But the trade-off? A learning curve for long-time users.
Flashlight Turns On Then Off
A common glitch on older models: the light flashes for a second, then cuts out.
Quick Restart Fixes It
This issue is usually caused by a temporary software freeze or corrupted cache. A full restart clears it instantly.
Steps to restart:
1. Press and hold the side button until the Power Off slider appears.
2. Drag the slider to shut down.
3. Wait 10 seconds, then press and hold the side button again until the Apple logo appears.
User report: One Series 4 owner said this fixed a months-long issue after running watchOS 5. The flashlight had been turning on for just a second—until the restart.
This fix resolves background process failures without erasing your data or settings.
Side Button Not Responding
If pressing the side button does nothing—or worse, triggers Emergency SOS—you’re likely holding it too long.
Adjust Click Speed in Settings
Go to:
Settings → Accessibility → Side Button Click Speed
Choose from:
– Default: Requires an ultra-fast tap (<0.5s)
– Slow: Allows up to 1 second to release
– Slowest: Up to 2 seconds
Best setting: Slow. It doesn’t force you to wait—it just gives you more time to release the button.
This is a game-changer for users with arthritis, gloves, or shaky hands. You’ll stop triggering Emergency SOS and finally access Control Center reliably.
Practice the “Button Bounce”
Think of it like a mouse click:
– Press lightly
– Release immediately
– Don’t “press and hold”—just tap and release
With practice, this becomes muscle memory. You’ll avoid accidental SOS calls and gain consistent flashlight access.
Use Siri When Buttons Fail
When physical buttons aren’t working, Siri bypasses them entirely—and it’s one of the fastest methods.
Voice Commands That Work
Just say:
– “Hey Siri, flashlight”
– “Hey Siri, turn on the flashlight”
Siri activates the light instantly on Series 6 and newer with watchOS 10+.
Why it’s reliable:
– No button press needed
– Works with gloves, wet hands, or in cold weather
– Bypasses stuck or unresponsive hardware
Many users now prefer Siri over buttons for speed and consistency.
Pro tip: Enable “Always On” Siri in Settings → Siri so you don’t have to raise your wrist first.
Enable AssistiveTouch for No-Touch Access
If you can’t press the side button at all—due to injury, gloves, or hardware issues—AssistiveTouch is your solution.
How to Turn It On
- Open Settings on your Apple Watch
- Go to Accessibility → AssistiveTouch
- Toggle it on
An on-screen dot appears. Tap it to open a menu with:
– Control Center (includes flashlight)
– Apple Pay
– Emergency SOS
– Power Off
Use It to Activate Flashlight
- Tap the AssistiveTouch dot
- Select Control Center
- Tap the flashlight icon
Ideal for: Mobility challenges, hand injuries, or temporary disability
No physical interaction required. Perfect for full accessibility and total control.
Flashlight Icon Missing? Scroll or Reset
Sometimes the icon isn’t gone—it’s just out of view.
Scroll in Control Center
After opening Control Center:
– Swipe up or down to scroll
– Look for the yellow bulb icon (🟡)
Smaller screens (40mm, 41mm) show fewer icons by default. The flashlight may be just below the fold.
Note: Unlike the iPhone, you can’t customize Control Center icons on Apple Watch. But scrolling reveals all.
Reset All Settings (Last Resort)
If the icon is truly missing:
1. Go to Settings → General → Reset
2. Tap Reset All Settings
3. Confirm
This clears preferences but does not erase your data, apps, or health info.
After resetting, test the flashlight. If it works, the issue was a corrupted settings file.
Compatibility by Model & OS
Not all Apple Watches work the same. Here’s what supports what:
| Model | Max watchOS | Flashlight Access |
|---|---|---|
| Series 1–3 | watchOS 9 | Swipe up only |
| Series 4–6 | watchOS 9 | Swipe up only (can’t upgrade to watchOS 10) |
| Series 7+ | watchOS 10+ | Side button press only (swipe up removed) |
Key insight: Series 3 and earlier keep the old method but miss out on newer features like red light mode and AssistiveTouch.
Use the Right Light Mode
The flashlight isn’t just on/off—it has three modes for different needs.
Steady White Light
- Best for: Finding keys, unlocking doors, reading maps
- Activate: Tap the flashlight icon
- Adjust brightness: Turn the Digital Crown
Flashing White Light
- Best for: Night runs, cycling, emergency signaling
- Activate: Swipe left once in flashlight mode
- Bonus: Can mimic SOS patterns in emergencies
Steady Red Light
- Best for: Camping, stargazing, night walks
- Preserves night vision and doesn’t scare animals
- Saves battery vs. white light
- Activate: Swipe left twice after turning on
Pro tip: Red light is your best friend for preserving dark adaptation—use it when you need light but don’t want to ruin your night vision.
Prevent Accidental SOS Activation
Many users accidentally trigger Emergency SOS when trying to open Control Center.
Why It Happens
- Holding the side button too long (>1.5 seconds)
- Pressing during a fall or workout
- Gloved or cold fingers pressing slowly
How to Prevent It
- Set Side Button Click Speed to Slow
- Practice the quick tap (like a mouse click)
- Use Siri or AssistiveTouch if timing is hard
Emergency fix: If SOS starts, press the side button rapidly to cancel.
Battery and Screen Health Tips
The flashlight uses the entire OLED screen, so brightness and battery life depend on display health.
Brightness Adjusts Automatically
- Brightens when watch is facing away
- Dims when facing you (to save battery)
Use the Digital Crown to manually adjust brightness anytime.
Avoid Burn-In Risk
Prolonged use (30+ minutes) may contribute to image retention.
- Apple uses pixel shifting to reduce risk
- Still, avoid leaving it on idle for long periods
Best practice: Turn off when not in use—especially during camping or extended activities.
Final Checklist: Fix Flashlight Fast
Step-by-Step Troubleshooting
- Confirm your watchOS version
– Series 7+? Use side button press, not swipe - Try a quick restart
– Power off, wait 10 seconds, power on - Adjust Side Button Click Speed
– Set to Slow in Accessibility - Use Siri
– Say “Hey Siri, flashlight” - Enable AssistiveTouch
– For no-button access - Scroll in Control Center
– Icon may be off-screen - Reset All Settings
– If nothing else works - Contact Apple Support
– Only if all methods fail
When to Seek Hardware Help
Software fixes solve 95% of cases. But if:
– Screen is cracked or unresponsive
– Side button is stuck or broken
– Flashlight fails in all methods (Siri, AssistiveTouch, button)
Then it may be hardware damage.
Next Steps
- Check warranty or AppleCare+
- Visit an Apple Store
- Use Apple Diagnostics
– Call Apple Support for remote checks
Warning: Avoid third-party repairs—they can damage water seals and void coverage.
Pro Tips for Reliable Use
- Set Click Speed to Slow—even if you don’t think you need it
- Use red light at night—preserves vision, saves battery
- Practice the tap—make it muscle memory
- Keep Siri enabled—voice is fastest backup
- Restart monthly—clears hidden glitches
The Apple Watch flashlight is powerful and versatile—but only if you know how to access it. With watchOS 10+, the side button press-and-release is key. If it’s not working, start with a restart, adjust your click speed, or use Siri. For accessibility needs, AssistiveTouch opens full control without touching a button. Now you’re ready—no more being left in the dark.
Leave a Reply