If your Apple Watch heart rate not working—especially when the ECG app still functions—it’s likely not a broken sensor. Thousands of users across Apple Watch Ultra 1–3, Series 3–7, and SE models are experiencing the same frustrating issue after updating to watchOS 26.0–26.2 and iOS 18.6.1. The symptoms are consistent: “Measuring…” hangs indefinitely, workouts log zero active calories, and third-party fitness apps lose data—yet the ECG app still lights up the green LEDs and captures readings. This mismatch is a major clue: the hardware is fine, but software is blocking access.
This widespread problem often flares up after charging, particularly with non-Apple chargers, and can last from minutes to hours. While Apple hasn’t issued an official fix yet, most users can restore heart rate tracking in minutes using targeted troubleshooting. This guide delivers proven fixes, step-by-step workarounds, and clear signs it’s time for hardware help—so you can get back to monitoring your health with confidence.
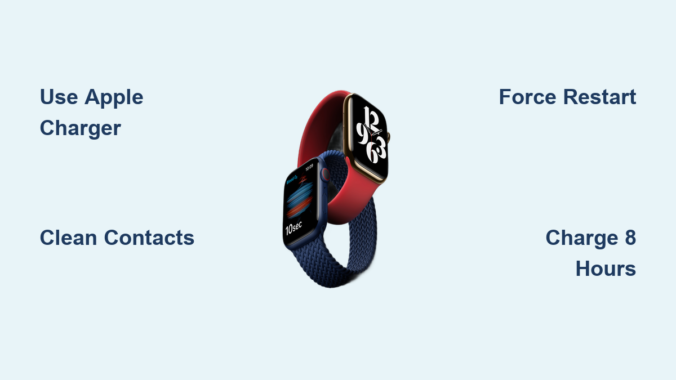
Force Restart iPhone and Apple Watch Together
A synchronized restart clears stuck processes that may be blocking sensor access—especially after a problematic OS update.
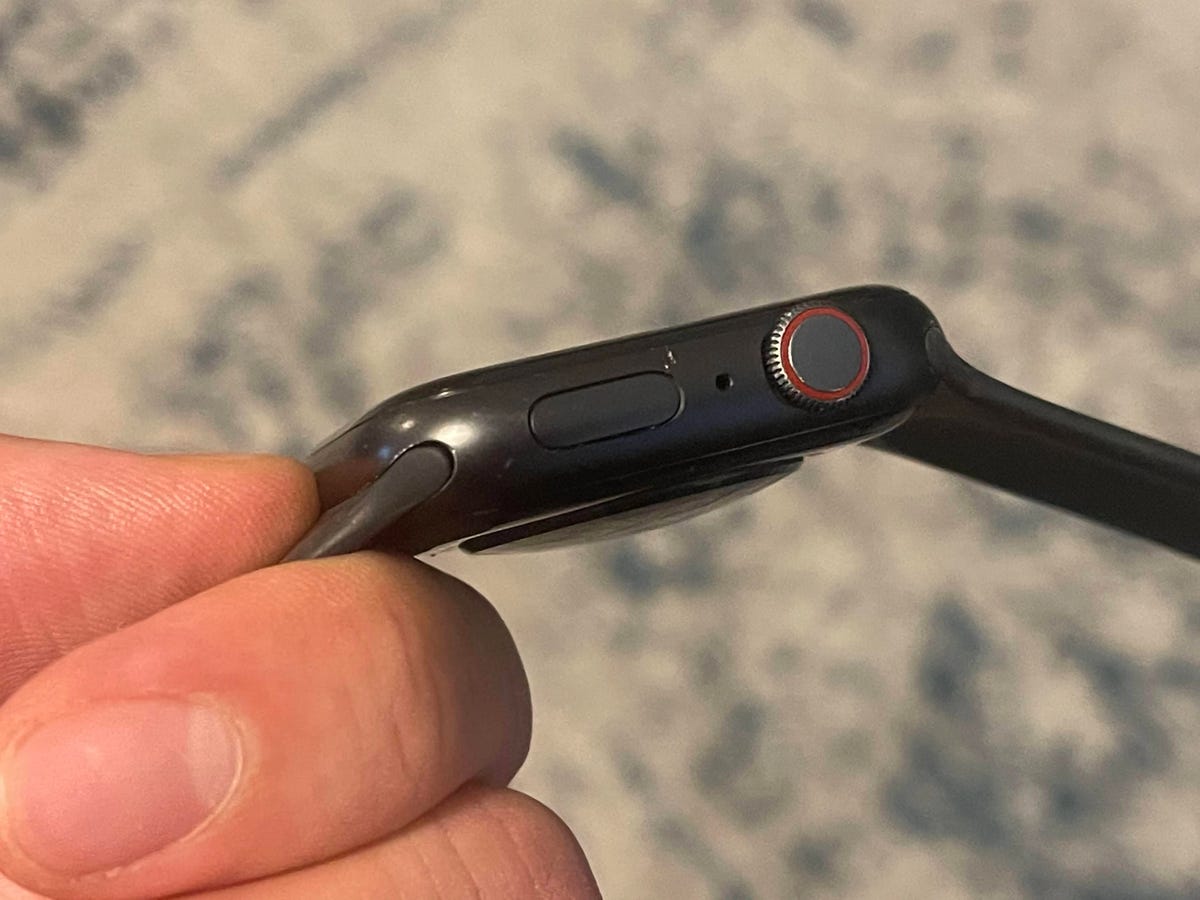
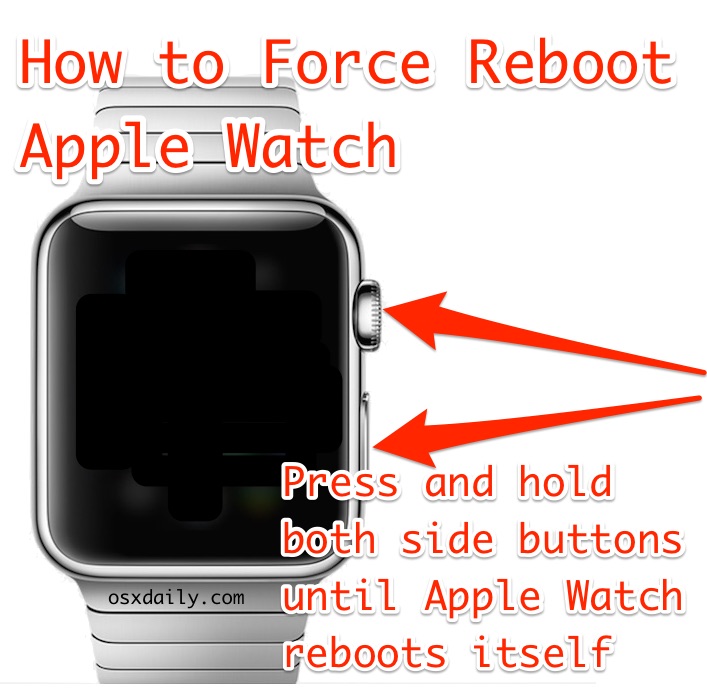
How to Force Restart Apple Watch
Press and hold the Side Button and Digital Crown at the same time. Keep holding for 10–15 seconds until the Apple logo appears. Don’t release when you see the power-off slider—wait for the reboot.
How to Force Restart iPhone
- For Face ID models (iPhone 16 Pro Max, etc.): Press and quickly release Volume Up, then Volume Down, then press and hold the Side Button until the Apple logo appears.
- Wait for both devices to fully reboot before testing.
Why it works: This resets the Bluetooth and Health services linking your iPhone and watch. Multiple users confirm this restored heart rate tracking immediately.
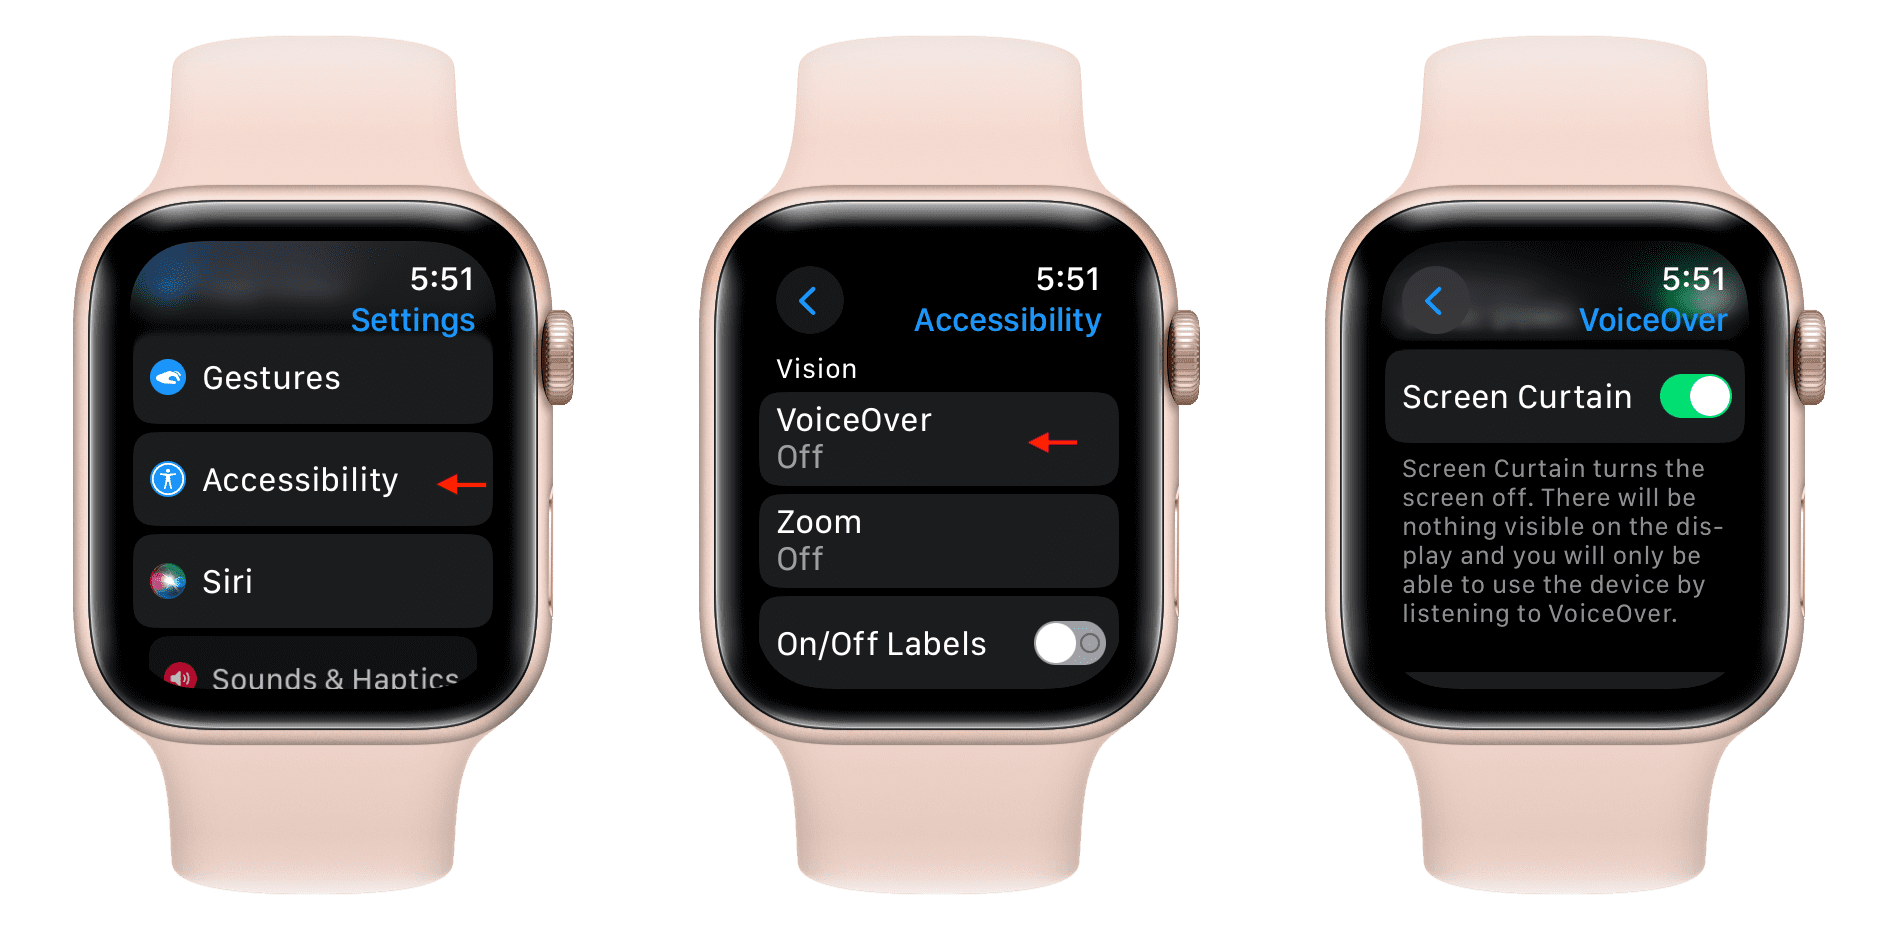
Toggle Heart Rate Permissions on Both Devices
Even if the sensor is working, incorrect privacy settings can block apps from accessing heart rate data.
On Apple Watch
Go to:
Settings > Privacy & Security > Health > Heart Rate
Toggle it off, wait 5 seconds, then toggle on. Restart the watch afterward.
On iPhone (Watch App)
Open the Watch app > My Watch > Privacy > Health
Ensure:
– ✅ Heart Rate is enabled
– ✅ Fitness Tracking is on
– ❌ Avoid “Mirror iPhone” — switch to Custom if heart rate is grayed out
Critical tip: “Mirror iPhone” can override your watch’s settings. Switching to Custom lets you manually enable heart rate access on the watch—even if the iPhone restricts it.
Use the ECG App to Wake Sensors After Charging

If your Apple Watch heart rate not working after being on the charger, the ECG app can often jumpstart it.
Step-by-Step ECG Reset Trick
- Remove your watch from the charger.
- Open the ECG app.
- Place your finger on the Digital Crown and complete a full 30-second reading—even if you don’t need the data.
- Wait 3–5 minutes.
User report: Sp00linTesla confirmed this workaround works 100% of the time. The optical sensor reactivates across all apps shortly after.
Why it works: The ECG app has higher-priority access to the sensor stack. Launching it forces the system to reinitialize the heart rate monitoring service.
Pro tip: If your watch feels warm after charging, let it cool for 5–10 minutes first. Overheating delays sensor recovery.
Check and Enable Wrist Detection
If Wrist Detection is off, your Apple Watch assumes it’s not being worn and disables continuous heart rate monitoring.
How to Verify Wrist Detection
On iPhone:
Watch app > My Watch > Passcode > Wrist Detection → must be On
Important: If you have a passcode, you must unlock the watch after putting it on for sensors to activate.
Warning: Dark tattoos, henna, or thick wrist hair can interfere with detection. Try wearing the watch one inch above the wrist bone or slightly higher on the forearm.
Clean the Sensor Array Properly

Sweat, lotions, or oils can block the green LEDs on the back—especially if you wear it during workouts.
Safe Cleaning Procedure
- Remove the watch from your wrist.
- Use a dry, soft microfiber cloth (like one for glasses).
- Gently wipe the entire back surface, focusing on the four sensor clusters.
- Avoid liquids, alcohol, or compressed air.
Never use: Water, soap, or abrasive materials. These can damage the anti-reflective coating.
Pro tip: Clean weekly if you exercise daily. Buildup happens faster than you think and can silently disrupt readings.
Disable Low Power and Workout Power Saving Modes
Both modes disable continuous heart rate tracking to save battery—leading to zero active calories and missing data.
Turn Off Low Power Mode
On Apple Watch:
Settings > Battery → if the battery icon is yellow, tap to disable Low Power Mode.
Disable Workout Power Saving Mode
On Apple Watch:
Settings > Workout → turn off Workout Power Saving Mode
Consequence: With this on, your watch skips heart rate readings during workouts—defeating the purpose of fitness tracking.
Update to Latest watchOS and iOS
Apple frequently patches sensor bugs in minor updates. If you’re on watchOS 26.0 or 26.1, upgrading may resolve the issue.
How to Check for Updates
On iPhone:
Settings > General > Software Update
On Apple Watch:
Open Watch app > General > Software Update
Tip: Keep your watch on the charger with at least 50% battery during the update.
User confirmation: Several users reported the issue disappeared after updating to watchOS 26.2.
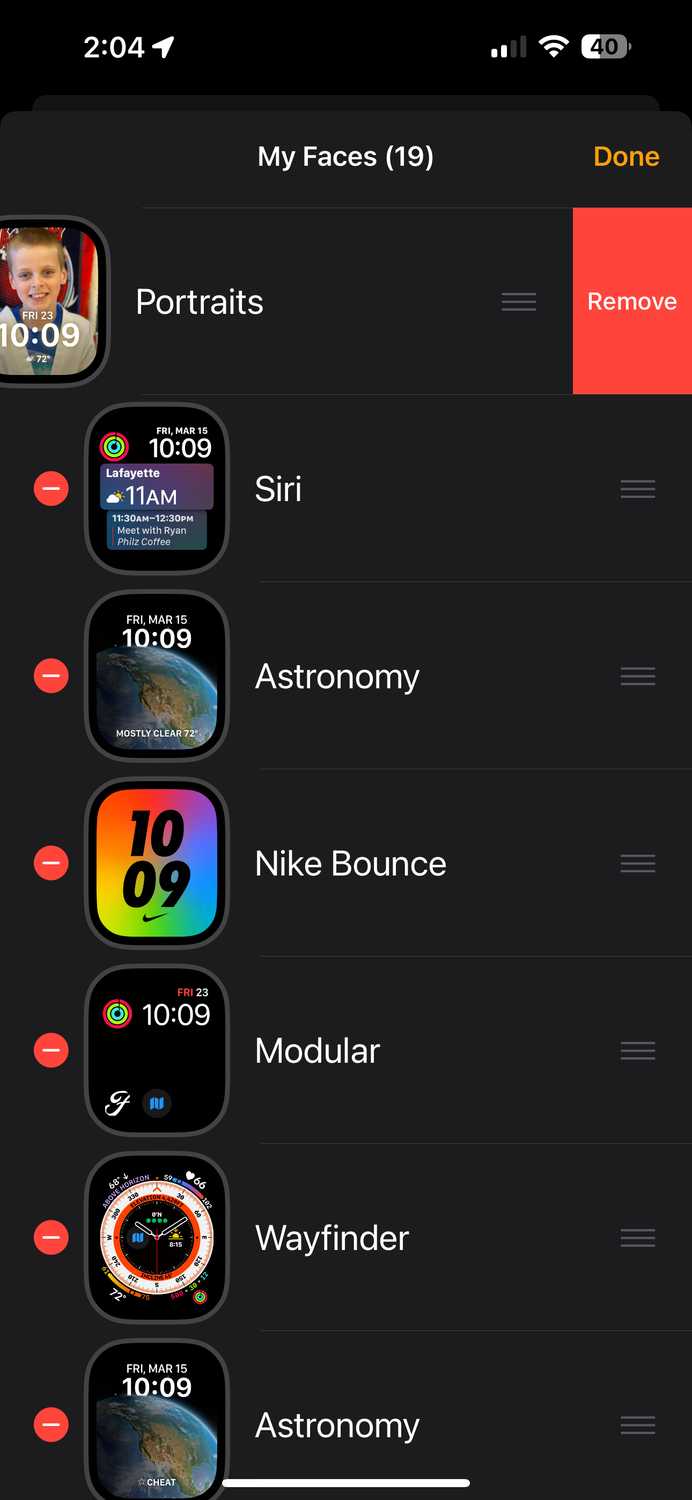
Unpair and Re-pair Your Apple Watch
This clears corrupted sync data that may be blocking heart rate access.
Steps to Re-pair
- On iPhone, open Watch app > My Watch > General > Reset > Unpair Apple Watch
- Confirm (your data will back up to iCloud)
- Set up the watch as new—do not restore from backup yet
- Test heart rate before restoring apps
Why it helps: Corrupted Health or sensor data can prevent proper HR access. Starting fresh often fixes it.
Warning: You’ll need to re-download apps and re-enter passwords.
Factory Reset as Last Resort
If nothing else works, erase all content and settings.
How to Factory Reset
On watch:
Settings > General > Reset > Erase All Content and Settings
- For GPS + Cellular models: Choose Erase All (not just unpair)
- Wait 5–10 minutes for completion
- Set up as new
Success: Works for many, but some report the issue returns after 1–2 weeks—indicating a deeper OS bug.
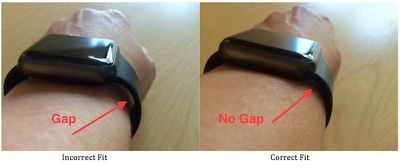
Rule Out Physical Obstructions
Even small fit or accessory issues can break sensor contact.
Adjust Band Fit
- Wear snugly, with space for one finger underneath
- Position one inch above the wrist bone
- Avoid loose bands like Milanese Loop slipping during movement
Remove Third-Party Cases
Thick, metallic, or rubber cases can block sensor light. Take off the case and test heart rate. If it works, the case is the culprit.
Watch for True Hardware Failure
While rare, hardware can fail—especially on older models.
Signs of Hardware Damage
- ❌ No green lights at all, even in ECG app
- ❌ ECG fails to record
- ❌ Gradual decline over months, not sudden post-update failure
- ❌ No improvement after factory reset and re-pair
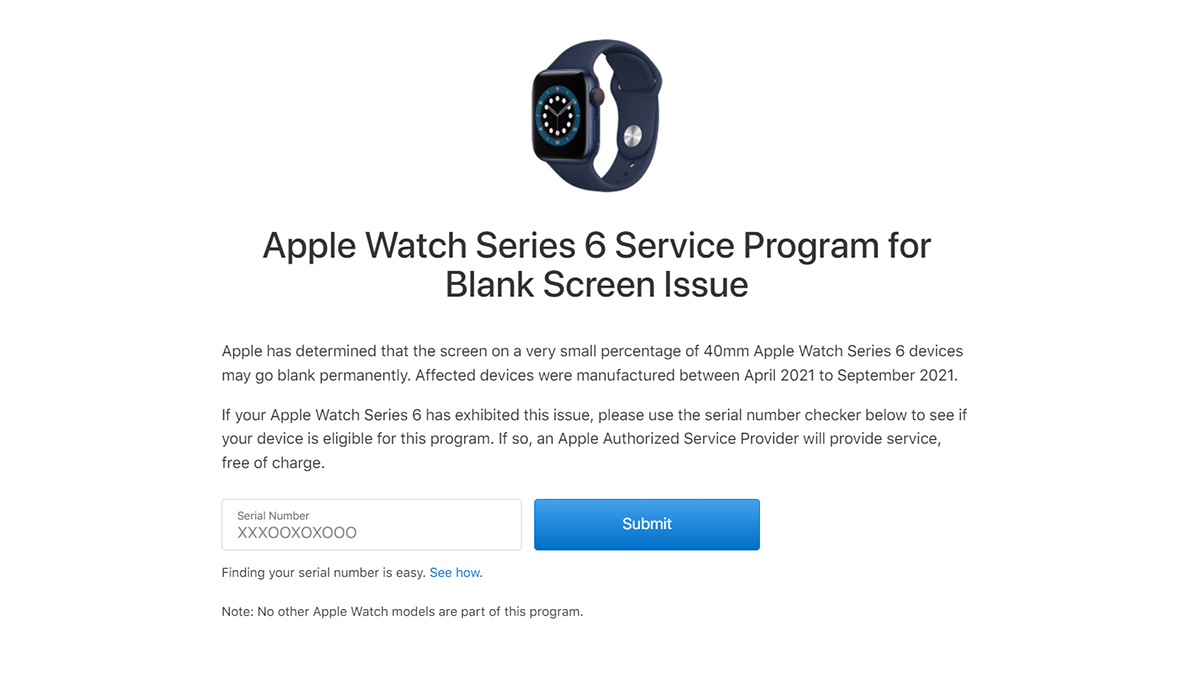
When to Contact Apple
If your Series 3, 4, or older model shows long-term degradation, contact Apple Support. One user replaced a failing Series 3 under AppleCare—new unit worked perfectly.
Note: Optical sensors can wear out with 2+ years of heavy daily use.
Submit Feedback to Apple
The more users report this, the faster Apple may patch it.
How to Report
- Download the Apple Feedback app (free on App Store)
- Submit a detailed report including:
– Apple Watch model
– iOS and watchOS versions
– “Heart rate fails everywhere except ECG”
– Steps you’ve tried
– Whether the ECG app still works
Impact: Volume matters. Widespread reports increase the chance of a watchOS 26.3 or later fix.
Try Anecdotal Workarounds
Some users found creative ways to jumpstart the sensor.
Pre-Workout Heart Rate Check
Before starting a workout, open the Heart Rate app and wait for a reading. This can activate continuous monitoring mode.
Use Breathing App to Trigger Sensor
Open the Mindfulness app, start a 3-minute breathing session. Some report this forces a heart rate measurement and “resets” the system.
Test with a Second Apple Watch
One user started a 5-minute workout on a Series 7, then switched back to their Ultra 2—heart rate resumed. Syncing another device may reset health services.
Final Checklist: Restore Heart Rate Fast
✅ Force restart both iPhone and Apple Watch
✅ Clean sensor back with dry microfiber cloth
✅ Toggle Heart Rate permissions on both devices
✅ Enable Wrist Detection
✅ Disable Low Power and Workout Power Saving Modes
✅ Update to latest watchOS and iOS
✅ Use ECG app after charging to wake sensors
✅ Unpair and re-pair if issue persists
✅ Factory reset if all else fails
✅ Contact Apple if ECG also fails or hardware is suspected
Bottom line: If your Apple Watch heart rate not working but ECG still functions, it’s almost certainly a software bug tied to recent updates. Start with restarts, permission toggles, and the ECG reset trick—most users regain function within minutes. Avoid third-party chargers, keep sensors clean, and report the issue to Apple to help push for a permanent fix. Until then, these steps will keep your heart rate monitoring alive.