Your Apple Watch is completely dead—no response when you press the Digital Crown or side button, and it won’t charge. No green lightning bolt. No screen glow. Just silence. You’re not alone. Thousands of users report the same issue: an Apple Watch that dies and refuses to power on or accept a charge. The good news? In most cases, this isn’t permanent hardware failure—it’s often a deep battery drain, software glitch, or charging connection problem that can be fixed.
This guide covers every proven step to revive a non-responsive Apple Watch. Whether you’re dealing with a red lightning bolt, a blank screen, or a device stuck in a boot loop, we’ll walk you through the exact troubleshooting sequence—starting with simple fixes and progressing to advanced recovery methods. You’ll learn how to diagnose the real issue, avoid common mistakes, and know when it’s time to contact Apple. If your watch shows even a flicker of life, recovery is likely possible.
Use the Right Charger and Power Source
Before assuming your Apple Watch is broken, rule out faulty charging equipment.
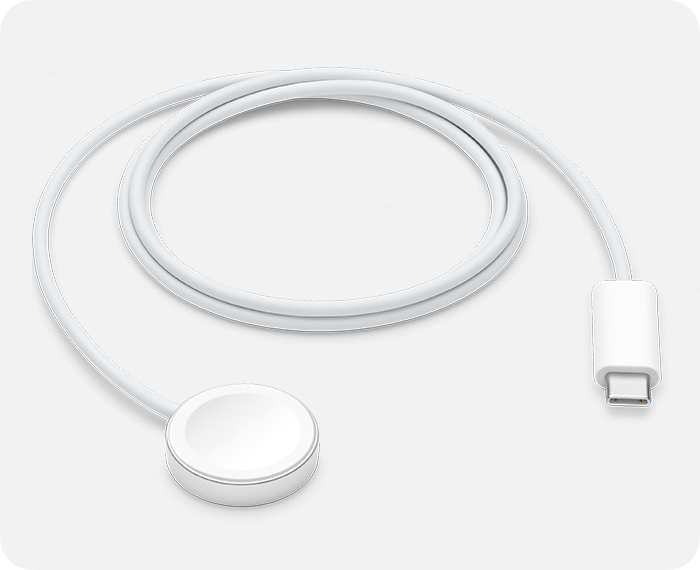
Stick to Apple or MFi-Certified Accessories
Not all cables are created equal. Third-party chargers may look identical but fail to deliver consistent voltage. Use only:
– Apple Magnetic Charging Cable
– USB-C Magnetic Fast Charging Cable
– Apple Watch Magnetic Charging Dock
Avoid knockoffs—even if they claim “Apple compatible.” Non-certified chargers often cause intermittent charging or no response at all.
Avoid Region-Locked Chargers
Some Apple Watch chargers sold in China or Indonesia are WPT-compliant and region-specific. If you see:
“Unable to charge. This is a country-specific charger.”
Switch to a standard Apple charger from your region.
Plug Into a High-Power Source
Low-output USB ports can’t revive a deeply drained battery. Always use:
– Apple 5W or 12W USB power adapter
– iPad charger (higher amperage helps)
– Powered-on desktop or laptop USB 2.0/3.0 port
Avoid:
– USB hubs
– Car chargers with low output
– Power banks in sleep mode
Pro Tip: Test your cable by charging AirPods—this confirms the cable and power source are working.
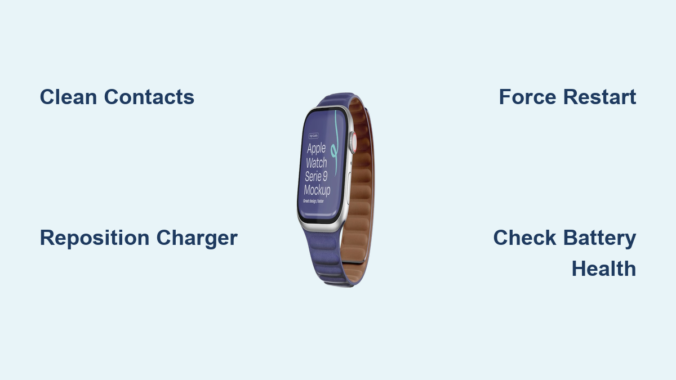
Clean the Charging Contacts Thoroughly

Dirt, sweat, or moisture on the charging surface can block electrical contact.
Wipe Both the Watch and Charger
- Use a dry, lint-free cloth to clean the back of your Apple Watch.
- Do the same for the magnetic charging puck.
- Gently remove debris from the pins using a soft-bristle brush or wooden toothpick.
- Ensure everything is completely dry before reconnecting.
Remove Protective Plastic Film
New charging cables often come with a thin plastic film still attached to the magnetic surface. Peel it off both sides—this is a surprisingly common cause of charging failure.
Warning: Never use liquids, alcohol, or metal tools—they can corrode or scratch the contacts.
Align the Magnets Correctly
Poor alignment prevents charging, especially on larger models like the Apple Watch Ultra.
Position the Charger Properly
- Place the concave side of the charger flush against the back of the watch.
- Ensure the magnets snap securely into place.
- Lay the charger flat on a table—don’t let it dangle or hang loosely.
Remove Interfering Accessories
- Take off thick cases or metal screen protectors.
- If using a charging dock, remove the band to improve contact.
Visual Cue: You should hear a soft click when the magnets engage.
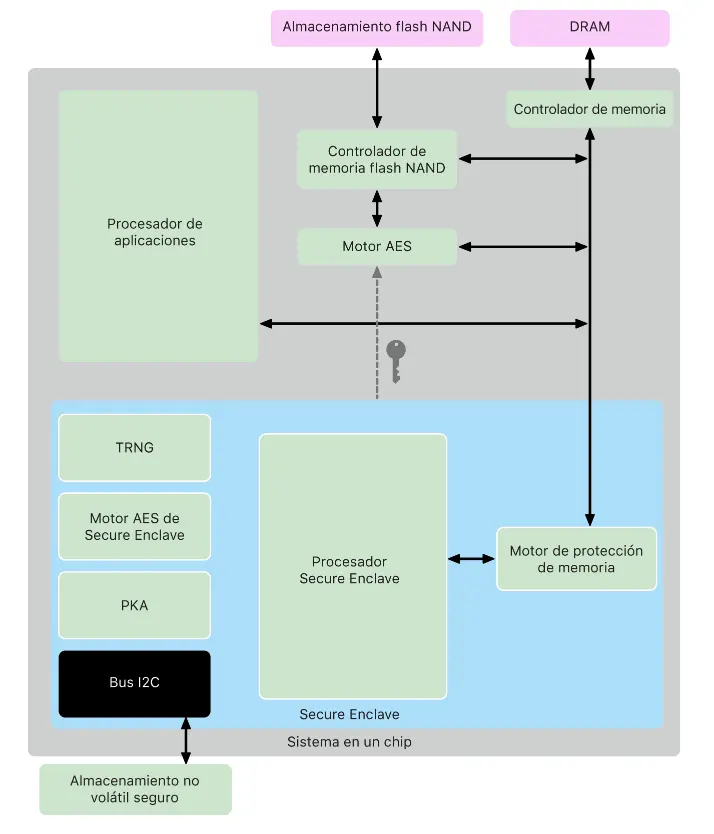
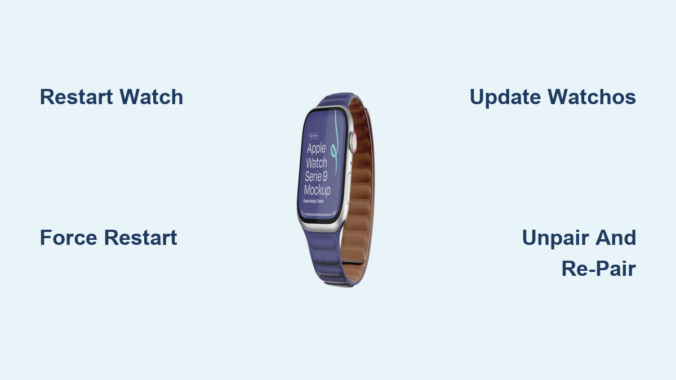
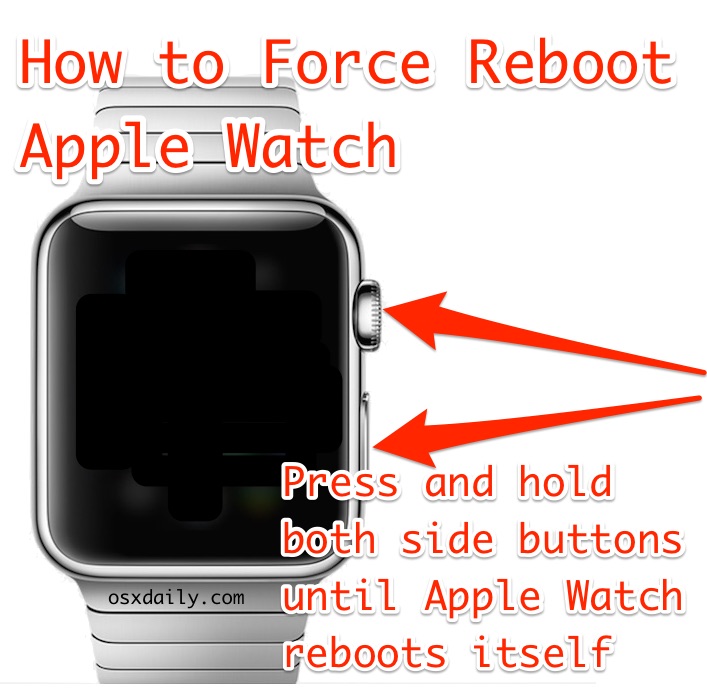
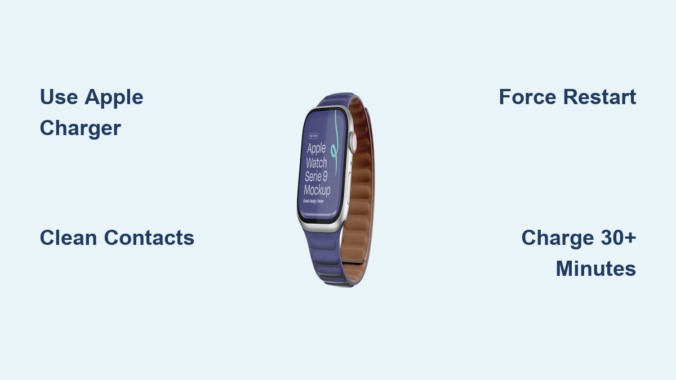
Force Restart Your Apple Watch
A frozen system can prevent booting—even when power is available.
Standard Reset (10 Seconds)
- Press and hold both the Side Button and Digital Crown.
- Keep holding for at least 10 seconds.
- Release when the Apple logo appears.
Do this while the watch is on the charger to ensure it has power during the reset.
Extended Reset (30–40 Seconds)
If the standard restart fails:
– Hold both buttons for 30 to 40 seconds.
– Don’t release early, even if the screen flickers.
– Success is confirmed only when the Apple logo stays on.
User Verified: This method has revived Apple Watch Ultra, Series 6–9, and older models.
Charge for at Least 30 Minutes—Even With No Screen Response
A completely dead battery may take time to show signs of life.
Be Patient—Screen May Stay Black
- Leave the watch connected for a minimum of 30 minutes.
- Some cases require 2.5 to 10 hours of continuous charging.
- Extreme cases have taken up to 48 hours to respond.
Real Example: One user revived their watch only after two full days of uninterrupted charging.
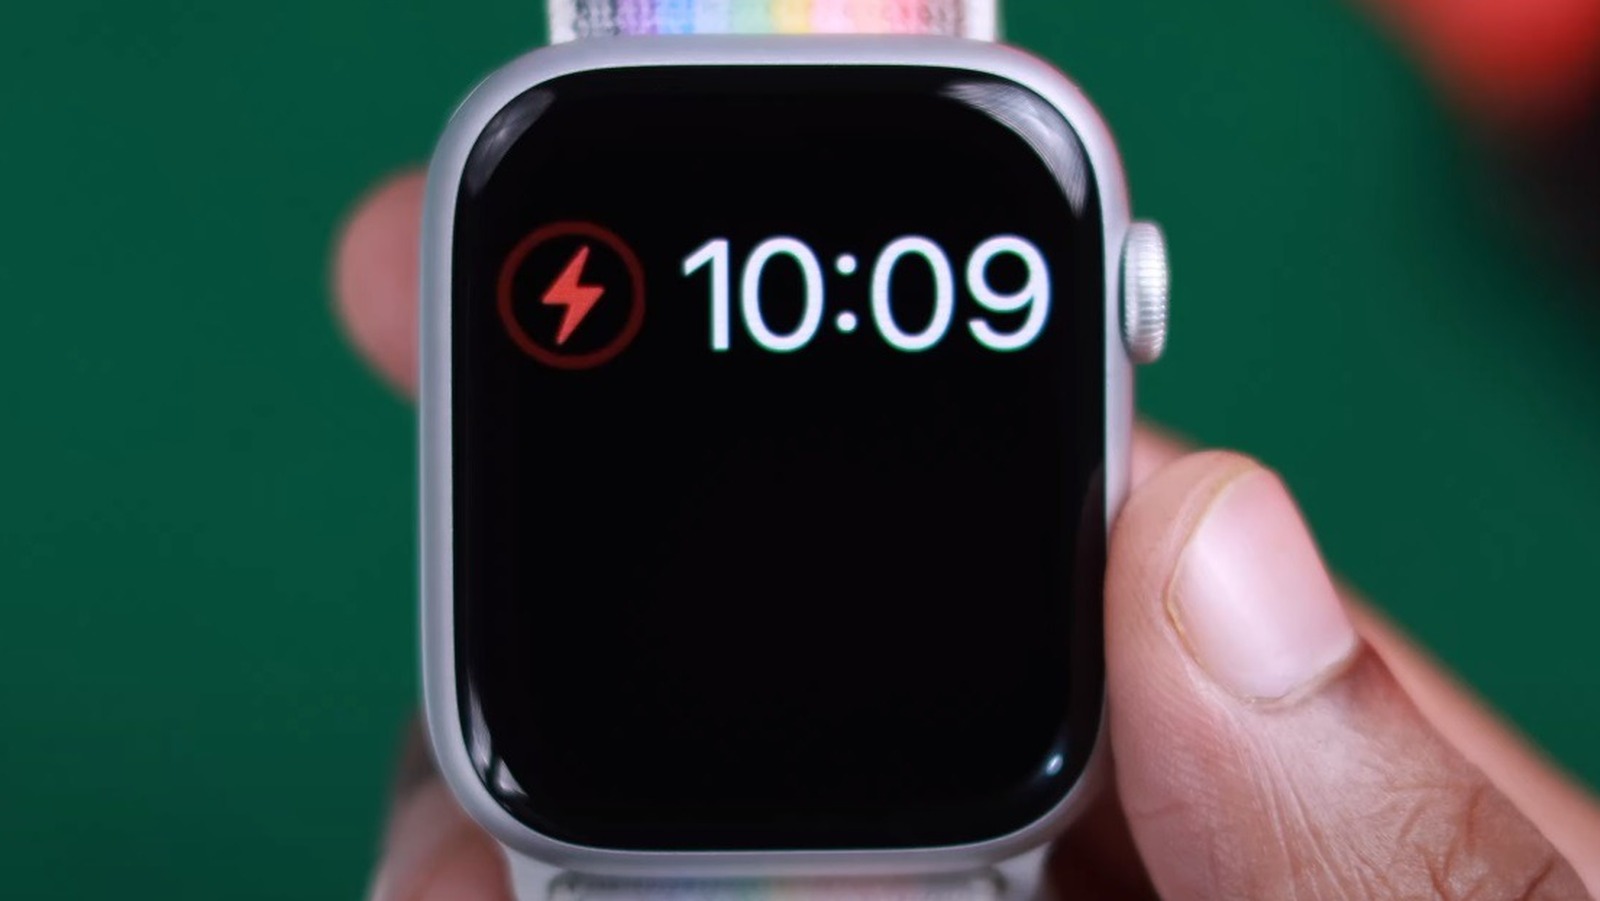
What to Look For
- Red lightning bolt: Battery is critically low.
- Red ring with lightning: Charging in progress.
- Green lightning bolt: Charging normally.
- Apple logo: Booting up.
If you see any of these, do not disconnect—let it charge fully.
Try a Complete Battery Drain
If your watch keeps rebooting or shows partial signs of life, a full discharge may reset the system.
Natural Drain Method
- Leave the watch off the charger until pressing the crown does nothing.
- This can take 3 to 7 days.
- Once fully dead, reconnect and charge completely.
Verified Fix: A former Apple QA engineer resolved his non-charging watch by storing it for a week until fully drained.
Accelerated Drain Technique
- Perform 2–3 force restarts per day to burn residual power.
- Each restart consumes battery, helping escape a “stuck” state.
- After 1–2 days, attempt a full recharge.
Apply Gentle Pressure to Re-Seat Internal Components

Internal connectors can loosen over time, breaking contact.
Safe Pressure Technique
- Place thumbs on the center of the screen.
- Press gently but firmly for 5–10 seconds.
- Alternatively, press on the back of the watch near the charging coils.
This can re-establish contact between the battery and logic board.
Note: This is safe—normal pressure won’t damage the screen.
Follow with a force restart and recharging attempt.
Use the Freezer Method (With Caution)
Temperature change may temporarily restore function in rare cases.
Step-by-Step
- Keep the watch on its band.
- Place it in the freezer for 20 minutes.
- Remove immediately and perform a force restart.
Why It Works
- Cold causes components to contract, possibly restoring a broken connection.
- Rapid temperature shift can disrupt a stuck electrical state.
Warnings:
– Never seal the watch in plastic—condensation can damage internals.
– Do not use heat sources, microwaves, or prolonged freezing.
– This is not Apple-approved and carries risk.
Model-Specific Fixes
Apple Watch Gen 1: Overcome Startup Power Draw
Older models often fail to charge because:
– The watch tries to boot during charging.
– Startup uses more power than the charger supplies.
Fix:
Use a higher-power source like an iPad charger to maintain charge during boot.
Prevention: Store with 50% battery and recharge every 6 months.
Apple Watch Series 6 and Newer: Interrupted Update Recovery
If the watch died during a software update:
– It may enter a recovery loop.
– The iPhone Watch app shows “Updating” or “Unreachable.”
Result:
– Cannot be fixed at home.
– Requires Apple diagnostic tools.
Action: Contact Apple Support or visit a store.
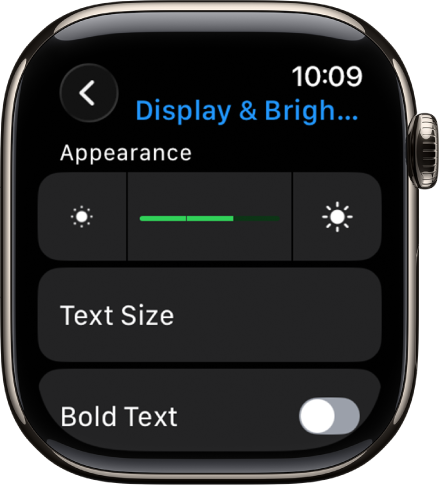
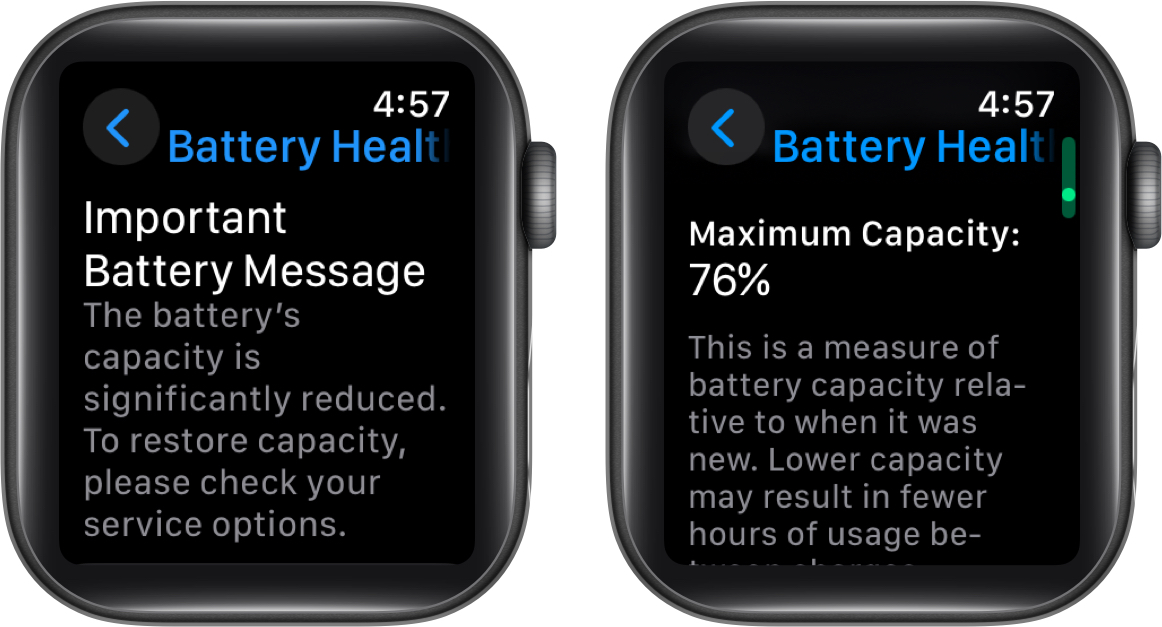
Check Battery Health
Degraded batteries fail to hold charge or power on after shutdown.
How to Check
On your iPhone:
1. Open the Apple Watch app.
2. Go to My Watch > General > About > Battery Health.
When to Replace
- Replace battery if capacity is below 80%.
- Typical lifespan: 2–4 years with daily use.
User Case: One Series 6 user revived their watch after 5 days—battery health was 71%.
When Home Fixes Fail: Get Professional Help
If all steps fail, the issue may be hardware-related.
Contact Apple Support
- Visit: support.apple.com/watch
- Use the Apple Support app for remote diagnostics.
- Describe all steps you’ve tried.
Service Options
- Apple Store Genius Bar: In-person diagnosis.
- Mail-in Service: Apple ships a box for repair.
- Authorized Service Provider: Third-party, Apple-approved shops.
Note: Liquid damage or physical cracks may void warranty.
Know Your Warranty Status
Coverage Details
- Standard Warranty: 1 year from purchase.
- AppleCare+: Extends to 2–3 years, includes accidental damage.
Storage Warning
Watches stored uncharged for over 2 years may have permanently failed batteries—even if new.
Pro Tip: Buy older models from Apple Refurbished Store—tested, reset, and fully warranted.
Prevent Future Charging Failures
Smart Charging Habits
- Don’t let battery drop below 20% regularly.
- Charge nightly or use Power Reserve mode when not in use.
- Store with 50% charge if unused for weeks.
Update Safely
- Always update watchOS with battery above 50%.
- Keep iPhone nearby during updates.
- Don’t start updates before bed or long flights.
Maintain Equipment
- Replace frayed or bent cables.
- Clean contacts monthly.
- Use only genuine Apple or MFi-certified accessories.
Final Checklist: Step-by-Step Recovery Plan
- Use original Apple charger and adapter
- Clean watch and charger contacts
- Remove case and align magnets properly
- Plug into wall outlet (not computer)
- Charge for 30 minutes minimum
- Force restart (10 seconds)
- If no response, charge 2.5–10 hours
- Repeat force restart (30–40 seconds)
- Try complete battery drain method
- Apply gentle pressure to screen/back
- Use freezer method cautiously
- Contact Apple if all else fails
Final Note: If your watch shows any sign of power—red lightning, microphone icon, brief Apple logo—recovery is likely. Complete silence after all steps suggests irreversible battery or logic board damage. But with patience and the right steps, most “dead” Apple Watches can be brought back to life.