You’re stepping outside for a morning run, Apple Watch on your wrist, only to realize your route isn’t being tracked. Or perhaps you’re trying to use Maps on your watch and it won’t show your current location. The issue? Location services are likely turned off — but unlike most devices, the Apple Watch doesn’t have a direct “Location” toggle in its settings. Instead, it relies entirely on your iPhone to control location access.
This means that if GPS isn’t working on your Apple Watch, the fix doesn’t start on your wrist — it starts on your phone. Since location permissions are managed through the paired iPhone, turning on location for Apple Watch is a two-device process: you must enable system-wide Location Services on your iPhone and grant specific apps permission to access your location. Without these settings, your Apple Watch can’t use its built-in GPS for outdoor workouts, navigation, or fitness tracking — even if you own a cellular model.
In this guide, you’ll learn exactly how to turn on location on Apple Watch, allow precise tracking for key apps like Workout and Maps, troubleshoot common GPS issues, and ensure your watch delivers accurate, real-time location data every time you use it.
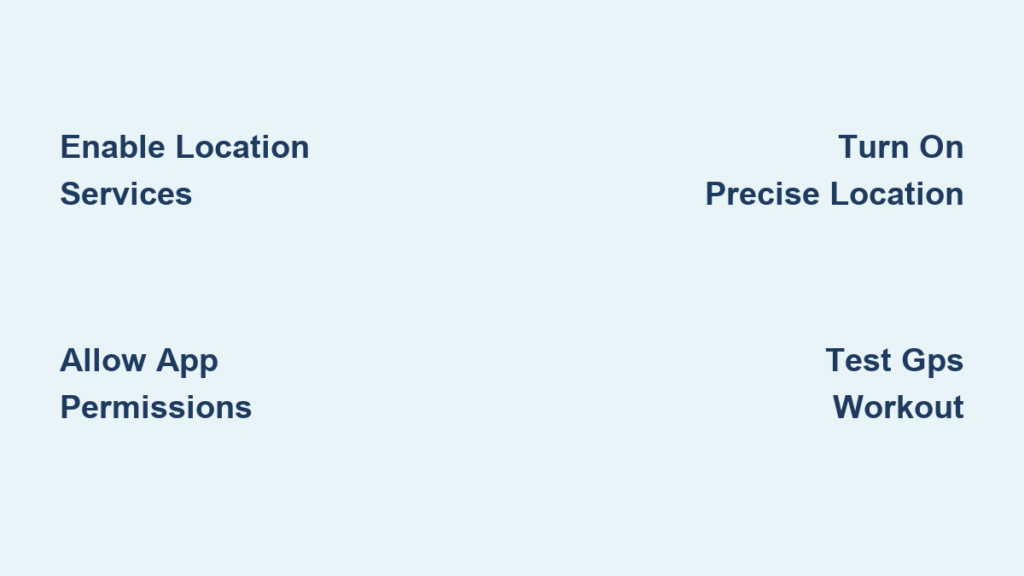
Enable Location Services on iPhone

Because the Apple Watch pulls all location permissions from your iPhone, the first and most critical step is enabling Location Services on your paired device.
Turn On Global Location Access
- Open the Settings app on your iPhone.
- Tap Privacy & Security, then select Location Services.
- Make sure the top-level switch for Location Services is turned on (green).
⚠️ Warning: If this global setting is off, no app — including those on your Apple Watch — can access location data. This single toggle disables GPS functionality across all connected Apple devices.
Once enabled, your Apple Watch gains the foundational access it needs to use GPS, Wi-Fi, and cellular triangulation for accurate positioning. These settings sync automatically when both devices are connected via Bluetooth or Wi-Fi and signed into the same Apple ID.
Verify Apple Watch App Permissions
Even with Location Services enabled globally, the Apple Watch app itself must be allowed to access location. This app manages communication between your iPhone and watch, especially during data syncing and workout initiation.
- In Location Services, scroll down and tap Apple Watch.
- Select Allow While Using App.
This ensures the app can respond to location requests from your watch. After an iOS or watchOS update, permissions may reset unexpectedly, leading to GPS failures — so checking this setting post-update can prevent future issues.
Grant Location Access to Key Apps

Your Apple Watch uses a variety of apps that depend on GPS. Whether you’re using Apple’s native Workout app or third-party tools like Strava or Nike Run Club, each requires individual configuration.
Set Permissions for Fitness and Navigation Apps
- Go to Settings > Privacy & Security > Location Services.
- Scroll to find the app you use on your watch — such as Workout, Apple Maps, Strava, or MapMyRun.
- Tap the app and choose:
– ✅ Allow While Using App — Recommended for most users. Allows GPS tracking while the app is active.
– ❌ Don’t Allow — Blocks all location access; avoid this if you want GPS tracking.
– ⚠️ Allow Once — Grants temporary access. Useful for testing but resets after each session.
💡 Pro Tip: Start your workout directly on the Apple Watch, not the iPhone. This ensures the watch uses its own GPS chip instead of relying on your phone’s signal — crucial for runners who leave their phones behind.
Enable Precise Location for Better Accuracy
Apple allows apps to receive either precise or approximate location data. For fitness and navigation, precise location is essential.
- In the app’s location settings, look for Precise Location.
- Toggle it ON.
With precise location disabled, your mapped route may appear jagged or inaccurate — especially noticeable during trail runs or cycling. With it enabled, GPS locks faster and records smoother, more accurate paths.
Test Location with a GPS Workout
After setting permissions, verify that location works by starting a GPS-dependent workout on your Apple Watch.
Start an Outdoor Run or Cycle
- On your Apple Watch, open the Workout app.
- Choose Outdoor Run, Outdoor Walk, or Cycling.
- Tap Start.
Wait up to 60 seconds for GPS to lock. Look for:
– A spinning globe icon at the top of the screen.
– Distance and pace fields populating once the signal is acquired.
📍 Best Practice: Begin your workout outside with clear sky visibility. GPS signals struggle indoors or in urban areas with tall buildings blocking satellites.
If the globe keeps spinning:
– Return to your iPhone and recheck app permissions.
– Restart both devices.
– Recalibrate by walking or running with your iPhone for 20 minutes while both devices are connected.
Fix Common Location Problems

Even with correct settings, GPS issues can occur. Here’s how to resolve them quickly.
No GPS Signal Despite Correct Settings
Cause: Corrupted network settings or outdated configurations.
Solution:
1. On iPhone: Settings > General > Transfer or Reset iPhone > Reset > Reset Network Settings.
2. Re-pair your Apple Watch if prompted.
3. Re-enable Location Services and app permissions.
This often fixes persistent GPS issues after software updates.
Inaccurate Route Mapping
Cause: Outdated motion calibration or disabled precise location.
Fix:
1. Ensure Precise Location is ON for the Workout app.
2. Recalibrate your watch:
– Do a 20-minute outdoor walk or run.
– Carry your iPhone with you.
– Let both devices sync motion and GPS data.
Apple uses this session to improve future accuracy — even when your phone isn’t present.
Location Prompts Not Appearing on Watch
Cause: Location alerts are disabled on iPhone.
Solution:
1. On iPhone: Settings > Privacy & Security > Location Services > Location Alerts.
2. Turn on Show Map in Location Alerts.
Now, when an app on your watch requests location access, you’ll get a prompt on your iPhone.
Manage System-Level Location Features
Beyond apps, system services use location for convenience and safety. These are controlled on the iPhone but affect Apple Watch functionality.
Enable Significant Locations & Routes
Apple learns where you go — home, gym, office — and uses this to improve Maps suggestions, Calendar alerts, and photo memories.
To manage:
1. iPhone: Settings > Privacy & Security > Location Services > System Services.
2. Tap Significant Locations & Routes.
3. Authenticate with Face ID, Touch ID, or passcode.
4. Toggle ON.
🔐 These locations are encrypted and stored in iCloud. Apple cannot read them.
Disabling this may reduce proactive features, like auto-starting workouts when you arrive at the track.
Emergency SOS and Location Sharing
Even with Location Services off, emergency features still work:
– Pressing the side button during an emergency shares your approximate location with responders.
– Family members in Find My can see your location during an SOS event.
This cannot be disabled for safety reasons.
Monitor Location Usage and Privacy
You can audit which apps use location and when.
View Recent Location Activity
On iPhone:
1. Settings > Privacy & Security > Location Services.
2. Scroll down to see apps with timestamp indicators showing recent access.
An app with frequent background use may impact battery life on both iPhone and Apple Watch.
Control Data Sync Across Devices
Location permissions sync automatically when:
– Both devices are on the same Apple ID.
– Bluetooth and Wi-Fi are enabled.
– Devices are within range (~30 feet).
Changes made on the iPhone apply instantly — no manual refresh needed.
Optimize GPS Performance Over Time
To keep location accurate long-term:
Keep Software Updated
Apple frequently releases GPS improvements in iOS and watchOS updates.
- Check for updates: Watch app > General > Software Update.
- Install all available patches.
Recent updates have improved satellite acquisition speed and urban canyon tracking.
Recalibrate Periodically
Every few months:
– Perform a 20-minute outdoor run or walk with iPhone.
– Maintain steady pace.
– Avoid stopping frequently.
This recalibrates the accelerometer and gyroscope, enhancing step counting and distance measurement.
Leverage Cellular Model Advantages
If you own a cellular Apple Watch, you get faster GPS lock and independent location tracking — even when your iPhone is off or out of range.
For runners, hikers, or cyclists who leave their phones behind, this is essential.
Summary: Activate Location in 5 Minutes
Here’s the fast track to turning on location on Apple Watch:
- iPhone Settings > Privacy & Security > Location Services → Turn ON.
- Find Workout, Maps, or third-party app → Set to Allow While Using App.
- Toggle Precise Location ON for each app.
- On Apple Watch: Open Workout app → Start Outdoor Run.
- Wait for GPS lock (globe stops spinning).
✅ Done. Your Apple Watch now uses GPS accurately for fitness, navigation, and safety.
Final Note: Location services on Apple Watch are powerful — but only when properly configured. Since control lives on the iPhone, always check privacy settings after updates or new app installs. With precise permissions and regular calibration, your watch delivers reliable, real-time location data for every adventure.