
You just unboxed your GPS + Cellular Apple Watch and want to use it for calls, texts, and music without carrying your iPhone. The key to unlocking this freedom? Activating the eSIM. Unlike smartphones, the Apple Watch doesn’t support physical SIM cards or QR code scanning. Instead, its eSIM is activated entirely through your paired iPhone using carrier authentication. Many users struggle with missing options, failed setups, or confusion about compatibility—especially when traveling or setting up watches for kids.
If you’ve ever wondered why “Set Up Cellular” isn’t showing up, whether you can use a different carrier, or if your Apple Watch works abroad, this guide has you covered. We’ll walk you through every step—from verifying your model to troubleshooting common errors—so you can activate eSIM on Apple Watch quickly and confidently.
Here’s what you’ll learn: how to confirm cellular support, activate eSIM in under 10 minutes, fix activation errors, manage multiple plans, and use your watch independently—even without an iPhone nearby.
Confirm Your Apple Watch Supports eSIM
Before starting, make sure you actually own a cellular model. GPS-only versions look identical but lack the hardware needed for eSIM activation.
Check Using the Watch App on iPhone
- Open the Watch app on your iPhone
- Tap My Watch → Cellular
- If you see “Set Up Cellular”, your watch supports eSIM
- If the option is missing, it’s likely a GPS-only model
✅ Pro Tip: This only works if your watch is already paired. For new purchases, check the original packaging or Apple ID purchase history.
Verify Model Name Directly on the Watch
- On your Apple Watch: Go to Settings → General → About → Model Name
- Look for “Cellular” in the name
- Alternatively, note the Model Number and verify it on Apple’s official support site
⚠️ Warning: You cannot upgrade a GPS-only watch to cellular. The feature is permanently disabled at the hardware level.
Meet All Activation Requirements
Skipping even one prerequisite can halt activation. Ensure these conditions are met before proceeding.
Essential Requirements
- ✅ Own a GPS + Cellular Apple Watch
- ✅ Paired with an iPhone running iOS 14 or later
- ✅ Apple Watch updated to latest watchOS
- ✅ Both devices connected to Wi-Fi and Bluetooth
- ✅ Carrier supports Apple Watch eSIM
- ✅ iPhone plan includes a wearable add-on or allows shared lines
- ✅ Account in good standing (postpaid, not prepaid unless supported)
- ✅ Located in a supported country or region
❌ No exceptions: One missing requirement will block activation.
Supported Apple Watch Models
| Model | eSIM Support | Notes |
|---|---|---|
| Series 3 (Cellular) | ✓ | LTE / UMTS |
| Series 4–7 (Cellular) | ✓ | LTE |
| Series 8–10 (Cellular) | ✓ | LTE only |
| Series 11 | ✓ | LTE + 5G (carrier-dependent) |
| SE (1st & 2nd Gen, Cellular) | ✓ | LTE |
| Ultra / Ultra 2 / Ultra 3 | ✓ | LTE + 5G |
📌 Reminder: Only GPS + Cellular models qualify. Always double-check your purchase details.
Activate eSIM: Step-by-Step Setup (iPhone Required)
Activation happens solely through your iPhone—there’s no manual setup on the watch.
Update iOS and watchOS First
Outdated software causes silent failures.
- On iPhone: Settings → General → Software Update
- On Apple Watch: Settings → General → Software Update
- Also check for carrier updates: Settings → General → About (iPhone)
⏱️ Time estimate: 5–15 minutes depending on download size.
Pair Your Watch (If Not Already)
- Power on Apple Watch
- Hold iPhone near it
- Follow prompts in the Watch app
- Sign in with your Apple ID
- Wait for sync to complete
🔒 Security note: Data is encrypted during pairing. Don’t skip verification steps.
Start Cellular Setup
- Open Watch app on iPhone
- Go to My Watch → Cellular
- Tap Set Up Cellular
❗ If “Set Up Cellular” is missing, refer to troubleshooting section below.
Log In to Your Carrier
You’ll be redirected to your carrier’s secure portal.
- Enter your account credentials
- Accept terms and confirm plan addition
- Approve any monthly fee ($10–$15 typical in U.S.)
💡 Some carriers auto-detect eligibility; others require agent approval.
Wait for eSIM Provisioning
- Takes 2–5 minutes in most cases
- May take up to 30 minutes if carrier queues activation
- Keep both devices awake and connected
🚫 Do not restart, disconnect, or force-close the app during this phase.
Confirm Activation Success
- Return to Watch app → Cellular
- Check that your plan shows as active
- On Apple Watch: Settings → Cellular → Signal bars visible
✅ Success sign: You can now make a call without your iPhone nearby.
Test eSIM Functionality
Don’t assume activation means full independence. Verify it works:
Test Without iPhone
- Turn off your iPhone or place it in another room
- On Apple Watch:
– Make a call
– Send a text
– Stream Apple Music
– Open Maps and search a location
Check Signal Indicator
- Swipe up from watch face to open Control Center
- Look for green cellular dots or signal bars
- Tap the icon to switch between plans (if multiple stored)
⚠️ Normal behavior: Battery drains faster in cellular mode—up to 30% quicker.
Carrier & Plan Compatibility

Your carrier must support Apple Watch eSIM. Not all do—even within the same network.
Major U.S. Carriers
| Carrier | Service Name | Monthly Cost | Notes |
|---|---|---|---|
| AT&T | NumberSync | $10–$15 | Requires postpaid plan |
| Verizon | Number Share | $10 | Included in some unlimited plans |
| T-Mobile | Connect | $10 or free | Free on Magenta MAX |
🌍 Global users: Check Apple’s official list for regional availability.
Compatible Plans
- Postpaid individual/family plans – ✅ Most supported
- Prepaid plans – ❌ Rarely supported
- MVNOs (e.g., Mint Mobile, Visible) – ❌ Not supported
- Business/enterprise accounts – ⚠️ Limited support
📞 Always call customer service to confirm eligibility before setup.
Use Family Setup for Kids or Seniors
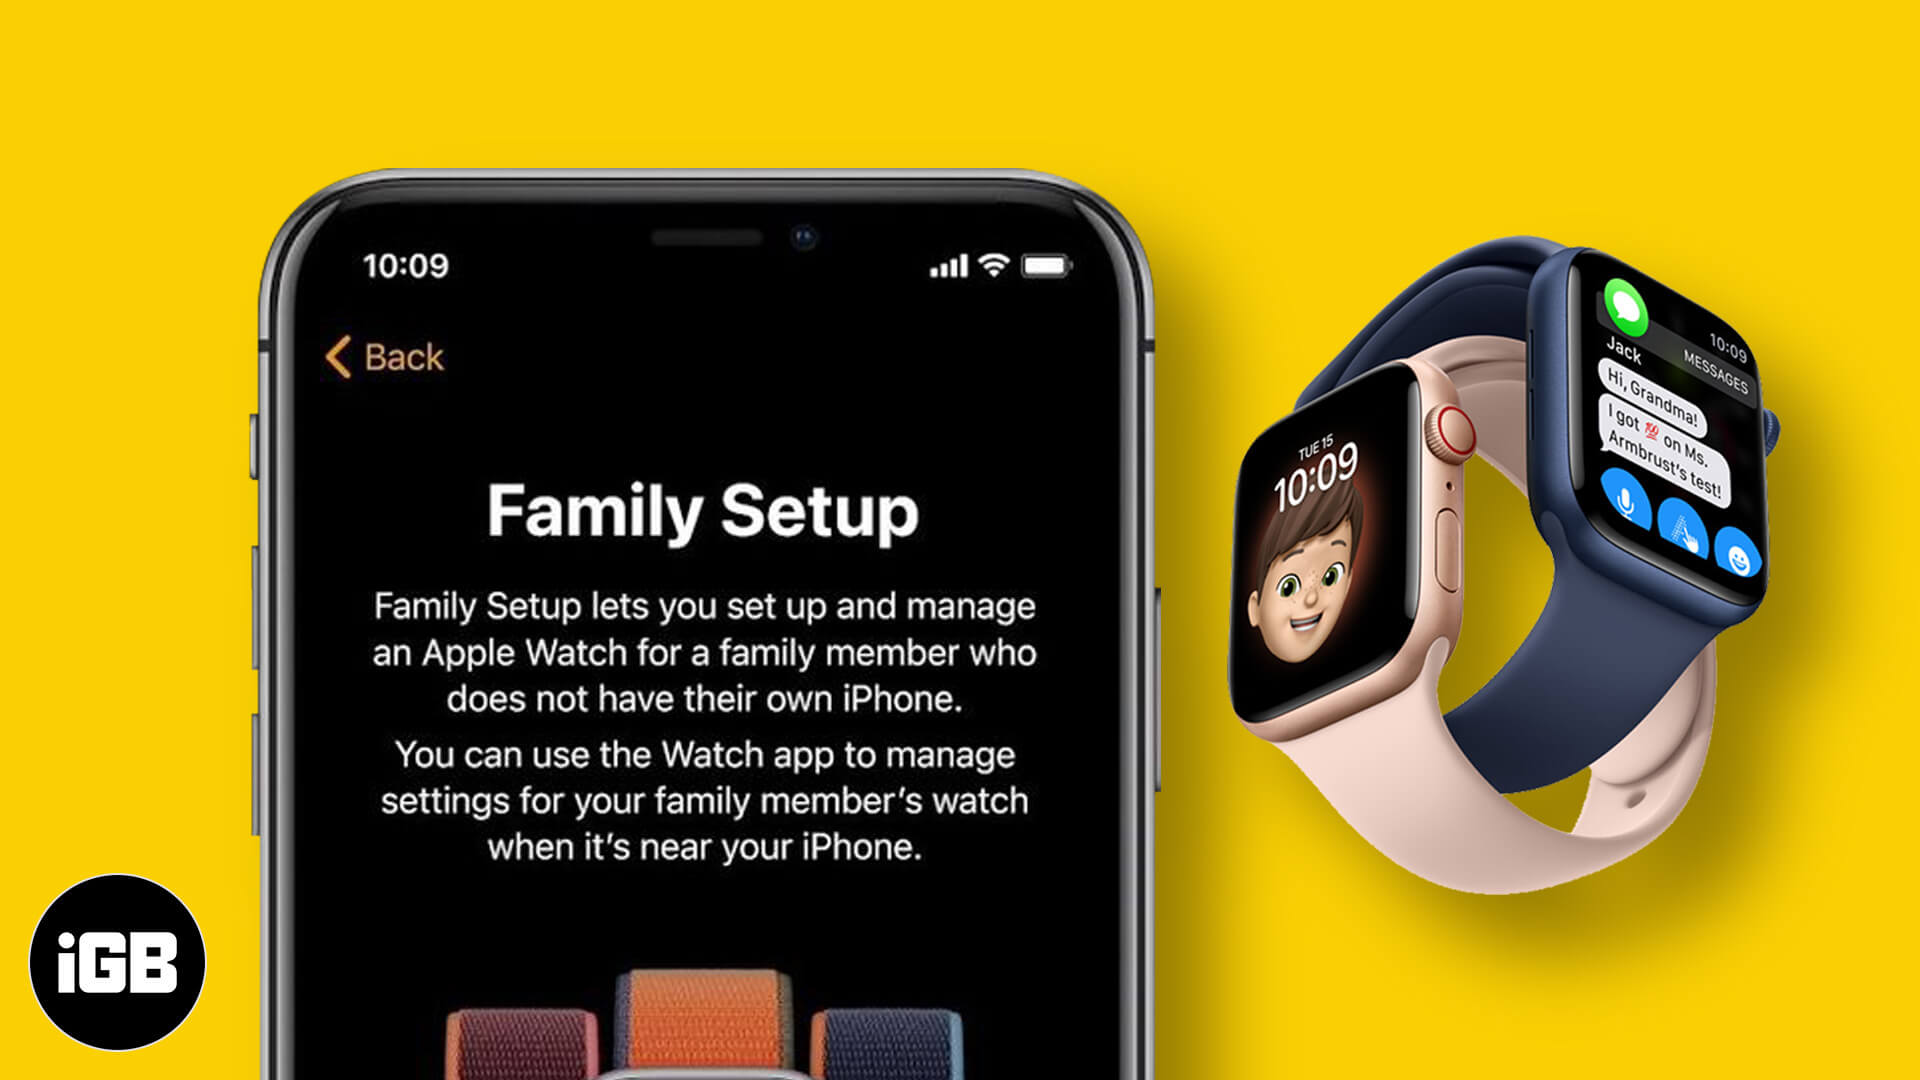
Ideal for non-iPhone users like children or elderly family members.
What Is Family Setup?
- Watch gets its own phone number
- Managed by an organizer’s iPhone (iOS 14+)
- Uses Family Sharing
- Supports calls, messages, Emergency SOS
How to Set Up
- On organizer’s iPhone: Open Watch app
- Tap Account → Family Setup → Set Up for a Family Member
- Follow prompts to pair watch and authenticate with carrier
- Assign relationship and enable features
Limitations
- ❌ No SMS/MMS from Android users (in many regions)
- ❌ No international roaming
- ❌ Limited third-party app access
- ✅ Emergency calls work globally
👨👩👧 Best for: Parents giving kids a safe, connected watch without handing over a phone.
Can You Use Different Carriers for iPhone and Watch?
No. Apple Watch must use the same carrier as the paired iPhone.
🔁 Workaround: Switch both devices to the same carrier first.
Can You Activate eSIM Without an iPhone?
No. There is no standalone activation.
Even Family Setup requires an organizer’s iPhone for initial provisioning.
🔐 Apple’s design: All management flows through iPhone. No web portal or direct setup exists.
Using eSIM Abroad: What Works?

Most assume they can install travel eSIMs directly. That’s usually not possible.
Why Travel eSIMs Don’t Work
- Most providers (e.g., Airalo, Nomad) support only smartphones
- Apple Watch does not support QR code scanning
- Requires carrier-level integration
Best Travel Strategies
Option 1: Use iPhone’s Travel eSIM + Bluetooth
- Watch uses iPhone’s data via Bluetooth
- ✅ Full functionality, no extra cost
- ❌ Requires iPhone nearby
Option 2: Keep Domestic Plan Active
- Use Apple Watch’s own eSIM abroad
- 💸 High roaming fees (e.g., $10/day on AT&T)
Option 3: Disable Cellular When Not Needed
- Prevents battery drain and failed network searches
🛑 Recommended: Use iPhone with travel eSIM + Bluetooth pairing.
Manage Multiple eSIM Profiles
Available on watchOS 8.5+, you can store multiple plans—but only one is active at a time.
How to Switch Plans
- On iPhone: Watch app → Cellular → Select Plan
- Or on Watch: Settings → Cellular → Cellular Plans → Choose
🔁 Switching takes 1–2 minutes. Settings are saved per profile.
Fix Common Activation Errors
“Set Up Cellular” Missing
Causes: GPS-only model, unsupported carrier, ineligible plan
Fix: Confirm model, check carrier support, contact provider with EID
“Unable to Complete Setup”
Cause: Carrier account not provisioned
Fix: Restart devices, retry, call carrier, request eSIM reprovisioning
Calls Work But No Data
Cause: Incomplete provisioning or plan lacks data
Fix: Reset network settings, confirm with carrier
“No Service” or “Searching…”
Cause: Weak signal, band mismatch, registration failure
Fix: Toggle Airplane Mode, reboot, contact carrier with EID
Maximize Battery Life With Cellular On
Cellular use cuts battery life. Optimize with:
- Enable Wi-Fi Priority Mode
- Turn off Always-On Display
- Disable Background App Refresh
- Use Airplane Mode in low-signal areas
🔋 Default behavior: Apple Watch prioritizes Bluetooth > Wi-Fi > Cellular.
Final Tips for Success
✅ Always start with latest iOS and watchOS
✅ Use postpaid plans from major carriers
✅ Activate via Watch app → Cellular → Set Up Cellular
✅ For travel: Use iPhone with travel eSIM + Bluetooth
✅ For kids: Use Family Setup
✅ When stuck: Call carrier with EID for fastest resolution
The Apple Watch eSIM isn’t a standalone phone—it’s a smart extension of your iPhone. When set up correctly, it gives you freedom during workouts, errands, and travel. Just remember: success hinges on carrier support, correct model, and iPhone integration. Get those right, and you’ll enjoy seamless connectivity—every time.
Leave a Reply