If your Apple Watch band has cracked, torn, or broken at the connector, you’re not alone. Thousands of users face this frustrating issue—especially with the popular Sport Band’s single-loop design. While Apple doesn’t officially repair bands, there are still options: from DIY fixes using specialty adhesives to full replacement strategies using affordable third-party tools and bands. This guide cuts through the noise to deliver actionable solutions for every damage scenario, backed by official policies, real user experiences, and tested repair techniques.
You’ll learn when a repair is worth attempting, how to safely remove a stuck band fragment, which tools actually work, and what alternatives offer better durability. Whether you’re dealing with a split silicone strap or a jammed release mechanism, this is your complete roadmap to getting your Apple Watch back on your wrist—without paying premium prices.
Apple’s Official Stance on Band Repairs
Apple does not repair watch bands under warranty unless damage stems from a manufacturing defect. Accidental wear, tears, or breakage are excluded.
No Warranty Coverage for Accidental Damage
- Warranty Duration: Apple Watch and included bands are covered for one year; separately purchased bands have the same limited accessory warranty.
- What’s Covered: Only defects in materials or workmanship.
- What’s Not Covered: Cracks, fraying, stretching, or breakage from daily use—even if the band is less than a year old.
If your band fails due to normal use, Apple will not fix or replace it for free. You’ll be offered a paid replacement with a new or refurbished genuine band.
Repair or Replace? Apple’s Policy in Practice
- In-Store Service: Visit an Apple Store or Authorized Service Provider to discuss options.
- Diagnosis Required: Technicians inspect both watch and band before recommending a path.
- Cost Expectation: A new original band can cost up to $100; full device replacement may be proposed if other damage is present.
- Service Guarantee: Any paid repair or part replacement comes with a 90-day service warranty, or the remainder of your AppleCare+ coverage.
While Apple uses only genuine parts and ensures data privacy during service, their stance is clear: bands are disposable, not repairable.
Can You Actually Repair an Apple Watch Band?
Most structural breaks—especially at the dovetail connector—cannot be reliably fixed. But minor damage may be salvageable.
Why True Repair Is Rarely Possible
The Apple Watch band attaches via a precision dovetail joint that slides into the watch case and locks with a spring-loaded pin. This connection bears constant stress during removal and wear.
- Critical Weak Point: The internal plastic rail inside the band that engages the pin.
- Failure Mode: When this rail cracks or shears off, the band can no longer lock securely.
- Result: Even if glued back, the repaired section lacks strength and will likely fail again.
✅ Minor surface crack? Maybe fixable.
❌ Broken connector or detached end? Not repairable—replace the band.
Damage Types and Realistic Outcomes
| Damage Type | Repairable? | Recommended Action |
|---|---|---|
| Small surface tear (silicone) | Yes (temporary) | Use high-strength adhesive |
| Split along seam (nylon/Alpine Loop) | Limited | Sewing may extend life briefly |
| Broken connector (plastic rail snapped) | No | Full band replacement required |
| Metal band link failure | Yes | Replace individual links or pins |
| Stuck band fragment in case | N/A | Extract with tool or service help |
User consensus across forums confirms: Apple bands are designed for replacement, not repair. Attempts to glue or sew often fail under tension.
DIY Fixes That Work (For Minor Damage)
While not a permanent fix, some methods can extend the life of lightly damaged bands.
Fix Small Tears With Industrial Adhesive
For surface-level cracks in silicone or fluoroelastomer bands:
Tools Needed:
- Isopropyl alcohol (for cleaning)
- Lint-free cloth
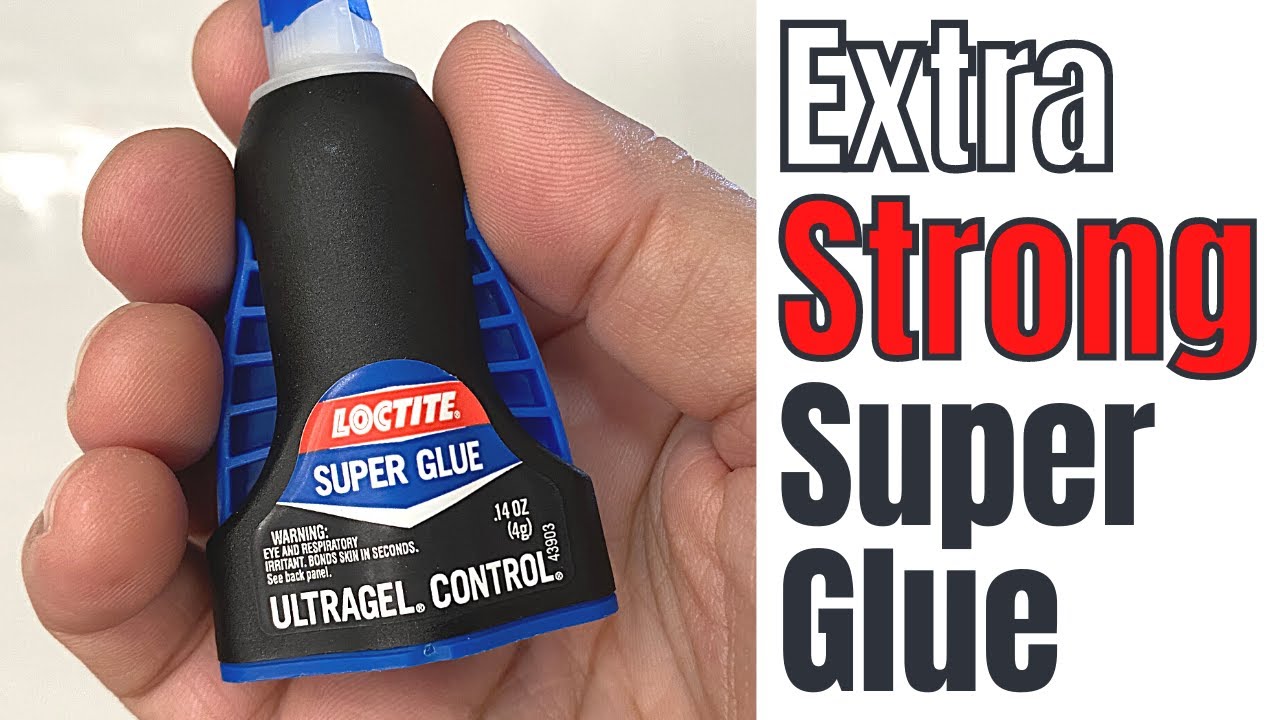
- Loctite Ultra Gel Control or Permatex Ultra Black RTV
Step-by-Step:
- Clean the damaged area thoroughly with alcohol.
- Dry completely—any moisture reduces adhesion.
- Apply a small bead of adhesive over the crack.
- Press edges together and hold for 2–3 minutes.
- Let cure for 24 hours before wearing.
- Wipe clean with damp cloth after curing.
⚠️ Warning: Do not submerge until fully cured. Avoid applying near the connector mechanism.
This method works best when the tear is away from high-stress zones. It won’t restore structural integrity but can prevent further splitting.
Sewing as a Temporary Fix (Nylon Bands)
For frayed or split Alpine Loop or sport loops:
Supplies:
- Heavy-duty nylon thread
- Leather needle or upholstery needle
- Small pliers (to pull thread tight)
Procedure:
- Thread the needle and knot the end.
- Stitch along the tear using a whipstitch or backstitch.
- Reinforce with 2–3 passes.
- Tie off securely and trim excess.
🔍 Reality Check: Most users report re-tearing within weeks. The fabric stretches unevenly, concentrating stress at the repair site.
Sewing is a stopgap—not a solution.
How to Replace a Broken Apple Watch Band

When repair isn’t viable, replacement is fast, easy, and tool-free.
Step 1: Remove the Old or Damaged Band
Apple’s quick-release system allows tool-less swaps.
Standard Removal:
- Turn the watch over.
- Locate the release button on the back near the band stem.
- Press and hold the button.
- Slide the band straight out.
✅ Works smoothly on intact bands.
❌ Fails when part of the band is stuck inside.
Step 2: Handle a Stuck Band Fragment
If the internal connector broke and the piece remains lodged:
Visual Cues:
- Only one side releases
- Button feels stiff or doesn’t depress
- Visible plastic remnant inside the slot
Extraction Method:
- Stabilize the Watch: Place it in a soft-jaw clamp or DIY wooden jig.
- Align a Narrow Tool: Use a wooden dowel or plastic probe (not metal).
- Press the Internal Pin: Insert the tool into the release hole and push straight in while pressing the external button.
- Slide Out the Stub: Once unlocked, use tweezers to pull the piece out.
💡 Pro Tip: DanJ’s DIY extraction jig (two wooden blocks with a dowel) makes this safer and repeatable.
Avoid metal tools—they can scratch or damage the internal mechanism.
Essential Tools for Band Replacement & Repair

Even simple swaps benefit from the right tools—especially for metal bands or repeated changes.
Must-Have Tools for Apple Watch Owners
| Tool | Purpose | Price Range |
|---|---|---|
| Spring Bar Tool | Install/remove bands with spring bars | $5–$8 |
| Link Pin Remover | Adjust metal bracelet length | $6–$12 |
| Replacement Spring Bars | Replace worn or lost connectors | $5 (50-pack) |
| Tweezers | Handle small parts safely | $3–$7 |
| Case Holder/Jig | Secure watch during work | DIY or $10–$15 |
Top-Rated Kits (Amazon, 2024)
- JOREST 41-Piece Kit ($14.99): Includes screwdrivers, spring bar tools, tweezers—ideal for occasional use.
- BYNIIUR Multi-Tool Set ($18.99): Comes with carrying case and manual; great for beginners.
- Bulk Pins Kit (360pcs, $6.99): Stainless steel pins in multiple lengths—perfect for long-term ownership.
These tools also support future maintenance like battery checks or sensor cleaning.
Third-Party Repair Services for Watch Bands
While Apple won’t fix your band, specialized repair shops accept Apple Watch straps.
Watch Band & Strap Repair Service
This general watch repair provider accepts smartwatch bands, including Apple models.
What They Offer:
- Replacing broken connectors
- Re-stitching leather or nylon bands
- Full strap reconstruction
- Metal link replacement
How to Submit:
- Visit website and select Smart Watch → Apple Watch.
- Choose service type (e.g., “Replace End Piece”).
- Upload clear photos of damage (up to 3 files).
- Include notes: model, size (38mm, 40mm, etc.), band material.
- Print prepaid FedEx label and ship.
- Receive tracking when repaired item ships back.
🛡️ Optional insurance available for high-value repairs.
Though Apple isn’t listed among supported brands like Rolex or Omega, Apple Watch is a selectable category, indicating service eligibility.
Turnaround Time: 3–7 business days
Cost: Varies by job (typically $15–$40)
Best for textile or leather bands where connector replacement is feasible.
Best Replacement Band Options
Instead of repairing, many users upgrade to more durable or affordable alternatives.
Durable Alternatives to Apple Sport Band
| Band Type | Pros | Cons | Avg. Price |
|---|---|---|---|
| Braided Solo Loop (Apple) | Soft, stretchable, no clasp | Still prone to fraying | $59 |
| Spigeon Nylon Band | Rugged, breathable, secure fit | Bulkier than original | $25 |
| UAG Rugged Case + Strap | Drop protection + secure hold | Heavy | $40 |
| Silvertape 100% Recycled Band | Eco-friendly, stylish | Limited sizes | $35 |
| Generic Silicone Band | Cheap, widely available | Lower quality feel | $10–$15 |
Metal Bracelet Upgrade
- Pros: Stronger connectors, individual links replaceable, premium look
- Cons: Heavier, colder in winter, may squeak
- Recommendation: Look for 316L stainless steel with micro-adjust clasp
Many users report fewer failures with metal bands because the attachment point is metal-on-metal, not plastic.
Prevent Future Band Failures
Extending band life starts with proper care and smart choices.
Clean the Release Mechanism Regularly
Debris, sweat, and oils cause sticky buttons and difficult removal.
Cleaning Process:
- Wrap display in electrical tape to prevent water entry.
- Create a clamp with pencils and rubber bands to hold watch upright.
- Submerge only the band release edge in isopropyl alcohol.
- Let soak for 10–15 minutes.
- Dry thoroughly before reattaching a band.
✅ Restores smooth operation without opening the device.
Choose Better Band Designs
Avoid the standard Sport Band’s single-loop weak point.
Recommended Upgrades:
- Two-piece bands with separate left/right connectors
- Metal link bracelets with spring bars
- Adventure-style straps with reinforced ends
Two-piece designs distribute stress more evenly and allow independent replacement of either side.
Final Verdict: Repair or Replace?
Here’s the bottom line:
❌ Don’t waste time trying to fix a broken connector.
✅ Do replace the band—quickly, cheaply, and reliably.
Quick Decision Guide
| Scenario | Recommended Action |
|---|---|
| Small crack in middle of silicone band | Try Loctite adhesive (24h cure) |
| Split at connector or missing rail | Replace immediately |
| Stuck band fragment | Use dowel tool or seek help |
| Fraying Alpine Loop | Replace or send for professional restitching |
| Recurring band failures | Upgrade to metal or two-piece design |
Cost Comparison
- Original Apple Band: $49–$100
- Third-Party Band: $10–$30
- Repair Kit (lifetime use): $10–$20
- Professional Repair: $15–$40
Replacing a band takes under a minute and costs less than most coffee runs. Investing in a $10 tool kit pays for itself after two DIY swaps.
Final Note: Apple Watch bands aren’t meant to last forever—but you don’t need Apple to keep them functional. With the right tools, knowledge, and replacement strategy, you can maintain comfort, style, and reliability without recurring $100 bills. Focus on prevention, proper removal technique, and smarter band choices to avoid repeat issues. Your wrist—and wallet—will thank you.
Leave a Reply