
You’ve just unboxed your new Apple Watch SE — now what? Setting it up correctly ensures you unlock every feature, from health tracking to contactless payments. Whether this is your first smartwatch or an upgrade, how to set up Apple Watch SE the right way makes all the difference in performance, security, and personalization. This comprehensive guide walks you through each step with precision, helping you avoid common setup pitfalls and get the most out of your device from day one.
By the end, your Apple Watch SE will be fully synced, secure, and tailored to your lifestyle — ready to track workouts, deliver notifications, and keep you connected even when your iPhone isn’t nearby.
Power On and Pair Your Apple Watch SE
Turn On Apple Watch SE
Begin by pressing and holding the side button (below the Digital Crown) until the Apple logo appears — this can take up to 10 seconds. If nothing happens, charge the watch for at least 15–30 minutes using the magnetic charger. Once powered on, a swirling animation will appear on the screen, signaling it’s ready to pair.
Keep the watch close to your iPhone throughout this process for optimal Bluetooth connection.
Start Pairing Using iPhone Prompt
Unlock your iPhone and wait for the “Set Up New Apple Watch” prompt to appear. If it doesn’t show up:
- Open the Apple Watch app.
- Tap All Watches > Add Watch.
- Choose Set Up for Myself (or Set Up for a Family Member if needed).
Ensure Bluetooth is enabled on your iPhone and both devices are within inches of each other.
Pair with iPhone Camera or Manually

Hold your iPhone so the Apple Watch’s screen fits inside the viewfinder. Center the animated swirl until your iPhone confirms: “Your Apple Watch is paired.”
If the camera fails:
– Tap Pair Apple Watch Manually.
– On the watch, go to Settings > Bluetooth, select your iPhone, and follow prompts.
Pro Tip: Turn off Bluetooth on nearby devices to prevent interference during pairing.
Choose Between New Setup or Restore
Set Up as New or Restore from Backup
You’ll be prompted to choose:
- Set Up as New Apple Watch: Ideal for first-time users. Offers full customization.
- Restore from Backup: Transfers apps, watch faces, and settings from a previous Apple Watch.
To restore, tap Make This Your New Apple Watch, then select the backup. The process may take several minutes depending on data size.
Restoration requires the same Apple ID used on the original watch.
Install Required Software Updates
If prompted, install the latest watchOS and iOS updates before continuing.
- Tap Update Now.
- Keep both devices on the charger and close together.
- Do not disconnect during the update.
Without the latest software, features like cellular calling or health tracking may not work properly.
Sign In to Apple ID and Resolve Activation Lock
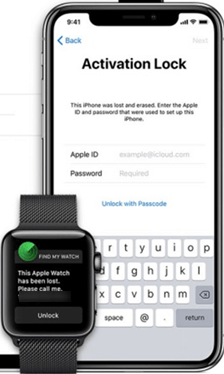
Enter Your Apple ID Credentials
During setup, sign in with your Apple ID email and password. This step is mandatory and enables:
- Activation Lock (anti-theft protection)
- Find My tracking
- Full access to Apple Pay, Wallet, and iCloud sync
If you’re not signed in automatically, go to the Apple Watch app > My Watch > General > Apple ID to log in manually.
Fix Activation Lock Issues
If you see an Activation Lock screen, the watch is still linked to a previous Apple ID.
To resolve:
– Contact the previous owner to remove it via iCloud.com > Find My > Devices > Remove.
– Provide proof of purchase if contacting Apple Support.
Warning: You cannot complete setup without bypassing Activation Lock.
Create a Passcode for Security and Full Access
Set a 6-Digit Passcode
Tap Create a Passcode and enter a 6-digit code on the watch. Confirm it when prompted.
You can:
– Choose Add a Long Passcode for higher security.
– Tap Don’t Add Passcode — but with limitations.
Why You Should Always Use a Passcode
Without a passcode:
– Apple Pay, Wallet, and health data are disabled.
– You can’t use automatic unlocking when near your iPhone.
– Find My functionality is limited.
Recommendation: Always set a passcode. It unlocks full functionality and keeps your data secure.
Customize Display and Text Settings
Adjust Text Size and Enable Bold Text
Use the slider to set your preferred text size. Larger text improves readability for messages, fitness stats, and notifications.
Toggle Bold Text on for better contrast. This requires restarting the watch to apply.
Changes affect all apps and menus system-wide.
Enable Display Zoom (Optional)
Available in later watchOS versions under Accessibility settings.
To access later:
Apple Watch app > My Watch > Accessibility > Display & Text Size > Display Zoom
Ideal for users needing enhanced visibility.
Configure Wrist Wearing and Screen Orientation
Select Left or Right Wrist
Choose which wrist you wear the watch on. This affects:
- Button position
- Gesture direction
- Screen layout
Confirm Correct Screen Orientation
When prompted, rotate your wrist so the Digital Crown is at the top. Tap “This is the top” on the watch screen.
Incorrect orientation can reverse scrolling and disrupt gesture controls.
Enable Essential Services and Health Features
Turn On Location Services
Enable Location Services to allow:
– GPS tracking during outdoor workouts
– Accurate Find My location
– Location-based alerts and reminders
Can be toggled off later in Privacy & Security settings.
Enter Health Profile Information
Input your:
– Date of Birth
– Height
– Weight
– Gender
This powers accurate Activity Rings, calorie burn estimates, and fitness goal tracking.
Activate Key Health and Safety Features
Enable during setup:
– Heart Rate Monitoring: Runs continuously.
– Blood Oxygen (SpO2): Measures wellness levels periodically.
– Noise Alerts: Warns when sound exceeds 80dB.
– Fall Detection: Sends emergency alerts after a hard fall.
– Emergency SOS: Hold side button to call emergency services.
All health data syncs securely to the Health app on iPhone.
Set Up Cellular (GPS + Cellular Model Only)
Activate eSIM on Apple Watch SE
If you have the GPS + Cellular model:
- Tap Set Up Cellular during setup.
- Follow prompts to activate your carrier’s eSIM.
You’ll need:
– Carrier support (Verizon, AT&T, T-Mobile, etc.)
– An eligible mobile plan
– Strong iPhone signal
Scan QR Code or Confirm Carrier Plan
Most carriers let you:
– Scan a QR code from your carrier app
– Or confirm activation via account login
Once active, you can make calls, send messages, and stream music — even without your iPhone.
Troubleshoot Cellular Activation Failures
If setup fails:
– Restart both devices.
– Ensure iPhone has strong signal.
– Check carrier compatibility.
– Try again later or contact carrier support.
Some carriers require manual approval before eSIM activation.
Configure Gestures for Hands-Free Control
Enable Wrist Flick (watchOS 10+)
Use Wrist Flick to scroll through lists by flicking your wrist.
Enable later via:
Settings > Gestures > Wrist Flick
Set Up Double Tap Gesture
Use Double Tap (thumb to index finger) to:
– Answer calls
– Pause music
– Dismiss alarms
Toggle on in Settings > Gestures > Double Tap
Requires watchOS 10 or later and may need calibration.
Add Apple Pay Cards to Your Watch
Link Cards from iPhone Wallet
To use Apple Pay:
1. Ensure Apple Pay is set up on your iPhone.
2. During setup, tap Set Up Apple Pay.
3. Select cards linked to your Apple ID.
4. Confirm each with your bank (may require 2FA).
Make Payments with Apple Watch
To pay:
– Double-click the side button.
– Hold watch near contactless reader.
– Feel a tap and hear a beep when successful.
All transactions use tokenization — your actual card number is never shared.
Install Apps and Personalize Watch Faces
Choose Which Apps to Install
Select apps during setup from:
– List View: Categorized for easy browsing.
– Grid View: Visual layout for quick selection.
Pre-loaded apps include:
– Messages
– Phone
– Workout
– Heart Rate
– Weather
– Music
– Calendar
Apps download in the background. Add more later via the Apple Watch app.
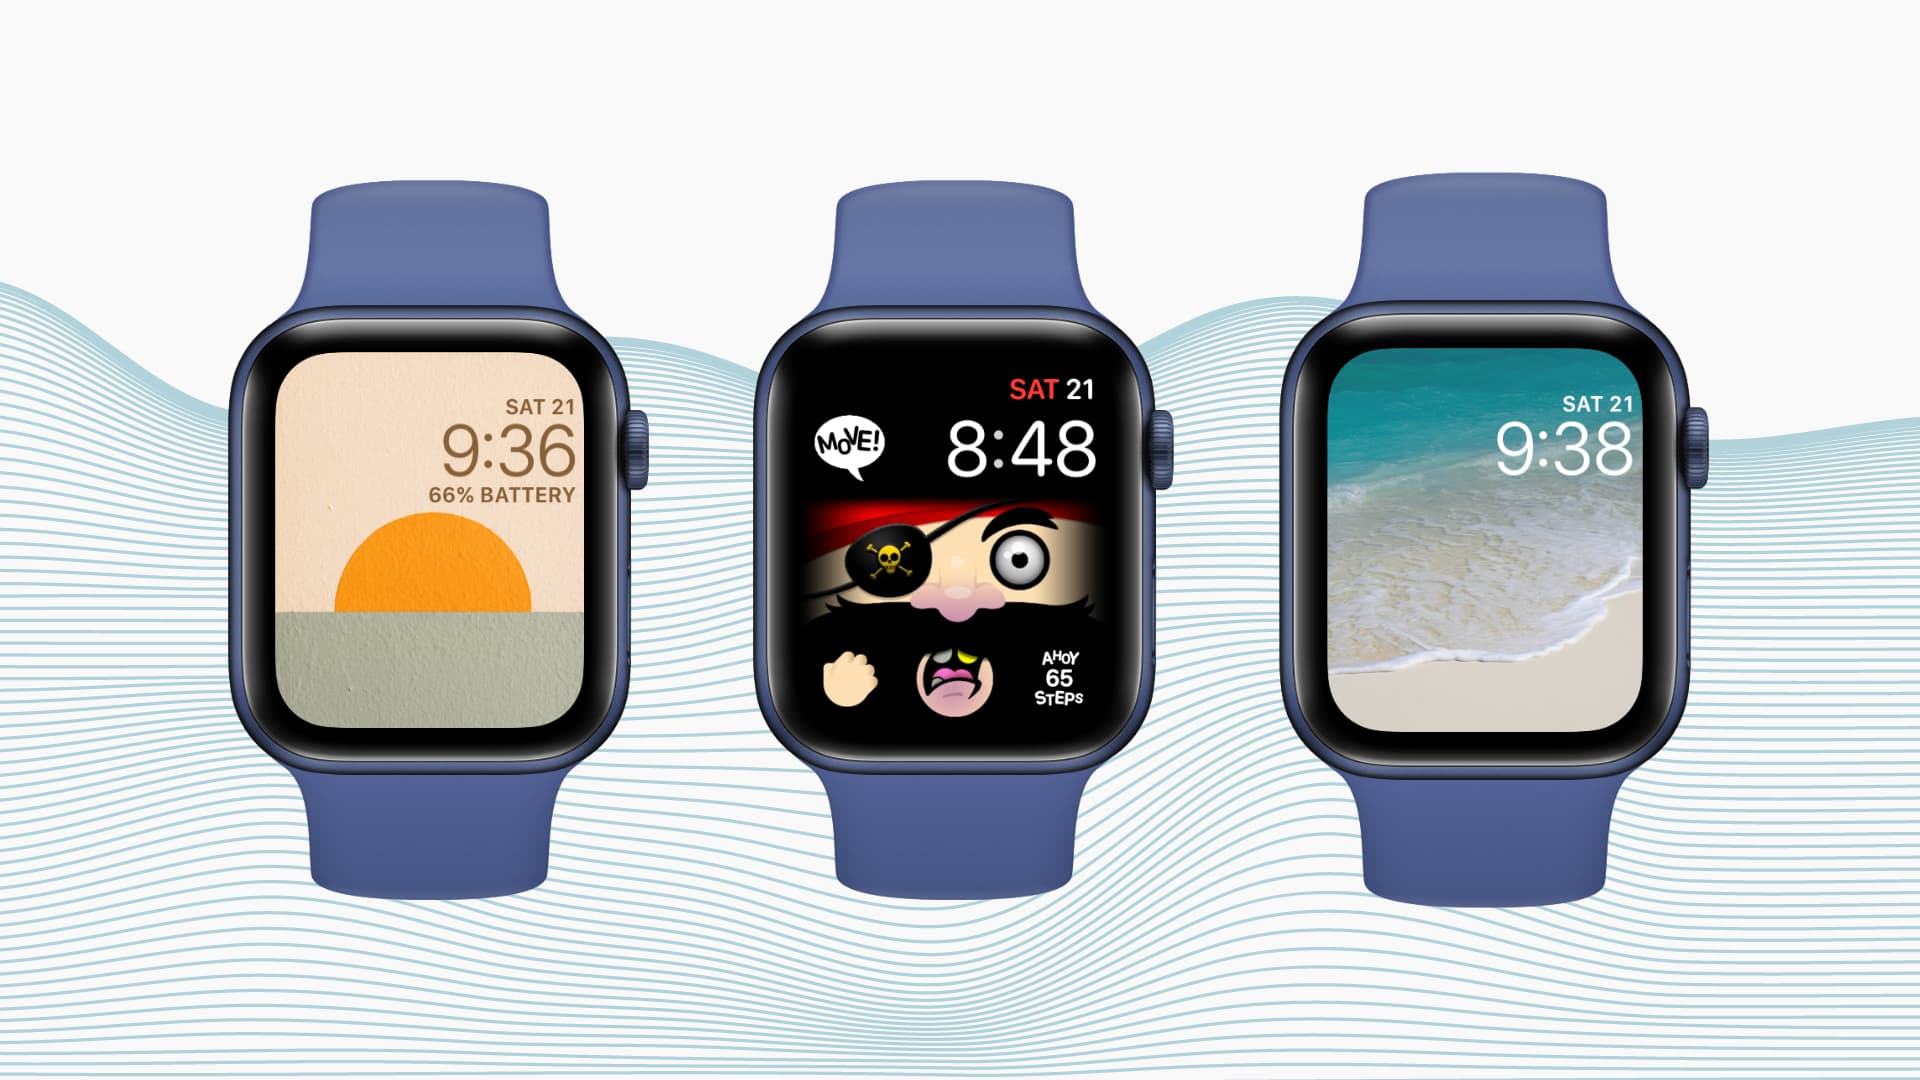
Customize Your Watch Face
Press the Digital Crown, long-press the screen, and swipe to choose a face.
Tap Edit to:
– Change complications (activity rings, weather, etc.)
– Adjust colors
– Add photos
Save favorites by swiping up and tapping the +.
Final Sync and Interactive Onboarding
Wait for Background Sync Completion
After setup, your watch continues syncing:
– Messages
– Notifications
– Health data
– Music
– Third-party apps
Keep iPhone and watch close for 10–15 minutes.
Take the Interactive Tour
Tap the screen to launch “Get to Know Your Watch” — a hands-on guide covering:
– Navigating the Home Screen
– Using Siri
– Starting workouts
– Managing alerts
– Customizing faces
Available later in the Discover tab of the Apple Watch app.
Attach and Wear the Band Securely
Install the Band Correctly
- Align the metal lug with the watch slot.
- Slide the band from left to right until it clicks.
- Repeat for the bottom connector.
A solid click means it’s secure. No wiggling.
Remove the Band Safely
- Press the release button on the connector.
- Slide the band out horizontally.
- Use a clean surface to avoid losing parts.
All Apple Watch bands are interchangeable — mix and match styles.
Post-Setup Management and Optimization
Use Apple Watch App on iPhone
Manage settings via the Apple Watch app, including:
– Display & Brightness
– Sounds & Haptics
– Notifications
– Privacy
– Battery (Low Power Mode in watchOS 10+)
– Software Updates
Navigate on the Watch
- Side button: Opens app launcher
- Digital Crown: Returns to watch face
- Raise wrist: Wakes display (if enabled)
- Passcode: Unlock if not worn
Automatic unlock works when wearing and near your iPhone.
Your Apple Watch SE is now fully set up, personalized, and ready to enhance your daily life. With health tracking, seamless notifications, Apple Pay, and optional cellular connectivity, you’re equipped to stay active, connected, and safe. Keep your software updated, charge nightly, and explore new watch faces and apps to get the most from your device. Enjoy the power of Apple’s smartwatch — perfectly tailored to you.