Getting your Apple Watch paired with your iPhone unlocks a seamless experience for fitness tracking, messaging, calls, Apple Pay, and more. Whether you’ve just unboxed an Apple Watch Ultra 3, Series 11, or Apple Watch SE 3, the setup process is designed to be quick and intuitive—typically taking under 30 minutes. This step-by-step guide walks you through how to set up Apple Watch with iPhone, including troubleshooting tips, compatibility requirements, and key settings to customize right away.
You’ll need your iPhone nearby (iOS 16 or later), a charged Apple Watch, and a few minutes to complete the process. Once paired, your Apple Watch will sync apps, health data, and preferences—making it a powerful extension of your iPhone. Let’s dive in.
Confirm iPhone Compatibility Before Setup
Check Your iPhone Model and iOS Version
Before starting, ensure your iPhone supports the Apple Watch model you’re pairing. For Apple Watch Ultra 3, Series 11, or Apple Watch SE 3, you need an iPhone 11 or later running iOS 16 or newer. Older Apple Watch models may support earlier iPhone versions, but newer watches require updated hardware and software.
To check your iPhone model:
Go to Settings > General > About > Model Name.
If your device is compatible, proceed to update iOS.
Update iOS and Enable Required Connections
Plug your iPhone into Wi-Fi or ensure it’s on a cellular network. Then go to Settings > General > Software Update to install the latest iOS version.
Also confirm:
– Bluetooth is enabled (Settings > Bluetooth)
– Wi-Fi or cellular connection is active
– Your iPhone is unlocked and ready
These settings help your iPhone detect and pair with your Apple Watch quickly and reliably.
Power On and Wear Your Apple Watch

Turn On the Watch and Adjust the Band
Press and hold the side button on your Apple Watch until the Apple logo appears—this usually takes 10–15 seconds. Once the screen lights up, place the watch on your wrist.
Ensure it’s snug but comfortable. A proper fit is essential for accurate heart rate monitoring, activity tracking, and sleep analysis during daily use.
Start Pairing Using Your iPhone
Trigger the Setup Prompt Automatically
With your iPhone unlocked, hold it close to your Apple Watch. Within seconds, a “Use your iPhone to set up this Apple Watch” message should appear.
Tap Continue to begin.
If no prompt appears:
– Open the Apple Watch app on your iPhone
– Tap All Watches at the top
– Tap Add Watch and follow the on-screen steps
Keep both devices within a few inches of each other throughout pairing.
Scan the Pairing Animation or Use Manual Setup
Align the Watch Face in the iPhone Camera Viewfinder
Hold your iPhone so the Apple Watch screen is centered in the camera viewfinder. The iPhone will scan a dynamic animation displayed on the watch to establish a secure connection.
Wait until you see “Your Apple Watch is Paired” on your iPhone.
Switch to Manual Pairing If Needed
If the camera can’t read the animation—due to bright sunlight or visual limitations—tap Pair Apple Watch Manually.
You’ll then:
– See a six-digit code on your Apple Watch
– Enter that code on your iPhone
– Confirm it matches on both screens
This method works without a camera and ensures pairing in any environment.
Choose Your Setup Method: New, Restore, or Customize
Decide How to Configure Your Watch
Now choose how your Apple Watch is initialized:
– Set Up as New Apple Watch: Ideal for first-time users or a clean start
– Restore from Backup: Reinstalls apps, watch faces, and settings from a previous Apple Watch
– Customize Settings: Pick which data to transfer manually
If you previously used an Apple Watch with this iPhone, you may see “Make This Your New Apple Watch”—tap Continue to use Express Setup, which copies most settings automatically.
Install Required Software Updates
Your Apple Watch may need the latest watchOS update. Allow it to install—it can take 10–20 minutes.
Similarly, if your iPhone prompts for an iOS update, tap Update Now and wait. Both devices must run compatible software versions to function together.
Select Wrist Orientation and Accept Terms
Choose Left or Right Wrist Wear
Pick whether you wear your Apple Watch on your left or right wrist. This affects screen orientation and gesture responses (like Double Tap).
Tap Continue after selecting.
Agree to Apple’s Terms and Conditions
Review the Terms and Conditions, then tap Agree. Accepting these is required to proceed with setup.
Sign In to Your Apple ID for Full Features
Enter Apple ID Credentials
If prompted, enter your Apple ID password. Signing in links iCloud, Messages, FaceTime, and App Store across devices.
If skipped, you can sign in later via:
– Apple Watch app > General > Apple ID > Sign In
Note: Cellular features (calls, messages without iPhone) require iCloud sign-in.
Resolve Activation Lock on Used Watches
If an Activation Lock screen appears, the watch is still linked to another Apple ID. You must enter the email and password of the previous owner.
For secondhand purchases:
– Ask the seller to remove the lock via iCloud.com > Find My > Devices > Erase This Device
– Then remove the device from their account
Never buy a used Apple Watch without confirming Activation Lock is disabled.
Create a Passcode for Security and Apple Pay
Set a 4-Digit or Longer Passcode
Tap Create a Passcode and enter it on your Apple Watch screen. A passcode is required for:
– Apple Pay
– App Store purchases
– Unlocking with iPhone nearby
Tap Don’t Add Passcode to skip—but know that key features will be disabled.
Customize Display and Sync iPhone Settings
Adjust Text Size and Boldness
Use the slider to select your preferred text size. Toggle Bold Text on or off for better readability.
These settings sync with your iPhone but can be changed later in the Apple Watch app > My Watch > Display & Brightness.
Mirror Key iPhone Settings
If you didn’t use Express Setup, your watch shows which settings will be mirrored:
– Find My
– Location Services
– Wi-Fi Calling
– Diagnostics & Usage
Tap Continue to accept or customize each.
Update Health Profile for Accurate Tracking
Enter Personal Health Information
To improve fitness accuracy, enter:
– Date of birth
– Height
– Weight
– Biological sex
This data enhances metrics for:
– Active calories burned
– Walking and running pace
– Heart rate zones
– Menstrual cycle tracking (if applicable)
Enable Important Health Notifications
Turn on alerts for:
– High/low noise exposure
– Irregular rhythm notifications
– Emergency SOS
– Fall Detection
For example, Fall Detection can automatically call emergency services if a hard fall is detected and you don’t respond within 30 seconds.
Activate Cellular, Gestures, and Ultra Features
Set Up Cellular on Supported Models
For cellular Apple Watches, tap Set Up Cellular. Your carrier will verify eligibility.
You’ll need:
– A compatible carrier plan
– iPhone on the same carrier
– SMS verification
Once active, you can leave your iPhone behind and still make calls, send messages, and stream music.
Enable Watch Gestures (Series 9 and Ultra)
On supported models, you’ll see demos of:
– Double Tap (pinch thumb and index finger to answer calls)
– Wrist Flick (scroll through lists)
Toggle these on or off based on preference.
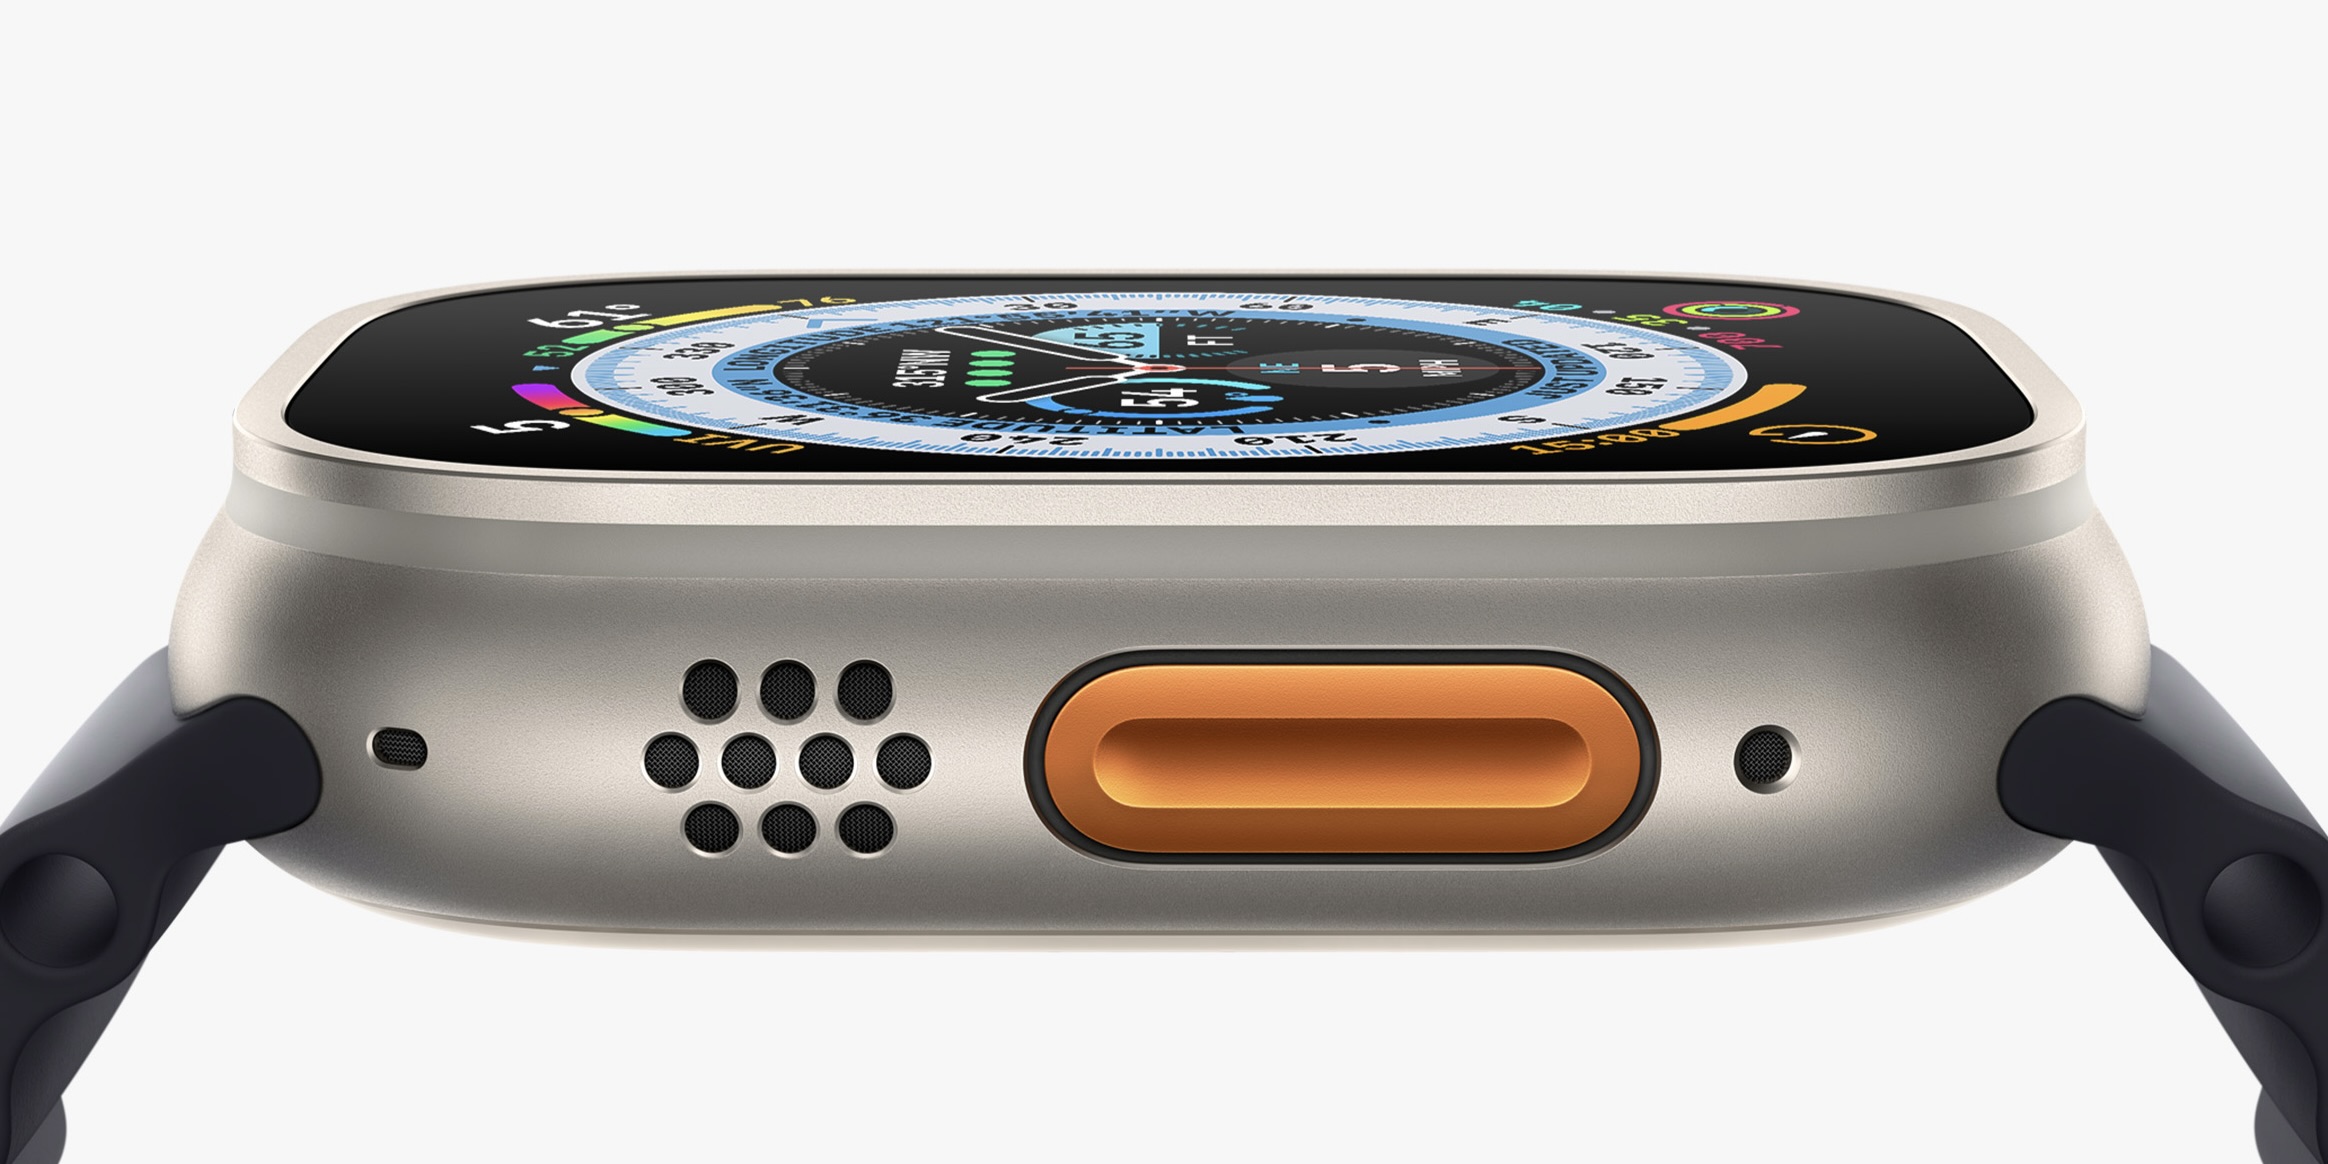
Configure Apple Watch Ultra-Specific Options
If using Apple Watch Ultra, customize:
– Action Button: Assign functions like Start Workout, Siren, or Flashlight
– Depth App: Set units (feet/meters) and safety warnings for diving
These features enhance performance in extreme conditions and outdoor adventures.
Set Up Apple Pay for Contactless Payments
Add a Credit or Debit Card
Tap Set Up Apple Pay and:
– Scan your card with the iPhone camera
– Or enter details manually
– Verify with your bank via SMS or phone call
Once added, double-click the side button to pay in stores, apps, or websites.
Pro Tip: Add multiple cards and set a default for faster checkout.
Final Sync and First-Time Use Tips
Keep Devices Close During Background Sync
After setup, your Apple Watch shows the watch face—but syncing continues in the background.
Keep your iPhone and Apple Watch near each other for at least 30 minutes to:
– Fully transfer apps
– Sync health data
– Update watch faces
– Complete any pending watchOS updates
Wi-Fi speeds up this process.
Explore Basic Navigation and Gestures
Now that it’s set up:
– Swipe up: Open Control Center
– Press Digital Crown: Return to home screen
– Swipe left/right: View notifications and Glances
– Tap screen: Wake (if Wake on Wrist Raise is on)
Your watch learns your habits over time, offering smart suggestions and shortcuts.
Troubleshoot Common Setup Issues
Apple Watch Won’t Turn On
Charge it for at least 15 minutes using the magnetic charger. If still unresponsive, press and hold the side button + Digital Crown for 10 seconds to force a restart.
Asked for Unknown Passcode
The watch is still paired with another iPhone. To fix:
– Open Apple Watch app > All Watches
– Select the watch > Unpair Apple Watch
– Confirm erase, then set up as new
This removes the old passcode and data.
Activation Lock Won’t Disappear
Only the original owner can remove it via iCloud.com > Find My > Devices > Erase This Device, then remove from account.
Pairing Fails or Shows Error
Try these steps:
1. Update iOS
2. Restart both devices
3. Toggle Bluetooth/Wi-Fi off/on
4. Forget the watch in Bluetooth settings, then retry
If problems persist, contact Apple Support or visit an Apple Store.
Setting up your Apple Watch with your iPhone is a smooth process when you follow the right steps. With updated software, proper Apple ID access, and both devices close together, pairing takes just minutes. Once complete, your Apple Watch becomes a personalized health, communication, and productivity tool—working seamlessly with your iPhone. Revisit settings later to fine-tune notifications, apps, and privacy options for the best experience.