You’ve just unboxed your new Apple Watch Series 10—welcome to the future of wearable technology. With faster charging, improved battery life, and game-changing features like the Double Tap gesture and Depth App, this smartwatch is more powerful than ever. But before you start tracking workouts, answering calls with a finger pinch, or diving into snorkeling adventures, you need to set it up correctly. Whether you’re upgrading from an older model or using an Apple Watch for the first time, this comprehensive guide walks you through every step—from unboxing to unlocking hidden features. In under 20 minutes, your Apple Watch Series 10 will be fully personalized, secure, and ready for daily use.
Unbox and Check All Components
Before powering on, ensure your Apple Watch Series 10 box contains everything.
Open the Packaging Properly
Start by pulling the two green tabs on the sides of the box. Peel down the outer layer to reveal the watch seated in a protective cradle. Gently lift it out by the edges to avoid fingerprints on the display.
Confirm Included Accessories
Your Apple Watch Series 10 comes with:
– The Apple Watch (available in 42mm or 46mm)
– USB-C Magnetic Charging Cable
– Quick Start Guide
Important: No wall charger is included. Use your existing USB-C power adapter. For fastest charging, pair with a 20W or higher USB-C adapter (like Apple’s 20W charger or a 65W dual-port model).
Pro Tip: If you own multiple Apple devices, a high-wattage charger allows simultaneous fast charging of your iPhone and Apple Watch.
Attach and Adjust the Sport Band
The default Sport Band is breathable, secure, and easy to customize.
Install the Sport Band
- Place the watch face down with the Digital Crown on the right.
- Align one end of the band with the slot on the watch case.
- Slide it in until it clicks into place.
- Repeat on the opposite side.
To remove, press the metal release pins on the watch case and pull the band out.
Customize the Fit
Slide the pin through different holes for a snug yet comfortable fit. It should stay in place during movement but not restrict blood flow.
Style Upgrade: Consider switching to a Solo Loop, Braided Solo Loop, or Leather Link for a sleeker look—sold separately.
Charge Before First Use
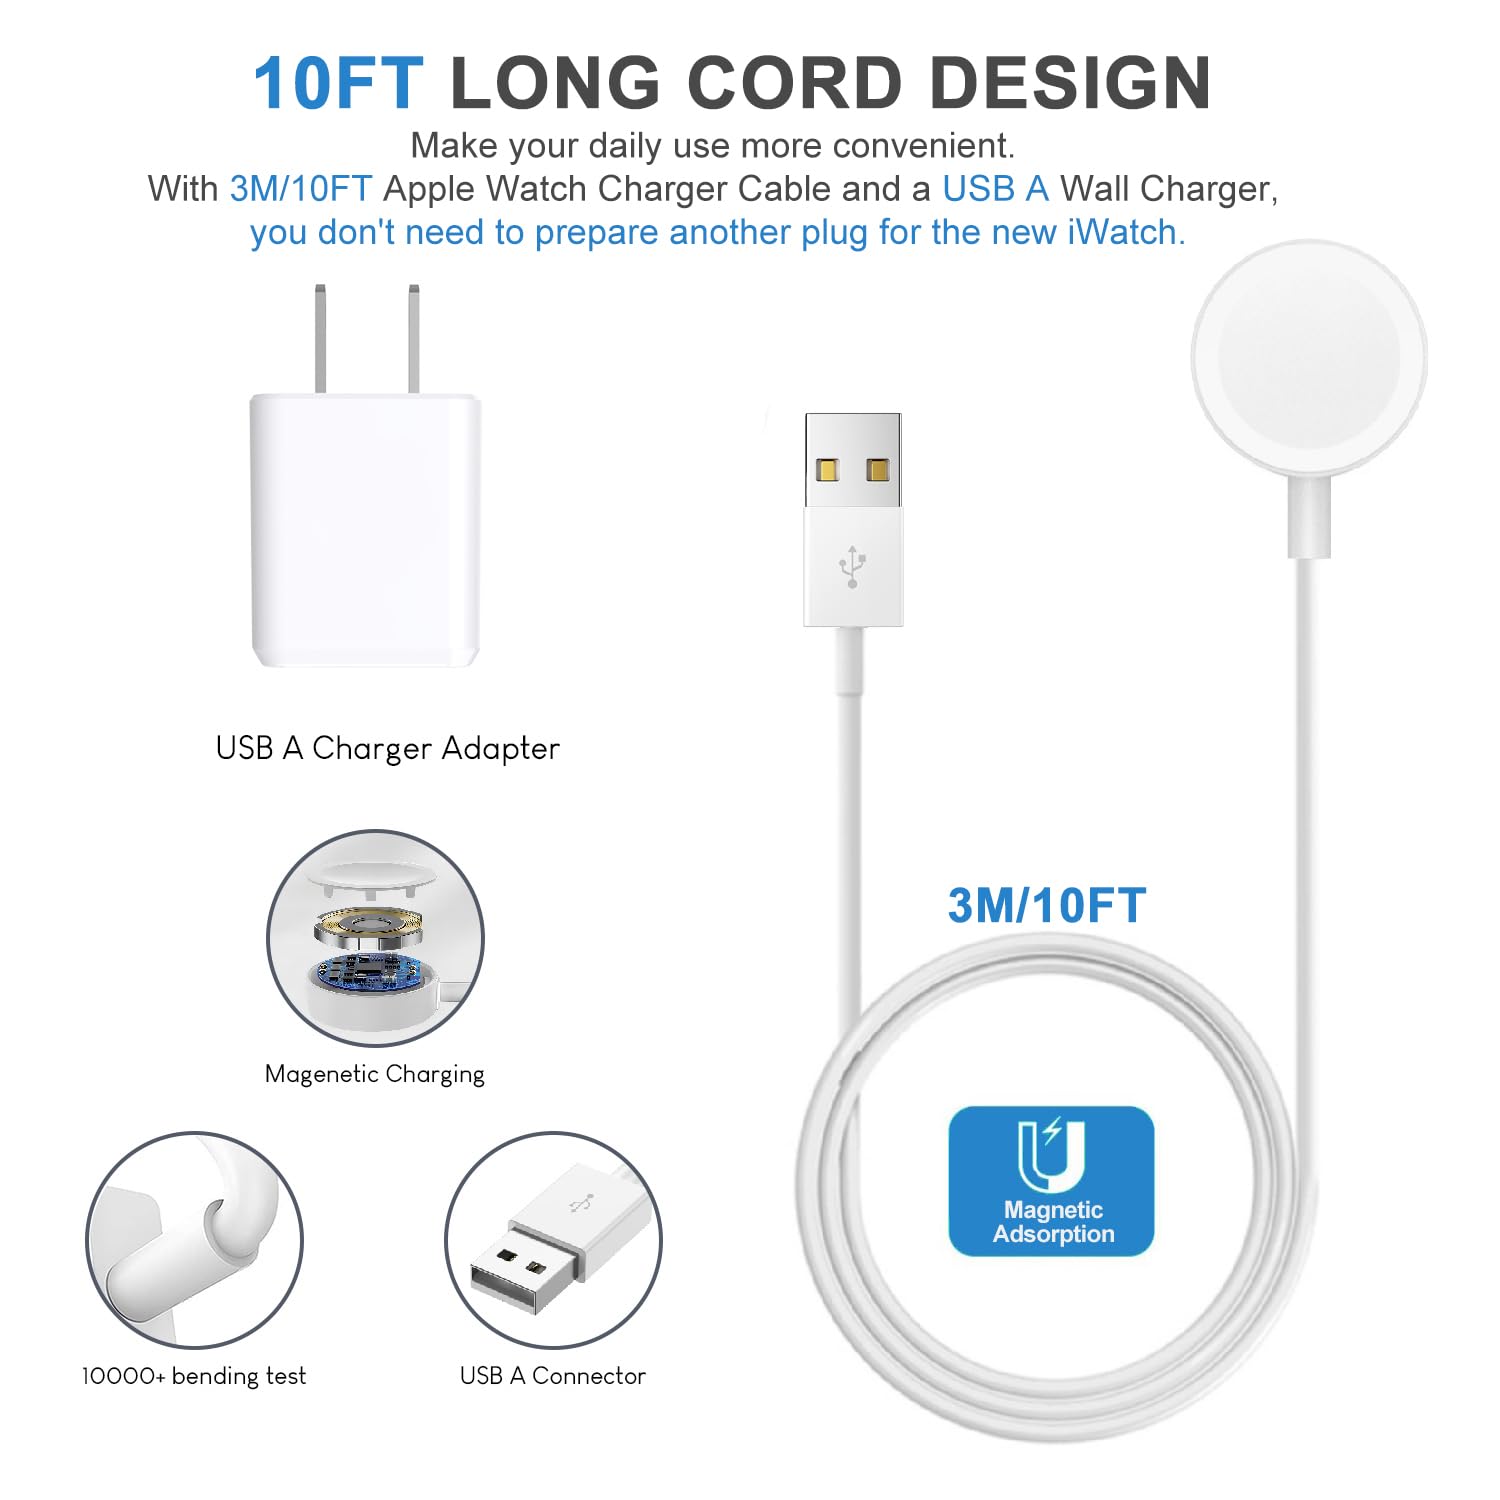
A full charge ensures a smooth setup process.
Connect the Magnetic Charger
- Plug the USB-C end into a power adapter.
- Attach the magnetic puck to the back of the watch.
- A charging animation will appear on-screen.
Charging Speed and Battery Life
- 80% in under 30 minutes
- Full charge in about 60 minutes
- Up to 18 hours of battery life, improved from previous models
Note: If the watch doesn’t turn on, charge it for at least 15 minutes before proceeding.
Prepare Your iPhone for Pairing
Avoid setup errors by ensuring your iPhone is ready.
Verify iPhone Compatibility
- Required: iPhone 11 or later
- iOS Version: iOS 18 or later
- Update via Settings > General > Software Update
Enable Key Services
On your iPhone, confirm:
– Bluetooth is on
– Wi-Fi is connected
– Location Services are enabled (Settings > Privacy > Location Services)
Keep both devices within a few inches during pairing.
Alternative: If setting up for someone without an iPhone, use Standalone Setup via the Watch app.
Power On the Apple Watch
Start the device properly to begin setup.
Turn On the Device
- Press and hold the side button (below the Digital Crown).
- Wait 15–60 seconds for the Apple logo to appear.
- Release once the logo shows.
If the screen remains dark:
– Charge for 15+ minutes.
– Try again.
Once powered on, you’ll see: “Bring your iPhone near your Apple Watch.”
Pair Apple Watch with iPhone
The fastest method uses your iPhone’s camera.
Use Camera-Based Pairing
- Unlock your iPhone.
- Hold it in front of the Apple Watch screen.
- Center the swirling animation in the viewfinder.
- Wait for “Your Apple Watch is paired” on iPhone.
If No Prompt Appears
- Open the Watch app (gray watch icon).
- Tap All Watches > Add Watch.
- Choose Set Up for Myself or Set Up for a Family Member.
Manual Pairing (Fallback Option)
If the camera fails:
– Tap Pair Apple Watch Manually in the Watch app.
– Follow on-screen instructions to connect via Bluetooth.
Choose Your Setup Method
Decide how your data is configured.
Restore from Backup (For Upgrades)
Best for replacing an old Apple Watch. Automatically transfers:
– Apps
– Watch faces
– Settings
– Health data (if backed up)
Tap Apps & Data to review what will be restored.
Set Up as New (For First-Time Users)
Full control over preferences. Tap Customize Settings to proceed.
Warning: If iOS 18 is not installed, you’ll be prompted to update. Setup pauses until the update completes.
Select Wrist and Create a Passcode
Personalize orientation and secure your device.
Choose Wrist Side
Pick left or right. The interface flips accordingly for easier viewing.
Set a Secure Passcode
Required for Apple Pay, Activation Lock, and security.
Options:
– 4-digit (default)
– Custom numeric
– Alphanumeric
– Skip (not recommended)
To set:
1. Tap Create a Passcode on iPhone.
2. Enter it on the watch screen.
3. Confirm.
Note: The watch unlocks automatically when worn. Passcode is only needed when removed.
Customize Display and Accessibility
Tailor visibility and motion settings.
Adjust Text Size and Boldness
Change text size during setup for readability. Enable Bold Text—mirrors your iPhone’s setting. Modify later in Settings > Display & Brightness on the watch.
Accessibility Defaults
- Reduce Motion is enabled by default for comfort.
- Disable in Settings > Accessibility > Motion if you prefer full animations.
Enter Health and Fitness Data
Ensure accurate tracking of activity and health metrics.
Required Inputs
During setup, enter:
– Date of birth
– Sex
– Height
– Weight
– Mobility (e.g., wheelchair use)
This calibrates your Move, Exercise, and Stand rings accurately.
Why it matters: Wheelchair users receive adjusted ring goals based on propulsion metrics.
Enable Health Safety Alerts
Stay informed about your body’s condition.
Key Notifications to Activate
Toggle on:
– Noise Exposure: Alerts at 80+ dB
– Low Cardio Fitness: Based on VO₂ max
– Resting Heart Rate: High/low alerts
– Irregular Rhythm Notifications
Medication Disclosure
If you take beta blockers or calcium channel blockers, indicate this. It helps the watch interpret lower resting heart rates correctly.
Privacy Note: All health data is processed on-device. No audio is stored.
Activate Emergency Features
Prepare for critical situations.
Fall and Crash Detection
Both auto-activate:
– Fall Detection: Triggers 30-second countdown to call emergency services if no movement.
– Crash Detection: Uses sensors and GPS to detect severe car accidents.
Emergency SOS
- Press and hold the side button.
- Slide the emergency slider.
- Call connects automatically.
Set emergency contacts in the Health app > Medical ID.
Set Up Medical ID
Include:
– Medical conditions
– Allergies
– Medications
– Emergency contacts
Accessible from the lock screen—even if the watch is locked.
Enable Double Tap and Configure Depth App
Use new Series 10-exclusive features.
Activate Double Tap Gesture
- Follow prompts to calibrate.
- Tap index finger and thumb together twice.
- Confirm on-screen.
Functions:
– Answer/end calls
– Play/pause music
– Skip tracks
– Open Smart Stack
Customize in Settings > General > Gestures > Double Tap.
Note: May require Face ID calibration if used with iPhone.
Set Up Depth App
Appears during setup if you swim or snorkel.
Choose:
– Open Automatically (when submerged up to 6m)
– Don’t Open Automatically
Tracks:
– Depth
– Dive time
– Water temperature
Acknowledge the safety warning before proceeding.
Sign In to Apple ID
Unlock full functionality.
Why Apple ID Is Required
- Enables Find My and Activation Lock
- Syncs data via iCloud
- Required for cellular activation and Number Share
Sign In Steps
- Enter your Apple ID email and password.
- Complete two-factor authentication if prompted.
Troubleshooting: If Activation Lock appears, the watch is linked to another account. Contact the previous owner to remove it at iCloud.com > Find My > All Devices > Erase.
Can’t sign in now? Do it later in Settings > General > Apple Account.
Add Cards to Apple Pay
Make contactless payments.
Quick Setup During Onboarding
- Tap Set Up Apple Pay.
- Select a card from iPhone’s Wallet.
- Enter CVV.
- Verify with your bank (SMS or app approval).
Requirements
- Passcode must be set
- Apple ID signed in
Tip: You can skip and add cards later via Watch app > Wallet & Apple Pay.
Activate Cellular (If Applicable)
Use your watch without your iPhone nearby.
Requirements
- LTE or 5G model
- Carrier support (Verizon, AT&T, T-Mobile)
- Active cellular plan
Setup Process
- Follow prompts in Watch app > Cellular.
- Choose a plan or add to existing.
- Activate eSIM digitally—no physical SIM needed.
- Confirm signal strength.
Manage Cellular Later
- Toggle on/off in Control Center
- Switch between multiple eSIMs
- View data usage in Settings > Cellular
Note: Number Share lets your watch use your iPhone’s number seamlessly.
Complete Final Setup Steps
Wrap up the onboarding.
Finish Configuration
- iPhone shows: “Welcome to Apple Watch.”
- Tap Done.
- Watch prompts: “Start.” Tap to begin.
First-Time Navigation Tips
- Wake screen: Raise wrist or double-tap display
- Open apps: Press Digital Crown
- Return to watch face: Press Digital Crown again
- Open Control Center: Press side button
- Scroll: Rotate Digital Crown
A brief tutorial walks you through gestures.
Customize Watch Face and Apps
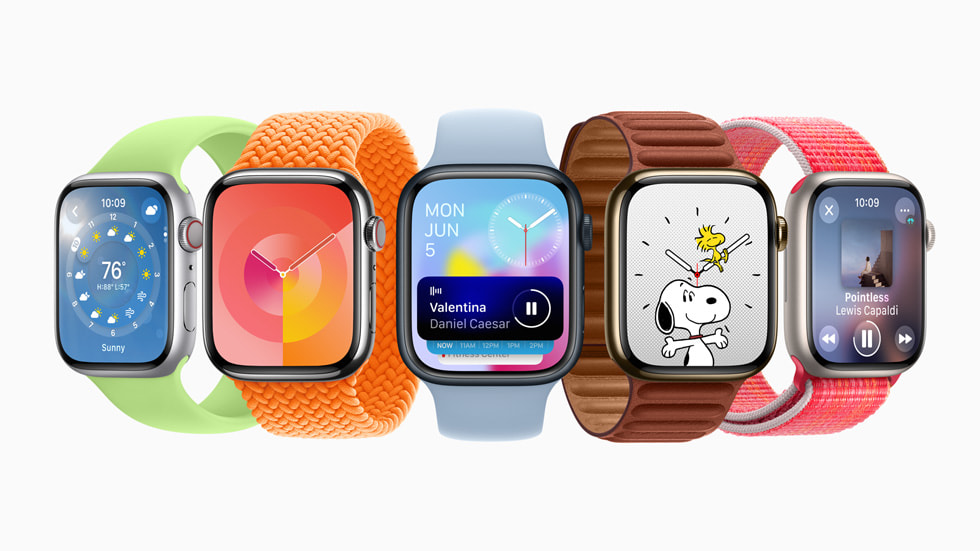
Make it yours.
Change the Watch Face
On Watch:
1. Press and hold the face.
2. Swipe to browse.
3. Tap Edit to adjust complications.
4. Press Digital Crown to save.
On iPhone:
1. Open Watch app.
2. Go to Face Gallery.
3. Customize with larger screen, then tap Add.
Install and Manage Apps
- Open App Store on watch or iPhone.
- Search, download, and pin to home screen.
- Reorder: Press and hold apps until they jiggle.
Delete by tapping the X (if not system app).
Use Control Center Efficiently
Access key tools with a swipe.
Open Control Center
- Swipe down from top of screen
- Or press side button
Key Controls
- Silent Mode: Mute sound
- Do Not Disturb: Silence alerts
- Theater Mode: DND + dark screen
- Airplane Mode: Disable wireless
- Wi-Fi/Bluetooth: Connect independently
- Battery: Check level, enable Low Power Mode
- Ping iPhone: Makes it ring loudly
- Flashlight: Tap to turn on (swipe for SOS)
- Water Lock: Activates after swim; rotate crown to eject water
- Walkie-Talkie: Instant voice chat
- Hearing: Monitor environment noise
Customize Controls
Tap Edit, then drag, add (+), or remove items.
Update Software and Apps
Keep your watch secure and fast.
Install watchOS 11
- Open Settings > General > Software Update on watch.
- If update available, download.
- Keep watch on charger and above 50% battery.
Update Apps
On iPhone:
– Open App Store > Today > Your Account > Purchased
– Tap Not on This iPhone to find watch apps.
On Watch:
– Open App Store > Updates
Pro Tip: Enable Automatic Updates in Settings > General > Software Update > Automatic Updates.
Troubleshoot Common Issues
Fix problems quickly.
Watch Won’t Turn On
- Charge for 15–30 minutes.
- Press and hold side button again.
No Pairing Prompt
- Open Watch app.
- Tap All Watches > Add Watch.
- Ensure Bluetooth and Wi-Fi are on.
Activation Lock Appears
- Device is linked to another Apple ID.
- You must enter correct credentials.
- For secondhand watches: Previous owner must erase via iCloud.com > Find My > All Devices > Erase.
Setup Fails or Freezes
- Update iPhone to iOS 18.
- Restart both devices.
- Retry manual pairing.
Unlock Pro Tips and Hidden Features
Maximize your Apple Watch Series 10.
Take Screenshots
Enable in Settings > General > Screenshots.
Press side button + Digital Crown simultaneously.
Screenshot appears in Photos on iPhone.
Use iPhone Camera Remotely
Open Camera app on watch.
Features:
– Live view
– Switch front/back camera
– Set timer
– Take photo
Perfect for group shots or stable shots.
Adjust Wake Duration
Go to Settings > Display & Brightness > Wake Duration.
Choose between 15 to 70 seconds.
Optimize Battery Life
Use these settings:
– Enable Optimize Battery Charging
– Turn off Always-On Display
– Reduce notification frequency
– Use Low Power Mode when needed
Bonus: In Settings > Accessibility > Switch Control, set up custom tap gestures for accessibility.
Final Note: The Apple Watch Series 10 delivers faster charging, longer battery life, and innovative features like Double Tap and Depth sensing. With proper setup, it becomes a seamless extension of your iPhone—tracking health, enabling payments, and keeping you safe. Customize it to fit your lifestyle, and you’ll wonder how you lived without it.