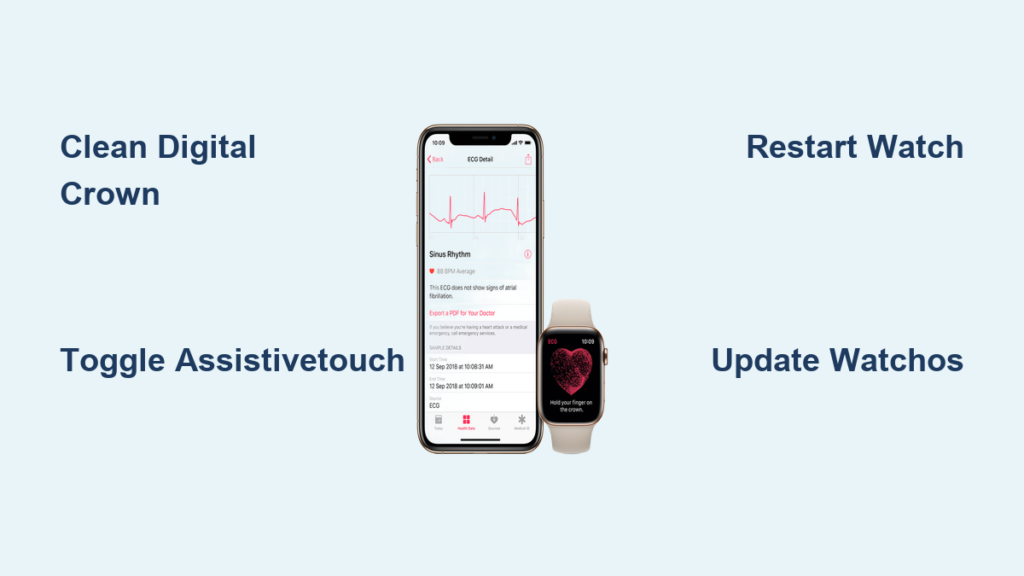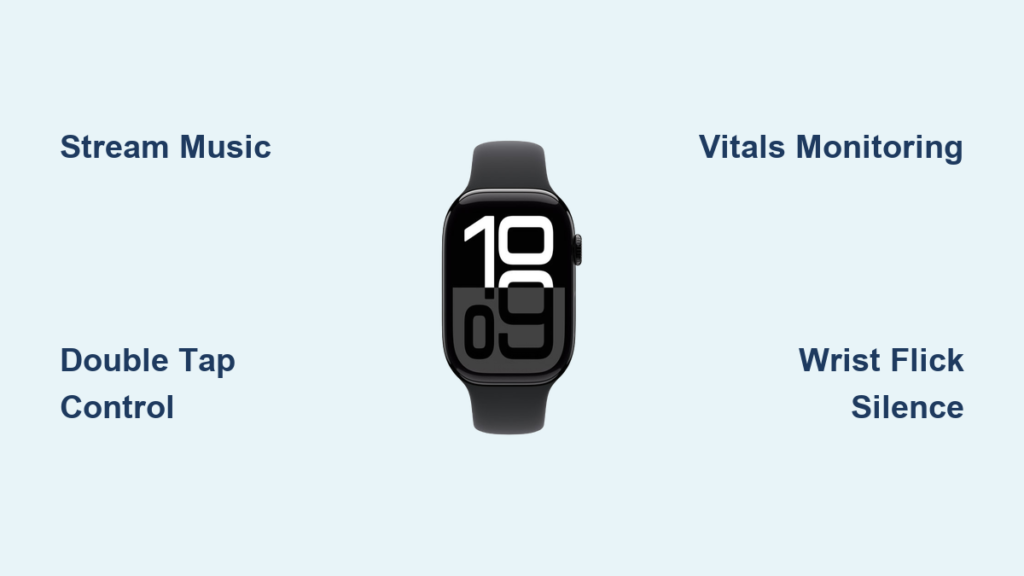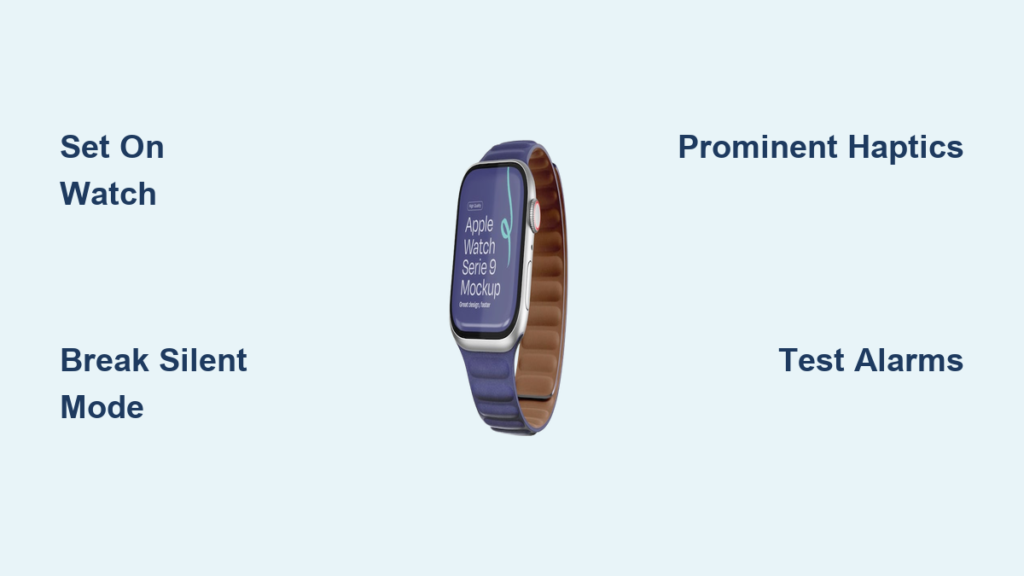
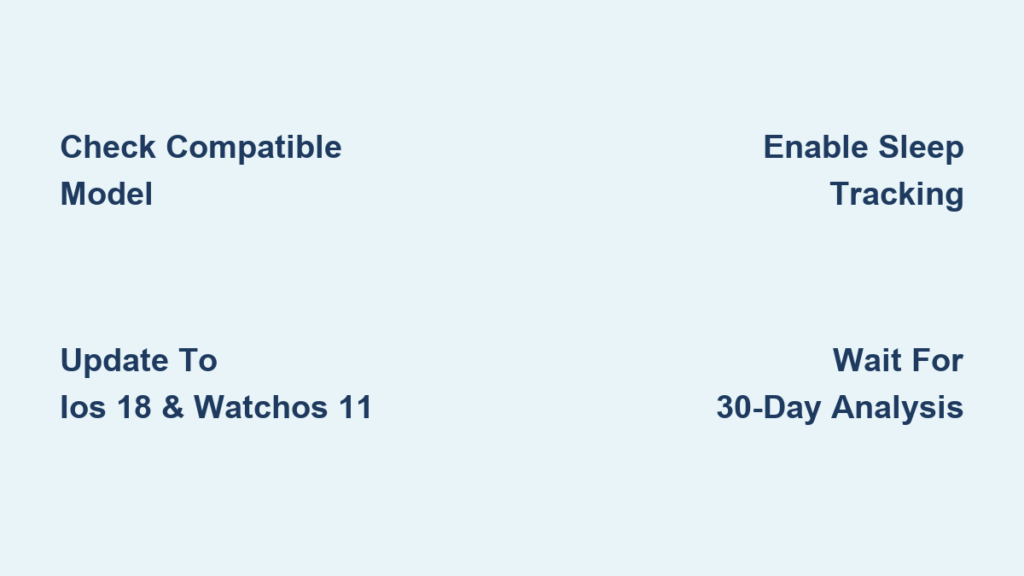
Millions of people live with undiagnosed obstructive sleep apnea—a condition where breathing repeatedly stops and starts during sleep, increasing risks for heart disease, stroke, and chronic fatigue. Now, your Apple Watch can help identify potential signs without extra devices or medical appointments. With watchOS 11, Apple introduced Sleep Apnea Notifications, a built-in screening tool that uses your watch’s sensors to analyze breathing patterns while you sleep. This feature doesn’t diagnose sleep apnea but detects consistent breathing disruptions and alerts you to seek medical advice early—potentially years before symptoms become severe.
Setting up sleep apnea detection is simple, but it requires the right hardware, software, and setup steps. If you’re using an eligible Apple Watch model and meet the criteria, enabling the feature takes just minutes in the Health app on iPhone. Over the next 30 days, your watch silently collects data every night you wear it to bed. If it detects patterns linked to moderate to severe obstructive sleep apnea, you’ll receive a notification on your iPhone—including a shareable PDF report for your doctor.
Here’s a complete guide to setting up, using, and understanding sleep apnea detection on Apple Watch—including troubleshooting tips if the option doesn’t appear.
Confirm Your Apple Watch Model Supports the Feature
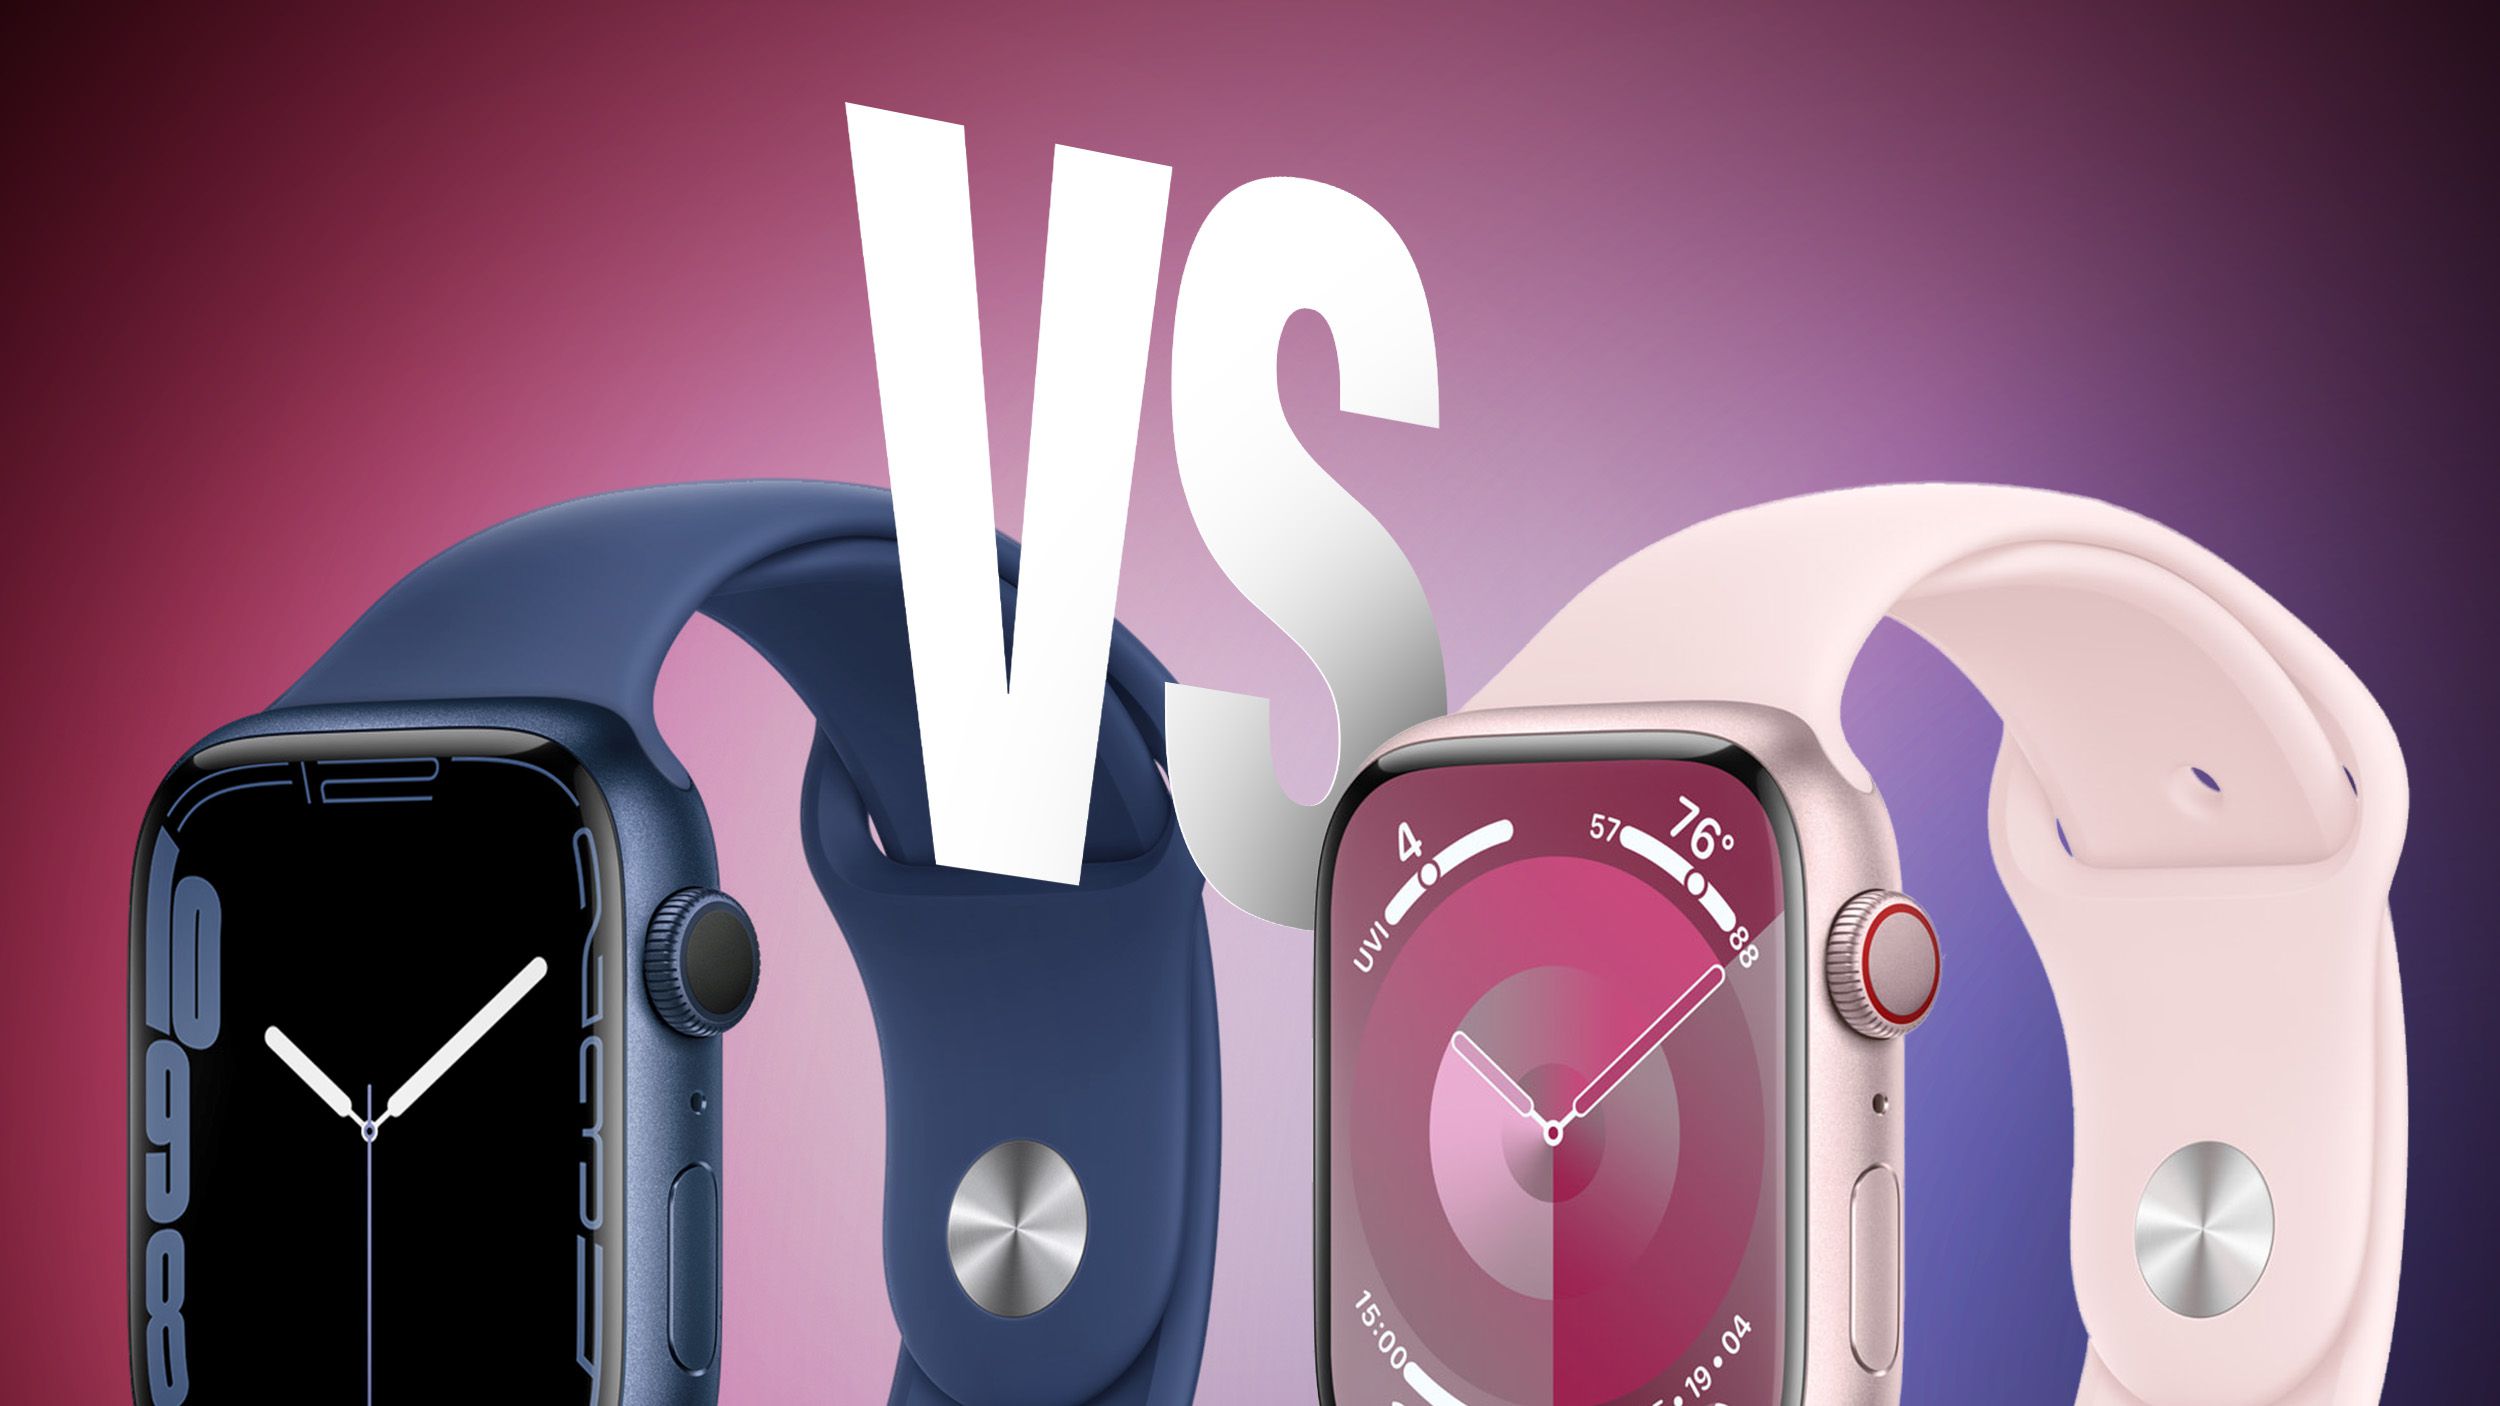
Sleep apnea detection is only available on newer Apple Watch models with advanced sensor capabilities and processing power.
Use One of These Compatible Watches
You must have one of the following:
– Apple Watch Series 9 or later
– Apple Watch Ultra 2 or later
– Apple Watch SE (3rd generation)
Older models like the Series 8, Ultra 1, or earlier versions of the SE do not support this feature, even if updated to watchOS 11. The technology relies on precise accelerometer data and on-device machine learning, which are optimized only on these latest models.
⚠️ Don’t be misled by software updates: Just because your watch runs watchOS 11 doesn’t mean it has all features. Hardware limitations exclude many older devices from sleep apnea screening.
Update to iOS 18 and watchOS 11 Stable Releases

Even with the correct watch, outdated or beta software can block access to sleep apnea notifications.
Install Final Public Versions
Ensure both devices are on:
– iPhone: iOS 18 (stable release) or later
– Apple Watch: watchOS 11 (stable release) or later
❌ Beta versions disable the feature: Many users report that “Sleep Apnea Notifications” disappears or is greyed out when running iOS 18.1 beta or watchOS 11 beta. To restore access, remove any beta profiles and update to the latest public release.
To check:
1. On iPhone: Go to Settings > General > Software Update
2. On Apple Watch: Open the Watch app > General > Software Update
After updating, restart both devices to ensure changes take effect.
Verify Region, Age, and Diagnosis Eligibility
Apple restricts this feature based on regulatory approval and clinical guidelines.
Check These Requirements
- Available in over 150 countries, including the U.S. (FDA-cleared), U.K., Australia, and most of Europe
- You must be 18 years or older
- You must not have a prior diagnosis of sleep apnea
This is strictly a screening tool for undiagnosed adults. If you already use a CPAP machine or have been diagnosed by a doctor, the option will not appear.
If you’re in a supported region but see “not available,” try:
– Restarting your iPhone and Apple Watch
– Checking for region-specific updates
– Temporarily switching your device region to the U.S. (Settings > General > Language & Region)
Enable Sleep Tracking Before Activating Apnea Detection
Sleep apnea detection relies entirely on nightly sleep data collected by your Apple Watch.
Turn On Sleep Tracking in the Health App
- Open the Health app on your iPhone
- Tap Browse (bottom-right) > Sleep
- Tap Full Setup or Edit Schedule
- Toggle on Track Sleep with Apple Watch
- Set a bedtime and wake time (recommended for consistency)
Once enabled, your watch will record sleep sessions whenever worn overnight.
✅ Pro Tip: Charge your watch to at least 30% before bed. If it dies during the night, no breathing data is recorded, which delays analysis.
Activate Sleep Apnea Notifications in the Health App
The setup process happens entirely on your iPhone.
Navigate to Respiratory Section
- Open the Health app
- Tap Browse > Respiratory
- Scroll down and tap Sleep Apnea Notifications
If the section is missing, revisit compatibility checks—especially software version and region settings.
Complete the Setup Wizard
- Tap Set Up > Next
- Enter your date of birth
- Answer: “Have you ever been diagnosed with sleep apnea?” → Select No
- Tap Continue, then Next, then Done
Your watch now begins analyzing breathing patterns each night.
⏳ No immediate results: It takes at least 10 nights of sleep data within 30 days before evaluation starts. Full analysis occurs after 30 days.
View and Interpret Breathing Disturbance Trends

After setup, your watch monitors breathing using the accelerometer to estimate respiratory rate.
Access Your Breathing Data
- Open Health app > Browse > Respiratory
- Tap Breathing Disturbances
- Select timeframe: Last Month, 6 Months, or 1 Year
Each night appears as:
– Elevated – significant breathing disruptions detected
– Not Elevated – normal breathing patterns
The graph helps spot trends—like frequent elevated nights—that may indicate underlying issues.
What Causes Elevated Readings?
Occasional spikes are normal and may result from:
– Drinking alcohol before bed
– Having a cold or nasal congestion
– Sleeping on your back
– Taking sedatives
The system looks for repeated elevated nights, not isolated events. A single bad night won’t trigger a notification.
Understand When and How You’ll Be Notified
Notifications only appear after algorithmic analysis of 30 days of data.
What the Alert Says
You’ll receive an iPhone notification stating:
“Signs of moderate to severe obstructive sleep apnea may be present. Consider talking to your healthcare provider.”
This does not mean you have sleep apnea—it means your breathing patterns suggest further evaluation is wise.
Notification Timing
- Sent during the day, not while sleeping
- Appears only after consistent elevated disturbances over multiple nights
- Typically arrives after 30 days of sufficient data collection
There are no real-time alerts during sleep. Detection is retrospective and based on aggregated data.
Export a PDF Report for Your Doctor
Sharing results with a healthcare provider can accelerate diagnosis.
Generate and Share the Report
- Open Health app > Browse > Respiratory
- Tap Sleep Apnea Notifications
- Scroll down and tap Export PDF
- Share via Mail, Messages, AirDrop, or Save to Files
The report includes:
– Duration of monitoring
– Frequency of elevated nights
– Sleep consistency
– Anonymized breathing data
📎 Expert Note: Bring this report to your primary care physician or sleep specialist. While not diagnostic, it provides objective data that supports clinical decision-making.
Recognize the Feature’s Limitations
This tool is powerful—but not foolproof.
Cannot Replace Medical Diagnosis
- Not a medical test: It’s a screening tool only
- False negatives occur: Some with sleep apnea may never get a notification
- False positives happen: Illness or environment can trigger alerts
Key Restrictions
- Does not work for diagnosed patients
- Cannot distinguish between obstructive (OSA) and central sleep apnea (CSA)
- Accuracy depends on consistent wear and snug fit
- Disabled in beta OS versions
Always pair findings with symptoms like loud snoring, gasping at night, or daytime fatigue.
Troubleshoot If Sleep Apnea Option Is Missing
If “Sleep Apnea Notifications” doesn’t appear, try these fixes.
Fix 1: Switch from Beta to Stable OS
- Go to Settings > General > VPN & Device Management
- Tap iOS Beta Software Profile > Remove Profile
- Restart iPhone
- Update to iOS 18 stable and watchOS 11 stable
Reboot and check the Health app again.
Fix 2: Adjust Region and Language
- Set region to United States or another supported country
- Use English (U.S.) as primary language
- Go to Settings > General > Language & Region
Some users regain access after temporary region switching.
Fix 3: Reset Health Permissions
- Go to Settings > Privacy & Security > Health
- Toggle off Health, restart, then re-enable
- Reopen Health app and retry setup
This refreshes access to respiratory features.
Maintain Accuracy and Protect Your Data
Once set up, the system runs automatically—but good habits improve reliability.
Wear Watch Consistently
- Wear it to bed for at least 10 nights in 30 days
- Start each night with >30% battery
- Ensure snug fit—too loose reduces sensor accuracy
Data Security Facts
- All data is encrypted and stored on your iPhone
- Apple cannot access your health information
- Data is never shared unless you export it
You control who sees your reports.
Compare to Clinical Sleep Studies
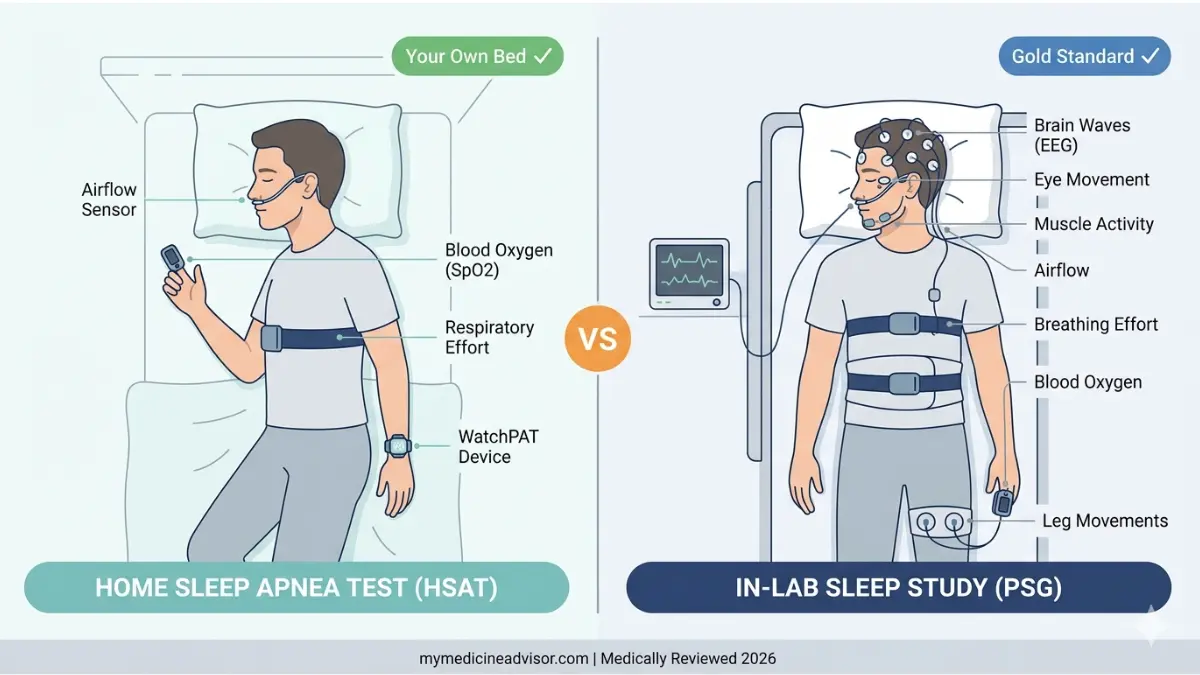
While convenient, Apple’s screening has limits.
| Feature | Apple Watch | At-Home Test | In-Lab Study |
|---|---|---|---|
| Detects breathing pauses | ✅ (estimated) | ✅ | ✅ |
| Measures oxygen levels | ❌ | ✅ | ✅ |
| Records brain activity | ❌ | ❌ | ✅ |
| Requires referral | ❌ | ✅ | ✅ |
| Cost | Free (with watch) | $100–$500 | $1,000+ |
Use Apple Watch as a first step, not a replacement.
Use Results to Start a Doctor Conversation
A notification is a reason to act, not a diagnosis.
Talk to Your Doctor
Mention:
– The notification date
– Number of elevated nights
– Symptoms like snoring or fatigue
Ask:
“Should I get a formal sleep study based on these findings?”
Many insurers cover tests when supported by preliminary data.
Explore Treatment Options
If diagnosed:
– CPAP therapy (gold standard)
– Oral appliances
– Weight loss or positional therapy
– Surgery (in select cases)
Early detection improves outcomes—and the Apple Watch helps bridge the gap.
Summary: Setup Checklist
| Step | Action |
|---|---|
| 1 | Confirm compatible watch: Series 9+, Ultra 2, or SE 3rd gen |
| 2 | Update to iOS 18 stable and watchOS 11 stable |
| 3 | Enable Track Sleep with Apple Watch |
| 4 | Go to Health > Browse > Respiratory > Sleep Apnea Notifications > Set Up |
| 5 | Confirm age ≥18 and no prior diagnosis |
| 6 | Wear watch to bed for 10+ nights in 30 days |
| 7 | Wait for 30-day analysis |
| 8 | Check for iPhone notification |
| 9 | Export PDF and consult doctor if alerted |
💡 Pro Tip: Even if you don’t track sleep long-term, wear your watch for one full month to screen for breathing issues—then disable sleep tracking if desired.
The Apple Watch sleep apnea feature is a breakthrough in preventive health, turning a wearable into a proactive wellness guardian. It won’t replace doctors—but it helps millions catch a silent condition early.