Changing the band on your Apple Watch Series 9 is one of the easiest ways to refresh your look, match your outfit, or switch from a sporty workout strap to a sleek metal bracelet. The best part? You don’t need any tools—just your fingers and the right technique. Whether you’re removing a Sport Band, detaching a Solo Loop, or swapping out a Milanese Loop, Apple designed the process to be quick, secure, and repeatable.
The Series 9 uses Apple’s signature magnetic-spring pin system with side-mounted release buttons. When pressed, these retractable pins unlock the band, allowing it to slide out smoothly. But if you’re not careful—especially with stubborn bands or tight fits—you risk damaging the delicate internal mechanism. That’s why knowing the correct method, orientation, and troubleshooting steps is essential.
In this guide, you’ll learn exactly how to remove and reattach any Apple Watch Series 9 band, including special models like the Solo Loop, Link Bracelet, and Trail Loop. We’ll cover step-by-step instructions, compatibility rules, common mistakes, and pro tips from real users to ensure every band swap is fast, safe, and frustration-free.
Remove Band: Step-by-Step
Removing a standard detachable band from your Apple Watch Series 9 takes less than 30 seconds—once you know the right moves.
Place Watch Face Down
Always begin by placing your Apple Watch face down on a soft, lint-free surface like a microfiber cloth or padded table mat. This protects the OLED display from scratches while you work.
Ensure your hands are clean and dry. A well-lit area helps you see the small release buttons clearly. If the band is twisted or bent, gently straighten it so both ends are accessible.
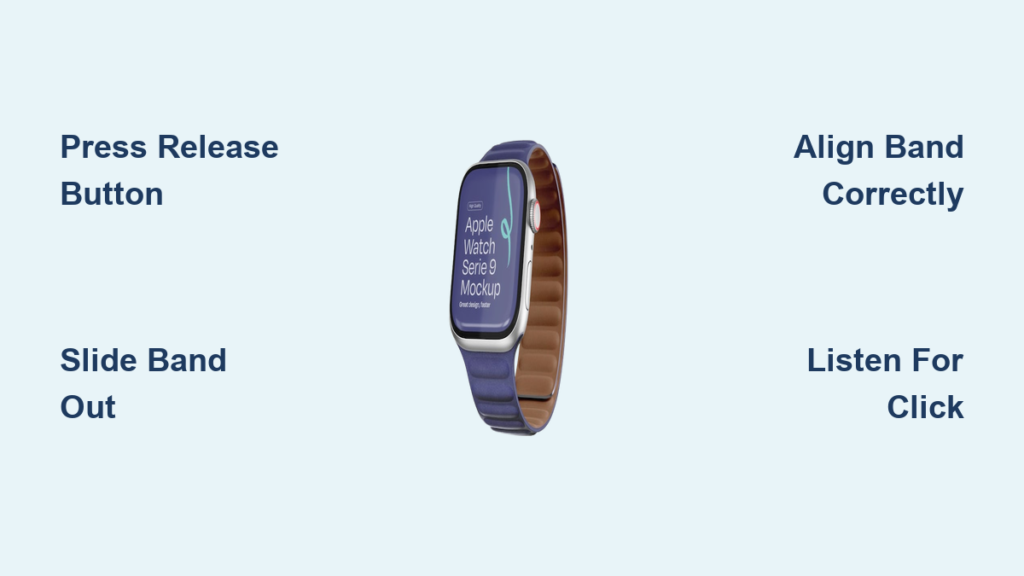
Locate Release Buttons
On the back of the watch case, near the top and bottom lugs (the metal arms where the band connects), you’ll find two small rectangular release buttons. These are spring-loaded and control the internal locking pins.
Each button corresponds to one side of the band. You’ll remove the band one side at a time—no need to press both simultaneously.
Press and Slide to Remove
Follow these precise steps:
- Use your fingertip or fingernail to press and hold the release button on one side.
- While keeping the button fully depressed, gently slide the band outward (away from the center of the watch).
- You should feel a slight release as the internal pin retracts.
- Once that side is free, repeat the process on the opposite side.
✅ Pro Tip: Press firmly and straight—don’t angle your nail. A clean, full press ensures the pin fully disengages.
⚠️ Never force or twist the band. Twisting can bend the pins or scratch the lug housing. If the band doesn’t move, re-press the button and try again.
Once both sides are detached, store the band safely for reuse, cleaning, or replacement.
Special Band Types: Removal Tips

Not all bands work the same way. Some require different handling due to their unique designs.
Solo Loop & Braided Solo Loop
These seamless, stretchable bands have no clasps or pins.
- To remove: Simply stretch the band over your wrist and slide it off.
- No release buttons involved.
- Handle gently to avoid overstretching the silicone or braided material.
❗ Warning: These bands come in nine precise sizes. If it’s extremely tight or painful to remove, you likely need a larger size.
Link Bracelet
Before detaching from the watch:
- Close the butterfly clasp completely (fold both sides inward until they click).
- Use the quick-release button inside one link to separate the bracelet into two halves.
- Now remove each half using the standard press-and-slide method.
This prevents strain on the clasp and ensures smooth reattachment later.
Milanese Loop
Despite its magnetic closure, the band stays whole during removal.
- Use the standard press-and-slide technique on both sides.
- No need to open the magnet first.
- After removal, lay it flat to prevent the coiled wire from warping.
Ocean, Alpine, and Trail Loops
These performance bands use the same pin system but have a metal tooth on the connector.
- Press the release button and slide out like any other band.
- When reattaching, ensure the metal tooth faces downward for correct alignment.
Reattach or Install New Band
Putting on a new band is just as fast—if you get the orientation right.
Align Band Correctly
Every band has visual alignment cues to ensure proper fit:
- Look for the three-part color strip (black-silver-black) on the connector.
- The silver (or contrasting) center must face the release button.
- Or check for three horizontal lines—the middle line should face upward.
- If the band has text or a logo, it must face outward when worn.
❌ Installing upside down prevents locking. The band may seem to fit but won’t click securely.
Insert and Lock Securely
To attach:
- Press the release button on one side.
- Align the connector and slide it straight in.
- Push until you feel and hear a distinct click—this means it’s locked.
- Repeat on the other side.
✅ Test the fit: Gently tug both ends. No movement = secure.
⚠️ If no click occurs, remove and reinsert. Double-check orientation.
Install Solo Loop Correctly
Even though it stretches, the Solo Loop still attaches to the lugs.
- Hold so the silver side of the connector faces the back of the watch.
- Press the release button and slide one end in until it clicks.
- Repeat on the other side.
❗ Do not force it. If installation is difficult, verify your size. Forcing can damage the connector or stretch the band permanently.
Final Check: Is Band Secure?
Never wear your Apple Watch unless the band is fully locked.
Perform a Tug Test
After installation:
- Gently pull on both ends of the band.
- There should be no sliding or wobbling.
- If movement occurs, remove and reattach with correct orientation.
❌ Do not wear if the band feels loose. An unsecured band can detach unexpectedly.
Look for Visual Cues
Signs of proper installation:
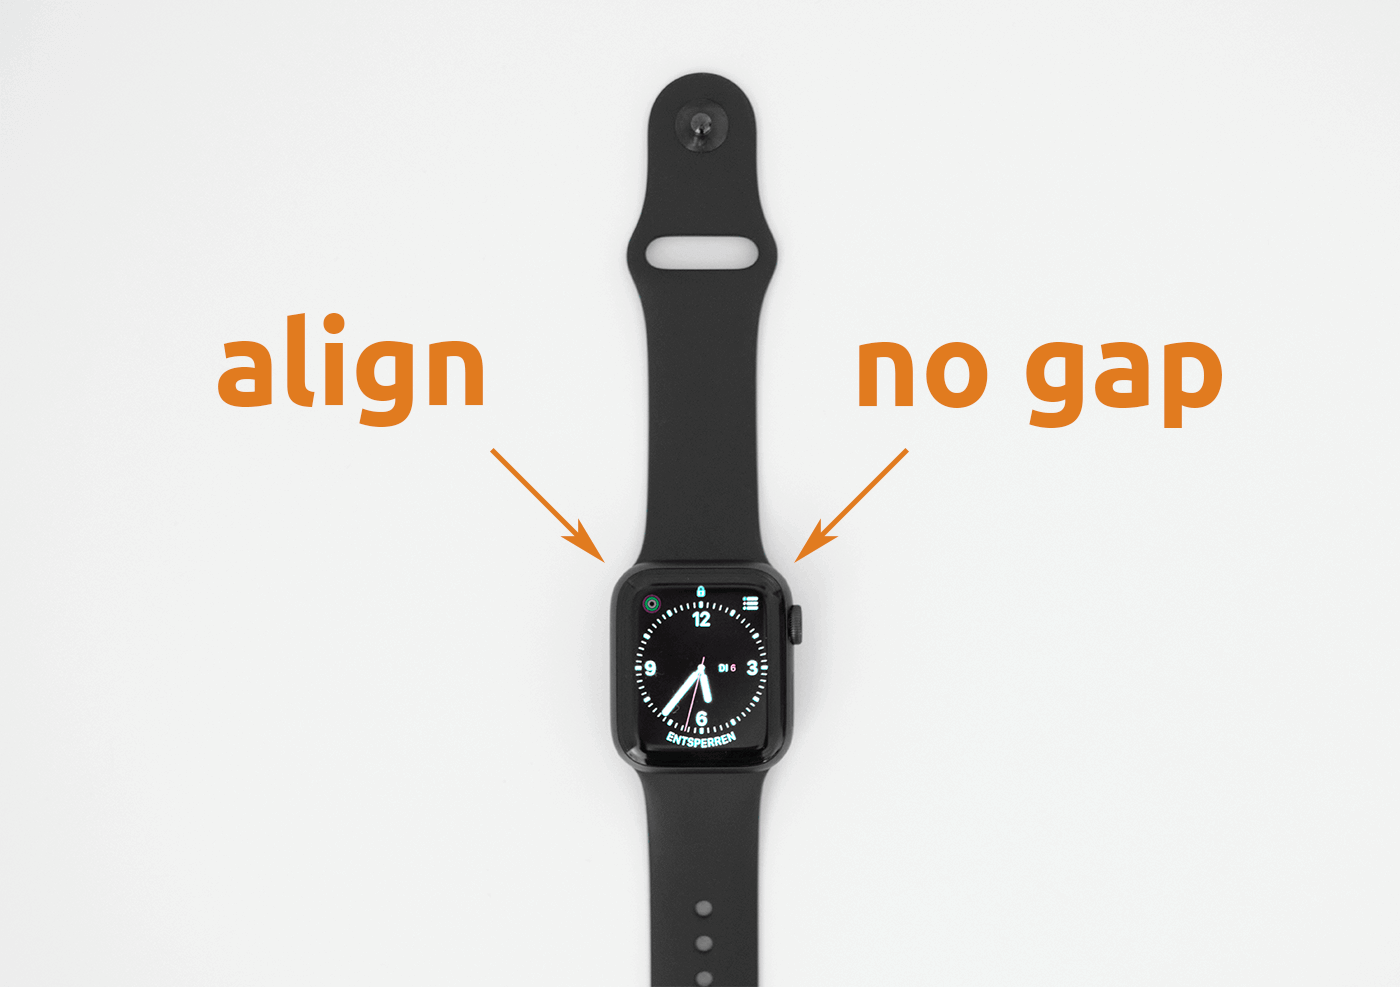
- Band sits flush against the watch case.
- No gap between connector and lug.
- Text/logo faces outward.
- Metal tooth (on Trail/Ocean/Alpine) points down.
Compatible Bands for Series 9
Your Series 9 supports all modern Apple bands and most third-party versions.
Match Case Size
| Watch Case Size | Band Size Required |
|---|---|
| 40mm | 40mm bands |
| 43mm | 43mm bands |
✅ Example: A 43mm Series 9 requires a 43mm band. A 45mm band may fit loosely.
Cross-Model Compatibility
Works with:
– Series 5 through Series 9
– SE (1st & 2nd Gen)
– Ultra and Ultra 2 (with size match)
✅ 43mm Ocean, Alpine, or Trail Loops can be used on a 43mm Series 9.
Third-Party Band Fit
Ensure the band:
– Matches your case size.
– Uses Apple’s 22mm/20mm pin standard.
– Has clear alignment markers.
✅ Pro Tip: Read reviews. Some third-party bands lack tactile feedback or require extra force.
Troubleshoot Common Issues
Even with the right steps, problems happen.
| Issue | Cause | Fix |
|---|---|---|
| Band won’t slide out | Button not fully pressed | Use fingernail; press straight in |
| Band won’t click in | Wrong orientation | Rotate 180°; align silver center up |
| No click felt | Debris or misalignment | Clean lug with soft brush; realign |
| Band feels loose | Not fully inserted | Remove and reinsert until click |
| Solo Loop hard to install | Wrong size | Check Apple’s size guide; don’t force |
✅ Pro Tip: Wiggle the band slightly up/down after insertion. This often helps engage the lock.
Adjust Fit After Installation
Fine-tune comfort after attaching.
Modern Buckle Bands
- Open magnetic clasp.
- Adjust pin into different hole.
- Snap closed.
Milanese Loop
- Lift locking clamp.
- Slide buckle to desired position.
- Press down to secure.
Link Bracelet
- Fasten clasp.
- Use micro-adjustment links for fine-tuning.
Key Design Features That Help

- Magnetic-spring pins provide secure lock with audible click.
- Three-line or color-coded alignment prevents upside-down installation.
- No tools needed—designed for fingertip operation.
Real-World Tips from Users
- One-second swaps are possible with practice.
- You can remove either side first—no sequence required.
- Warranty-safe: Apple allows user band changes.
- OEM bands click more reliably than some third-party versions.
- Clean lugs monthly for smoother operation.
✅ Pro Tip: Change bands weekly to extend lifespan and keep your style fresh.
Final Note: Removing and replacing your Apple Watch Series 9 band is simple, safe, and fully customizable. Whether you’re switching to a Sport Band for the gym or a Milanese Loop for dinner, just remember: align the silver center up, press the button fully, and listen for the click. With this guide, you can confidently swap bands anytime—no tools, no stress, just style.