You’ve invested in an Apple Watch Series 9 expecting advanced health tracking—especially nightly wrist temperature monitoring—but instead, you’re greeted with “No Data” or “Needs More Data” in the Health app. You’re not imagining it: many Apple Watch 9 users are experiencing the same frustrating issue, even with perfect sleep tracking and correct settings.
Despite Apple marketing wrist temperature as a key feature for reproductive health and wellness insights, it’s one of the most finicky sensors on the device. The problem isn’t always hardware—it’s usually a mix of undocumented requirements, software bugs, or overlooked settings that silently block data collection.
The good news? Most cases are fixable. This guide delivers a proven, step-by-step troubleshooting plan based on real user experiences, Apple’s technical requirements, and verified fixes. Whether you’re setting up for the first time or your tracking suddenly stopped, you’ll learn how to diagnose, repair, and maintain reliable wrist temperature readings—starting tonight.
Verify Your Apple Watch 9 Actually Supports Wrist Temperature
Before diving into fixes, confirm your device is even capable of wrist temperature tracking.
Only These Models Can Track Wrist Temperature
Apple Watch wrist temperature sensing is exclusive to specific models with the upgraded thermal sensor:
- ✅ Apple Watch Series 8
- ✅ Apple Watch Series 9
- ✅ Apple Watch Ultra
- ✅ Apple Watch Ultra 2
- ✅ Apple Watch SE (2nd generation, 2023)
❌ Important: The original Apple Watch SE (2020) and all models before Series 8 do not support wrist temperature, no matter how many updates you install.
If you own a Series 9, you’re good on hardware. But that doesn’t guarantee functionality—software and usage rules are just as critical.
Why This Confusion Happens
Many users assume all recent Apple Watches have this feature. One user, l-sumner, spent days troubleshooting—only to discover their Apple Watch SE (2020) never had the sensor. Don’t waste time fixing what can’t be fixed. If your model is confirmed compatible, move to the next steps.
Meet All 10 Technical Requirements for Wrist Temperature Tracking

Missing even one condition will stop data collection. Apple doesn’t list all requirements clearly—here’s the full checklist.
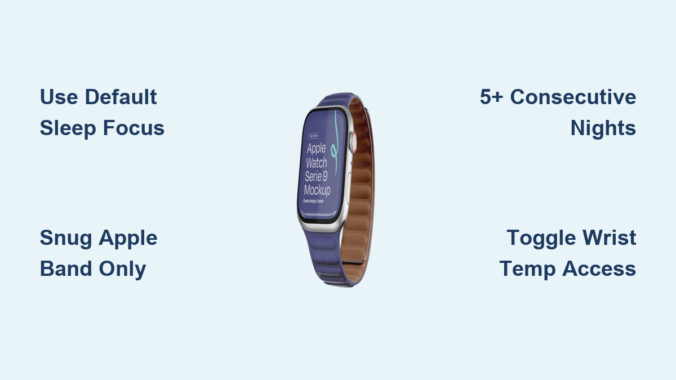
Sleep Focus Must Be Active (Default Version Only)
The sensor only records during Sleep Focus mode—and not just any version. Users report that custom Sleep Focus profiles fail to trigger temperature tracking.
- On iPhone: Watch app > Focus > Sleep Focus
- Enable Schedule for automatic activation
- Use the default Sleep Focus, not a renamed or custom one
User NickCampbell0089 fixed the issue instantly by switching from “mySleep” to the default Sleep Focus.
Wear the Watch for 5+ Consecutive Nights
Apple needs 5 full nights of sleep data to calculate your personal baseline before showing trends.
- Expect no data for the first 5 nights—this is normal
- Missing one night may reset the calibration
- Be consistent: wear it every night without removal
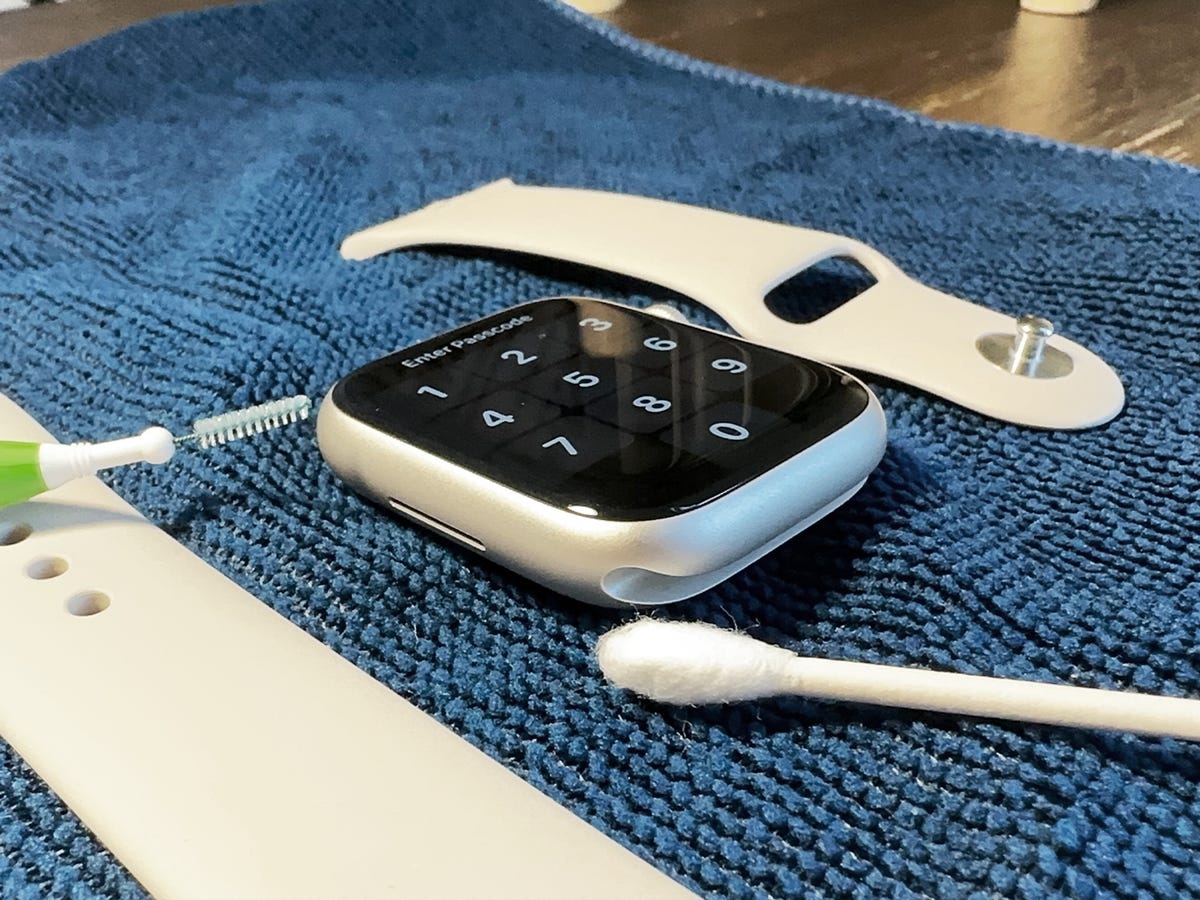
Wear with a Snug Apple Band
Loose fit breaks skin contact, and third-party bands often block sensors.
- Tighten the band so the watch doesn’t shift during sleep
- Use Apple-branded bands (e.g., Sport Band, Solo Loop)
- Avoid metal, magnetic, or oversized third-party bands
- Remove screen protectors and cases
User Gman4d3 regained data after switching back to the original band.
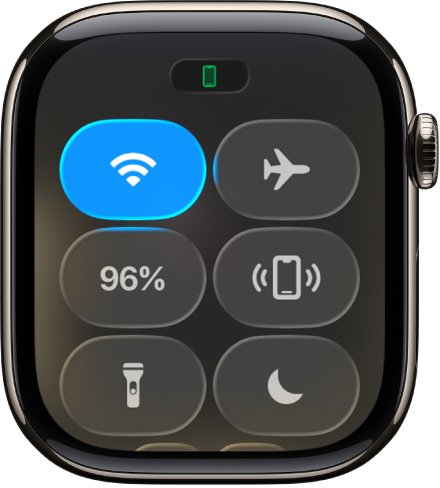
Keep Battery Above 30% Overnight
If the watch dies before morning, no temperature data is saved.
- Charge to 80%+ before bed if battery drains fast
- Avoid heavy app use before sleep
- Enable Power Saving Mode during Sleep Focus (watchOS 11+)
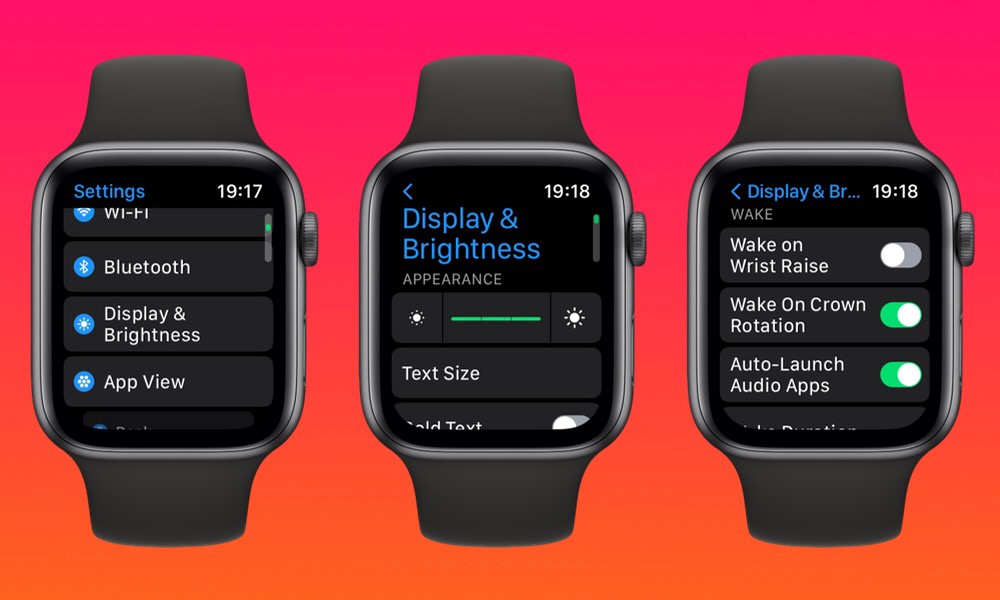
Enable Wrist Detection
This setting tells the watch it’s being worn—critical for sleep and sensor activation.
- Go to Watch app > Passcode > Wrist Detection = ON
- Disable only if sharing the watch
- Turning this off breaks sleep and temperature tracking
Fix Sleep Focus Activation Problems
Even with scheduling, Sleep Focus often fails to start—breaking the entire chain.
Manually Activate Sleep Focus Each Night
If automation fails, turn on Sleep Focus manually:
- Swipe up on Apple Watch > tap Focus icon > select Sleep
- Confirm the moon icon appears in the status bar
- This guarantees activation, bypassing software bugs
User Arkwitz reported manual activation worked immediately—while auto-scheduling failed despite being set.
Recreate Sleep Focus from Scratch
Corrupted settings can silently block the feature.
How to Reset Sleep Focus:
- On iPhone: Settings > Focus > Sleep Focus
- Tap Delete Focus
- Tap + Add Focus > Sleep to create a new one
- Re-enable it in Watch app > Sleep tab
- Reconnect to your sleep schedule
This fixed the issue for Loud-Armadillo6106 after other steps failed.
Toggle Wrist Temperature Access to Reset the Sensor
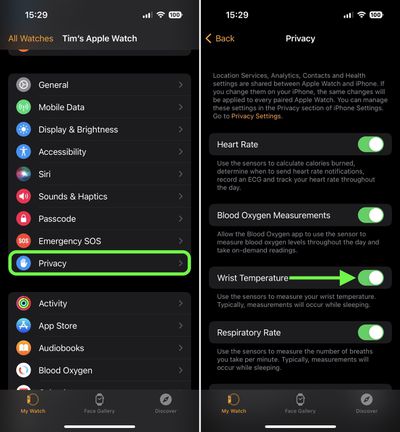
A simple software refresh can reactivate a stalled sensor.
Step-by-Step: Reset Wrist Temperature Access
- On iPhone, open Watch app
- Go to Privacy > Health > Wrist Temperature
- Toggle the switch OFF
- Wait 10 seconds
- Toggle it back ON
- Restart both iPhone and Apple Watch
User Ascron confirmed this worked on Apple Watch Ultra 2—proof it applies across compatible models.
This forces the system to reauthorize sensor access and clear silent glitches.
Update to the Latest watchOS and iOS
Software bugs—especially in watchOS 11—have caused widespread tracking failures.
Known watchOS Issues
- watchOS 11 caused intermittent recording for many users
- Some nights work, others don’t—no clear pattern
- watchOS 10.4 and 11.3 included stability fixes for health sensors
How to Update
On Apple Watch:
– Settings > General > Software Update
On iPhone:
– Settings > General > Software Update
User romangr regained tracking after updating to watchOS 10.4 and rebooting.
Always backup before updating. Never skip major updates if health features are failing.
Factory Reset: Fix Deep Software Conflicts
When all else fails, a full reset can resolve hidden bugs.
When to Do It
- No data after 10+ nights
- Sleep Focus won’t activate
- Settings are unresponsive
How to Reset
- Watch app > My Watch > General > Transfer or Reset Apple Watch
- Select Erase All Content and Settings
- Wait for unpairing and erasure
- Set up as new or restore from backup
User Jhawk202 fixed Apple Watch 8 temperature issues with this method—same applies to Series 9.
After resetting:
– Re-enable Sleep Focus
– Wear consistently for 5+ nights
– Use Apple band only at first
Understand Where Data Appears—and What It Means
Even when working, data isn’t visible everywhere.
Where to Find Wrist Temperature
- Health app > Browse > Body Temperature > Nightly Wrist Temperature
- Vitals app (if supported)
- Cycle Tracking app (for fertility predictions)
❗ Note: Data does not appear on the watch face or in the Sleep app. It’s iPhone-only.
What the Sensor Actually Measures
- Tracks subtle changes in skin temperature during sleep
- Compares nightly readings to your personal baseline
- Detects thermal shifts, not real-time body temp
- Used for cycle predictions and wellness trends
It’s not a medical thermometer. Room temperature, bedding, or illness can affect readings.
Recognize Known Bugs and Patterns
Apple has acknowledged the issue.
Confirmed Software Bug
- User Nycoy contacted Apple Support
- Agent confirmed it’s a known issue
- Fix expected via future software update
- No public timeline
watchOS 11 Instability
- User ottoharsh: “Some nights it records, some nights it doesn’t.”
- Issue started after watchOS 11 update
Spontaneous Recovery
- User NyceeZ: “It started working out of nowhere… I didn’t change anything.”
- Suggests backend fixes or silent recalibration
If nothing works, wait—some users see data resume without intervention.
Proven Fix Checklist: Follow Every Step
✅ Confirm device is Series 9, 8, Ultra, or SE (2nd gen)
✅ Use default Sleep Focus with schedule
✅ Manually activate Sleep Focus if auto fails
✅ Enable Wrist Detection
✅ Wear with snug Apple band, no accessories
✅ Sleep 5+ hours per night
✅ Complete 5+ consecutive nights
✅ Toggle wrist temperature setting off/on + restart
✅ Update to latest watchOS and iOS
✅ Recreate Sleep Focus
✅ Factory reset if all else fails
✅ Contact Apple Support if unresolved
Skip nothing—even a screen protector can block data.
When to Contact Apple Support
If you’ve done everything and still see “No Data”, escalate.
What to Say
- “I own an Apple Watch Series 9 and wrist temperature isn’t working.”
- “I’ve met all requirements: Sleep Focus, 5+ nights, snug fit, latest software.”
- “This is a known issue affecting multiple users.”
- “I need diagnostics or a firmware fix.”
Request:
– Remote system check
– Escalation to engineering team
– Replacement if under warranty
If this feature was a primary reason for purchase, consider a refund.
Maintain Reliable Tracking Long-Term
Once fixed, prevent future issues.
Best Practices
- Stick to Apple bands for sleep
- Charge nightly if battery <50%
- Avoid removing the watch mid-sleep
- Recheck Sleep Focus after updates
- Monitor Health app weekly
Mistakes to Avoid
❌ Using a custom Focus
❌ Wearing a loose or third-party band
❌ Skipping nights
❌ Ignoring updates
❌ Expecting immediate data
Final Thoughts: Patience and Persistence Win
Wrist temperature tracking on the Apple Watch Series 9 is powerful but fragile. It requires perfect alignment of hardware, software, and user behavior.
Many give up too soon—missing the 5-night baseline or the impact of a loose band. Others don’t realize manual Sleep Focus activation is a reliable workaround.
While Apple works on fixes, you can resolve most issues now. Start with the basics: default Sleep Focus, snug Apple band, 5+ nights. If that fails, toggle settings, recreate Sleep Focus, update, or reset.
And remember: some users report the feature starts working unexpectedly. Apple may be rolling out silent fixes.
Your Apple Watch Series 9 can deliver accurate wrist temperature data. With this guide, you now have every tool to make it happen.